To add a customer to a specific branch, start by opening either the Edit Customer or Add Customer pop-up window. In the "Branch" drop-down, select the desired branch from the list of options:

Once selected, click Save (if editing an existing customer) or Add (if adding a new customer) to confirm your changes. The example above shows the Edit Customer pop-up window.
To add a user to a specific branch, start by opening either the Edit User or Add User pop-up window. In the "Branch" drop-down, select the desired branch from the list of options:

Once selected, click Save (if editing an existing user) or Add (if adding a new user) to confirm your changes. The example above shows the Edit User pop-up window.
To add a quote to a specific branch, start by opening either the Edit Quote or Add Quote pop-up window. In the "Branch" drop-down, select the desired branch from the list of options:
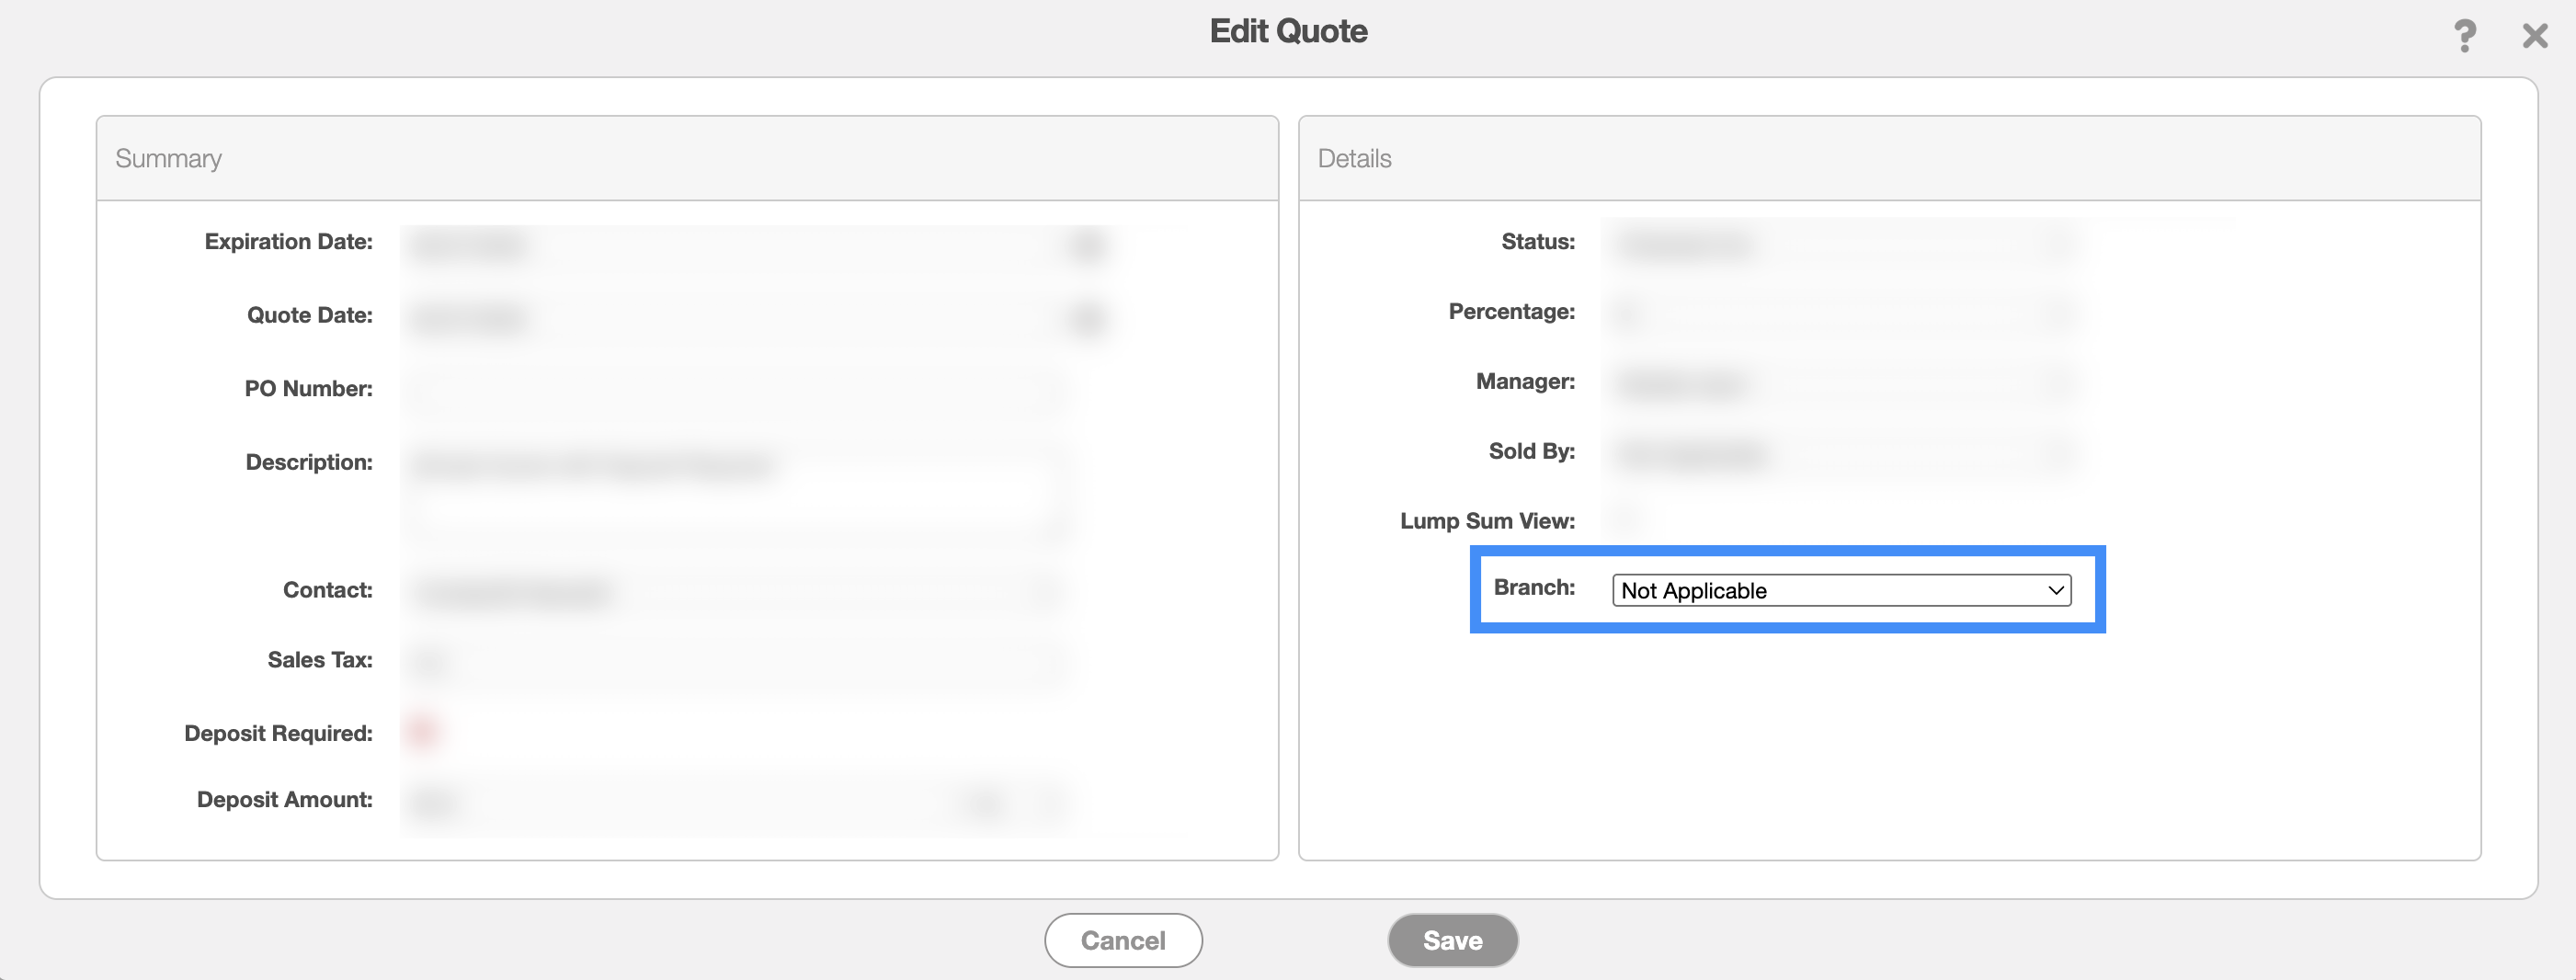
Once selected, click Save (if editing an existing quote) or Add (if adding a new quote) to confirm your changes. The example above shows the Edit Quote pop-up window.
Note: The branch field will autopopulate to the branch that the corresponding customer is a part of. However, you can reassign the quote to a different branch if needed.
To add a work order to a specific branch, start by opening either the Edit Work Order or Add Work Order pop-up window. In the "Branch" drop-down, select the desired branch from the list of options:
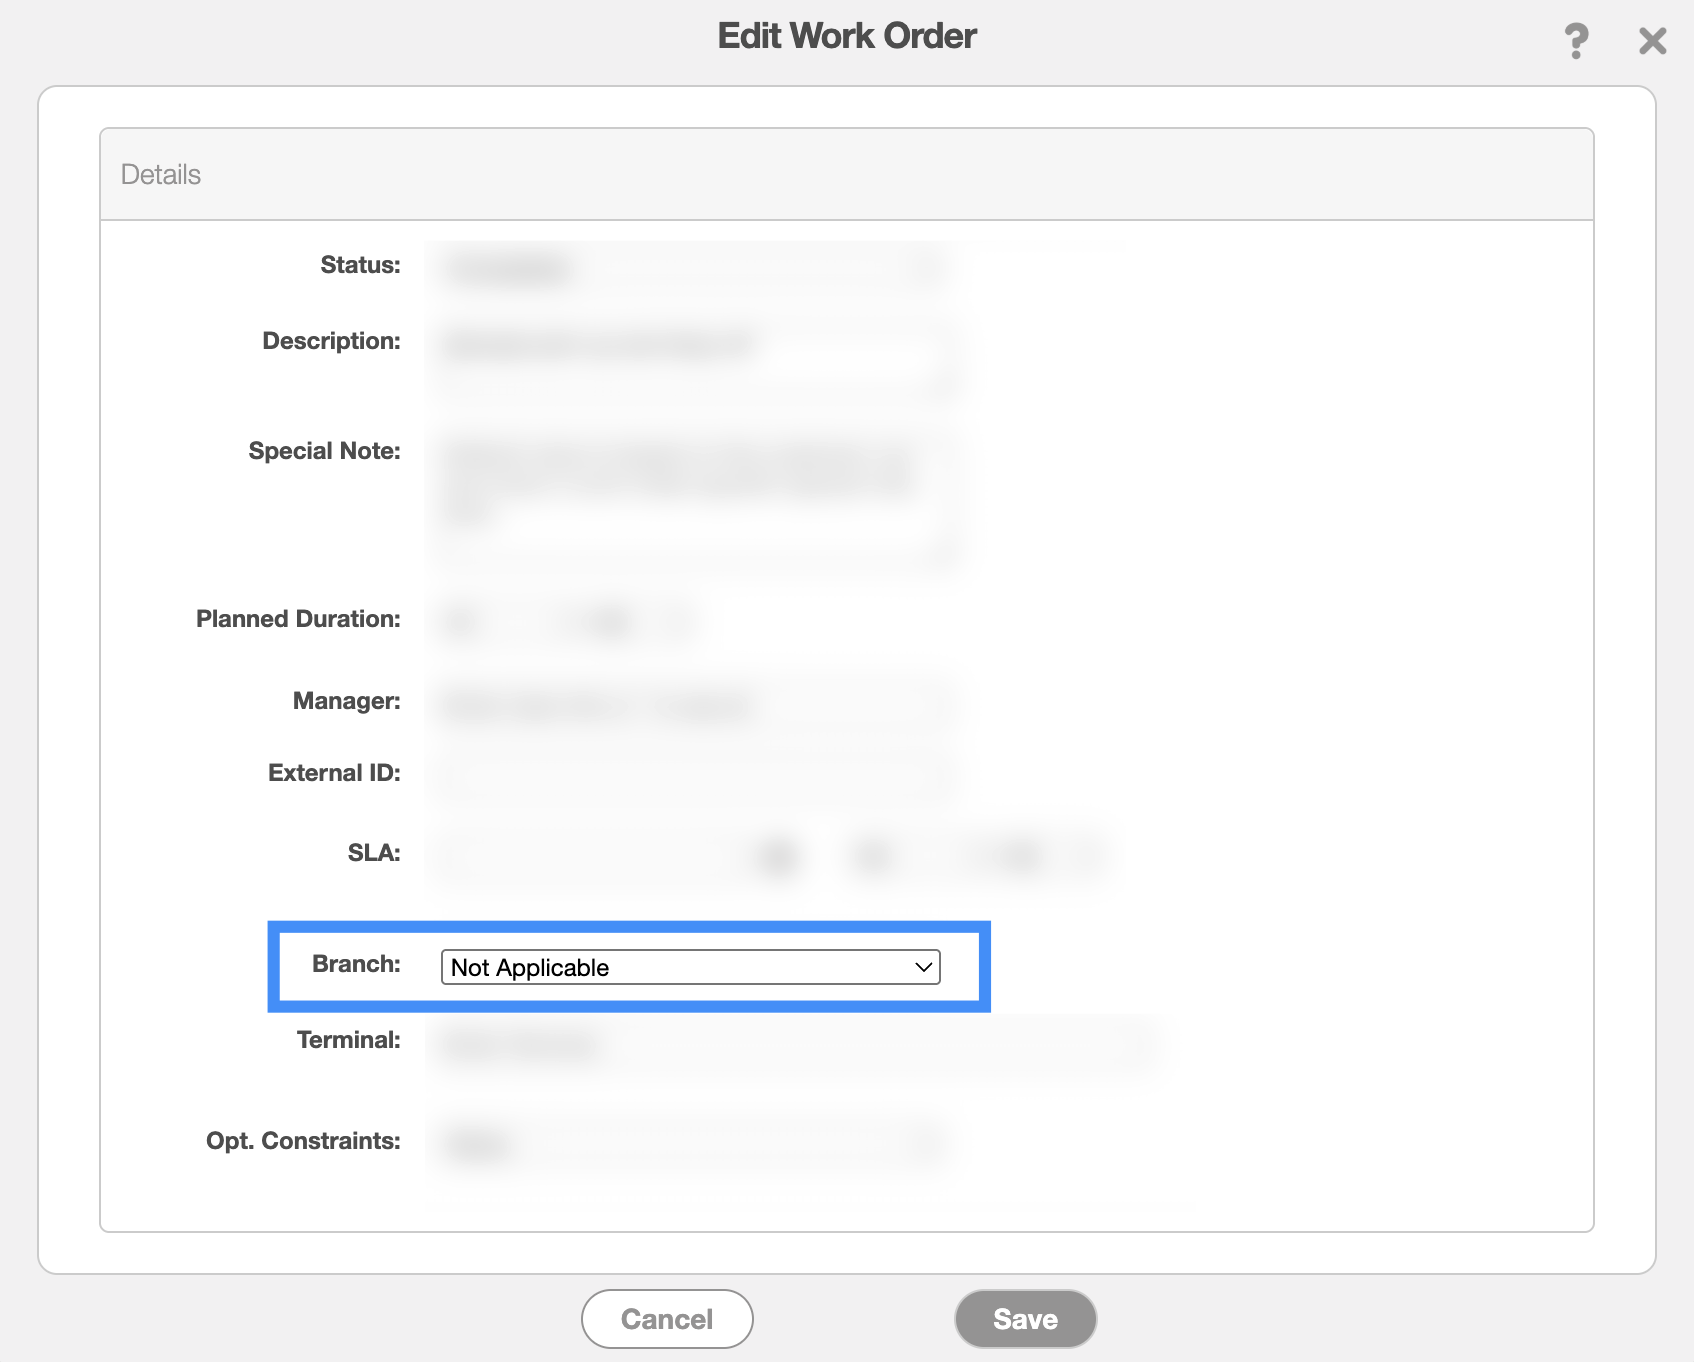
Once selected, click Save (if editing an existing work order) or Add (if adding a new work order) to confirm your changes. The example above shows the Edit Work Order pop-up window.
Note: The branch field will autopopulate to the branch that the corresponding customer is a part of. However, you can reassign the work order to a different branch if needed.
To add an invoice to a specific branch, start by opening either the Edit Invoice or Add Invoice pop-up window. In the "Branch" drop-down, select the desired branch from the list of options:
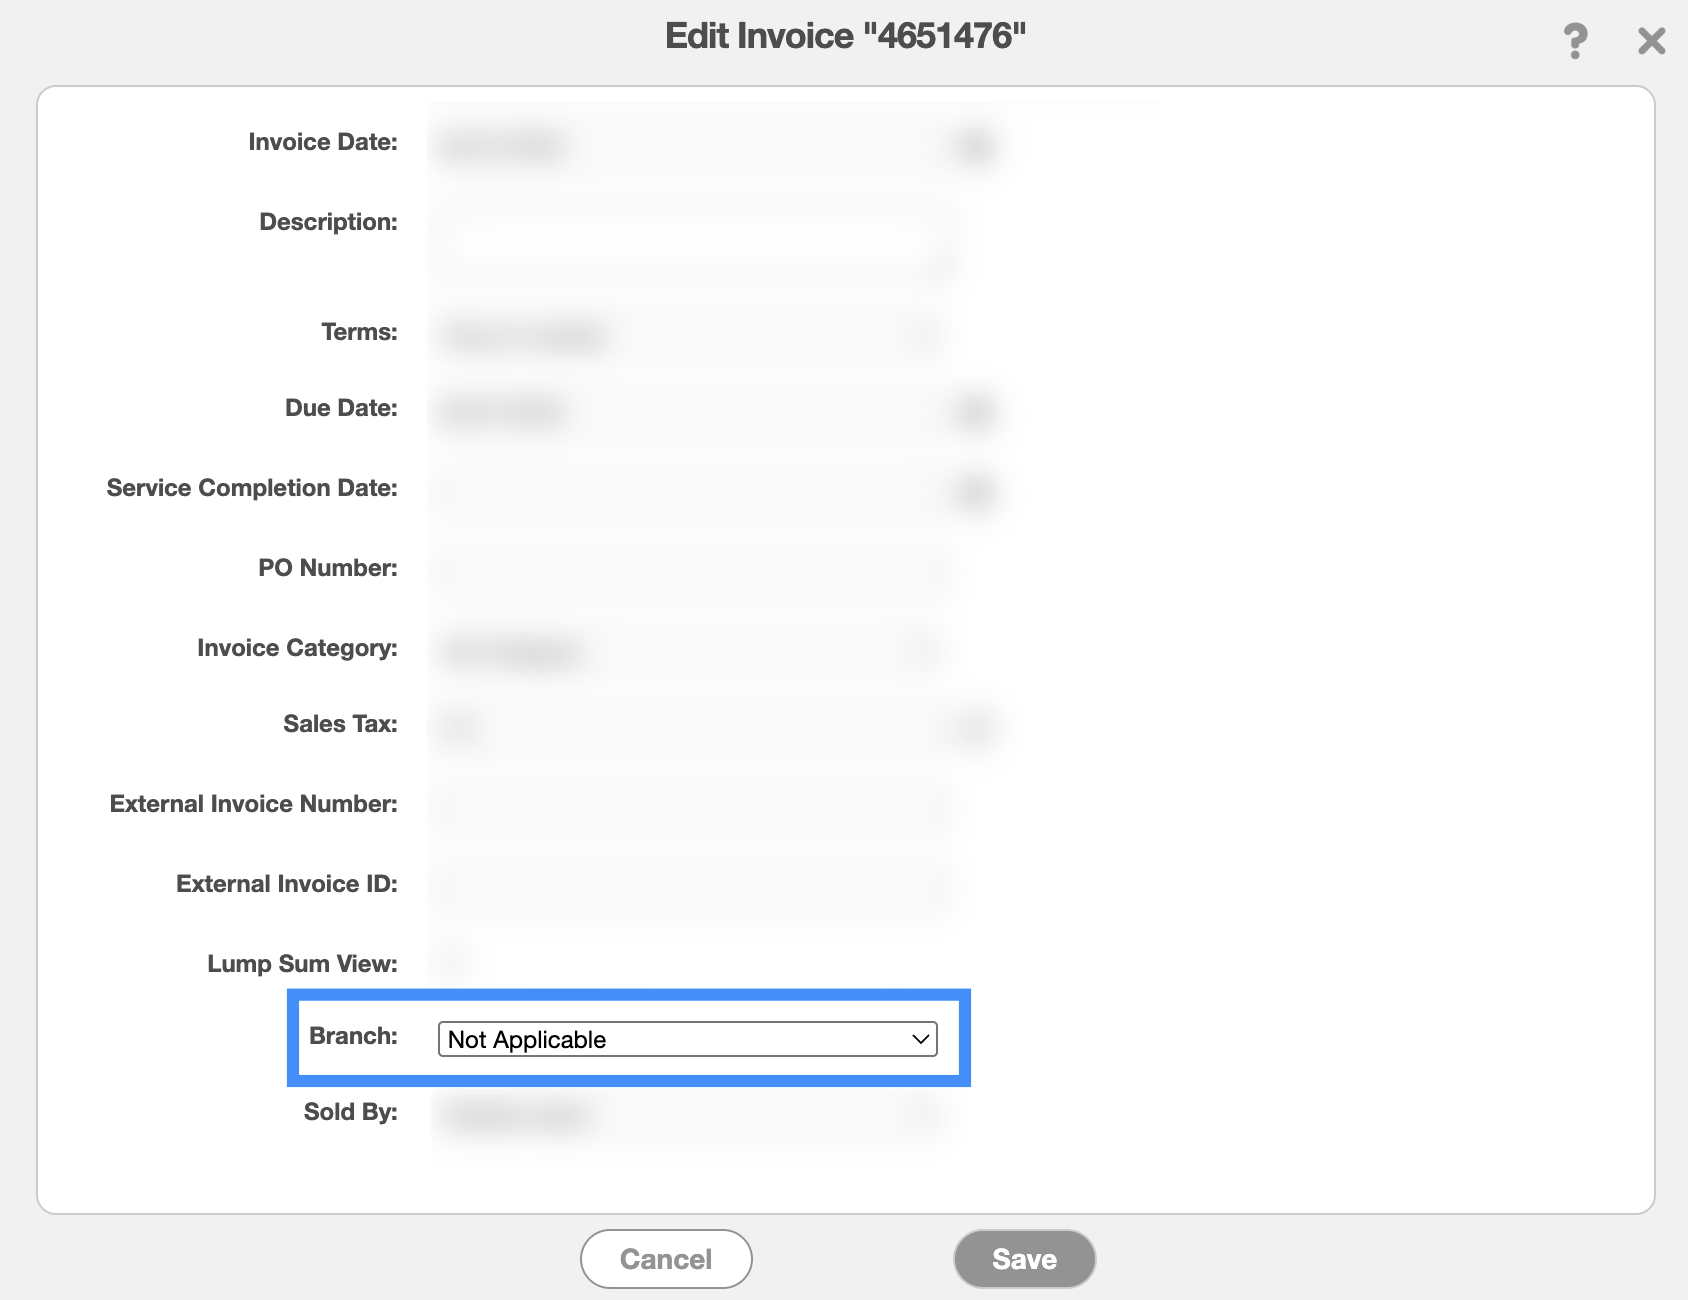
Once selected, click Save (if editing an existing invoice) or Add (if adding a new invoice) to confirm your changes. The example above shows the Edit Invoice pop-up window.
Note: The branch field will autopopulate to the branch that the corresponding customer is a part of. However, you can reassign the invoice to a different branch if needed.
To add a part to a specific branch, start by opening either the Edit Part or Add Part pop-up window. In the "Branch" drop-down, select the desired branch from the list of options:
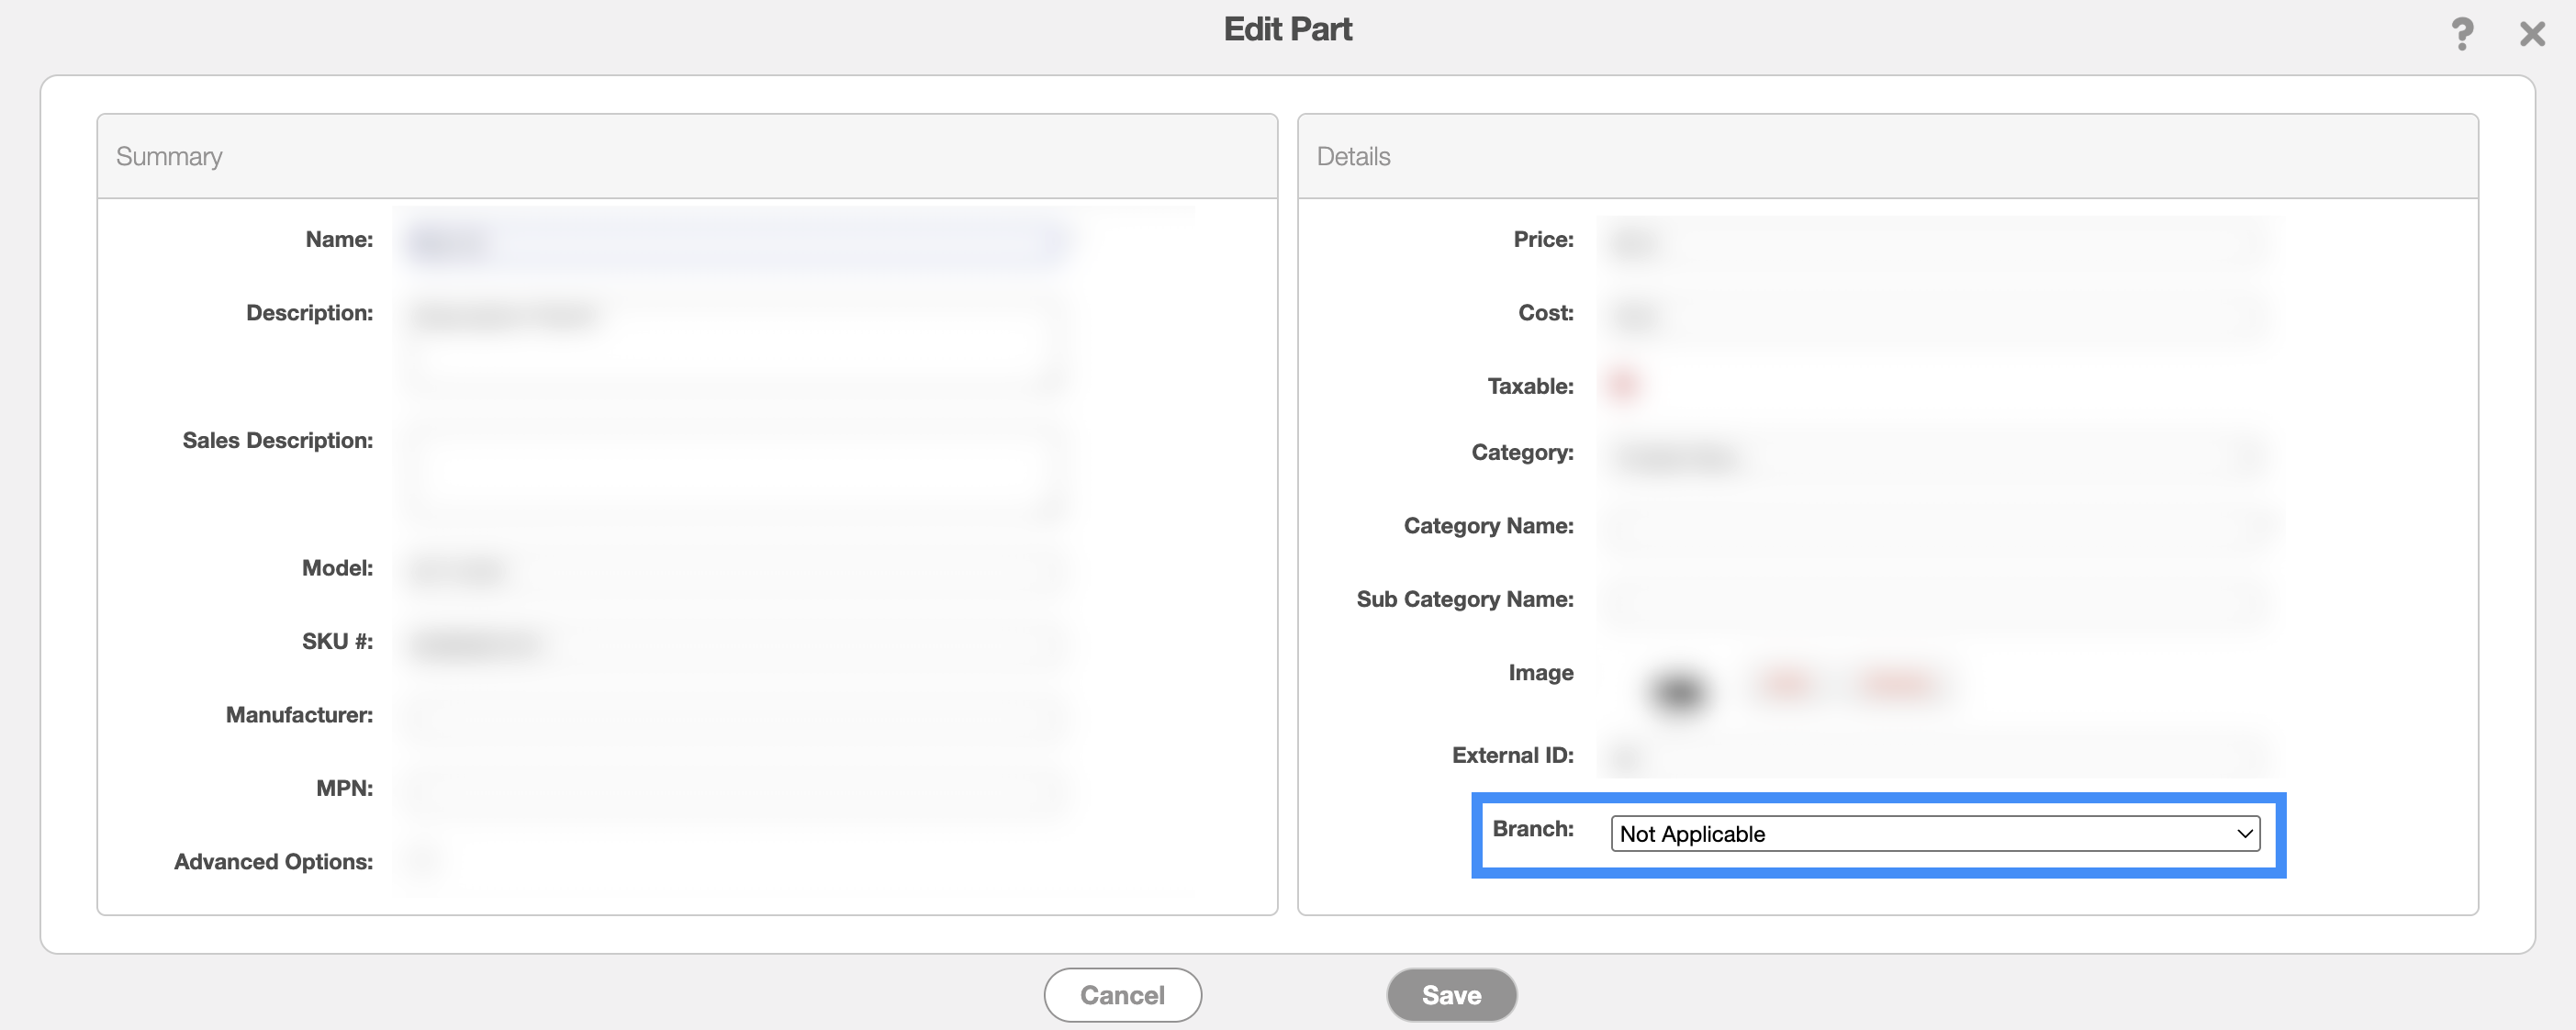
Once selected, click Save (if editing an existing part) or Add (if adding a new part) to confirm your changes. The example above shows the Edit Part pop-up window.
To add an asset to a specific branch, start by opening either the Edit Asset or Add Asset pop-up window. In the "Branch" drop-down, select the desired branch from the list of options:
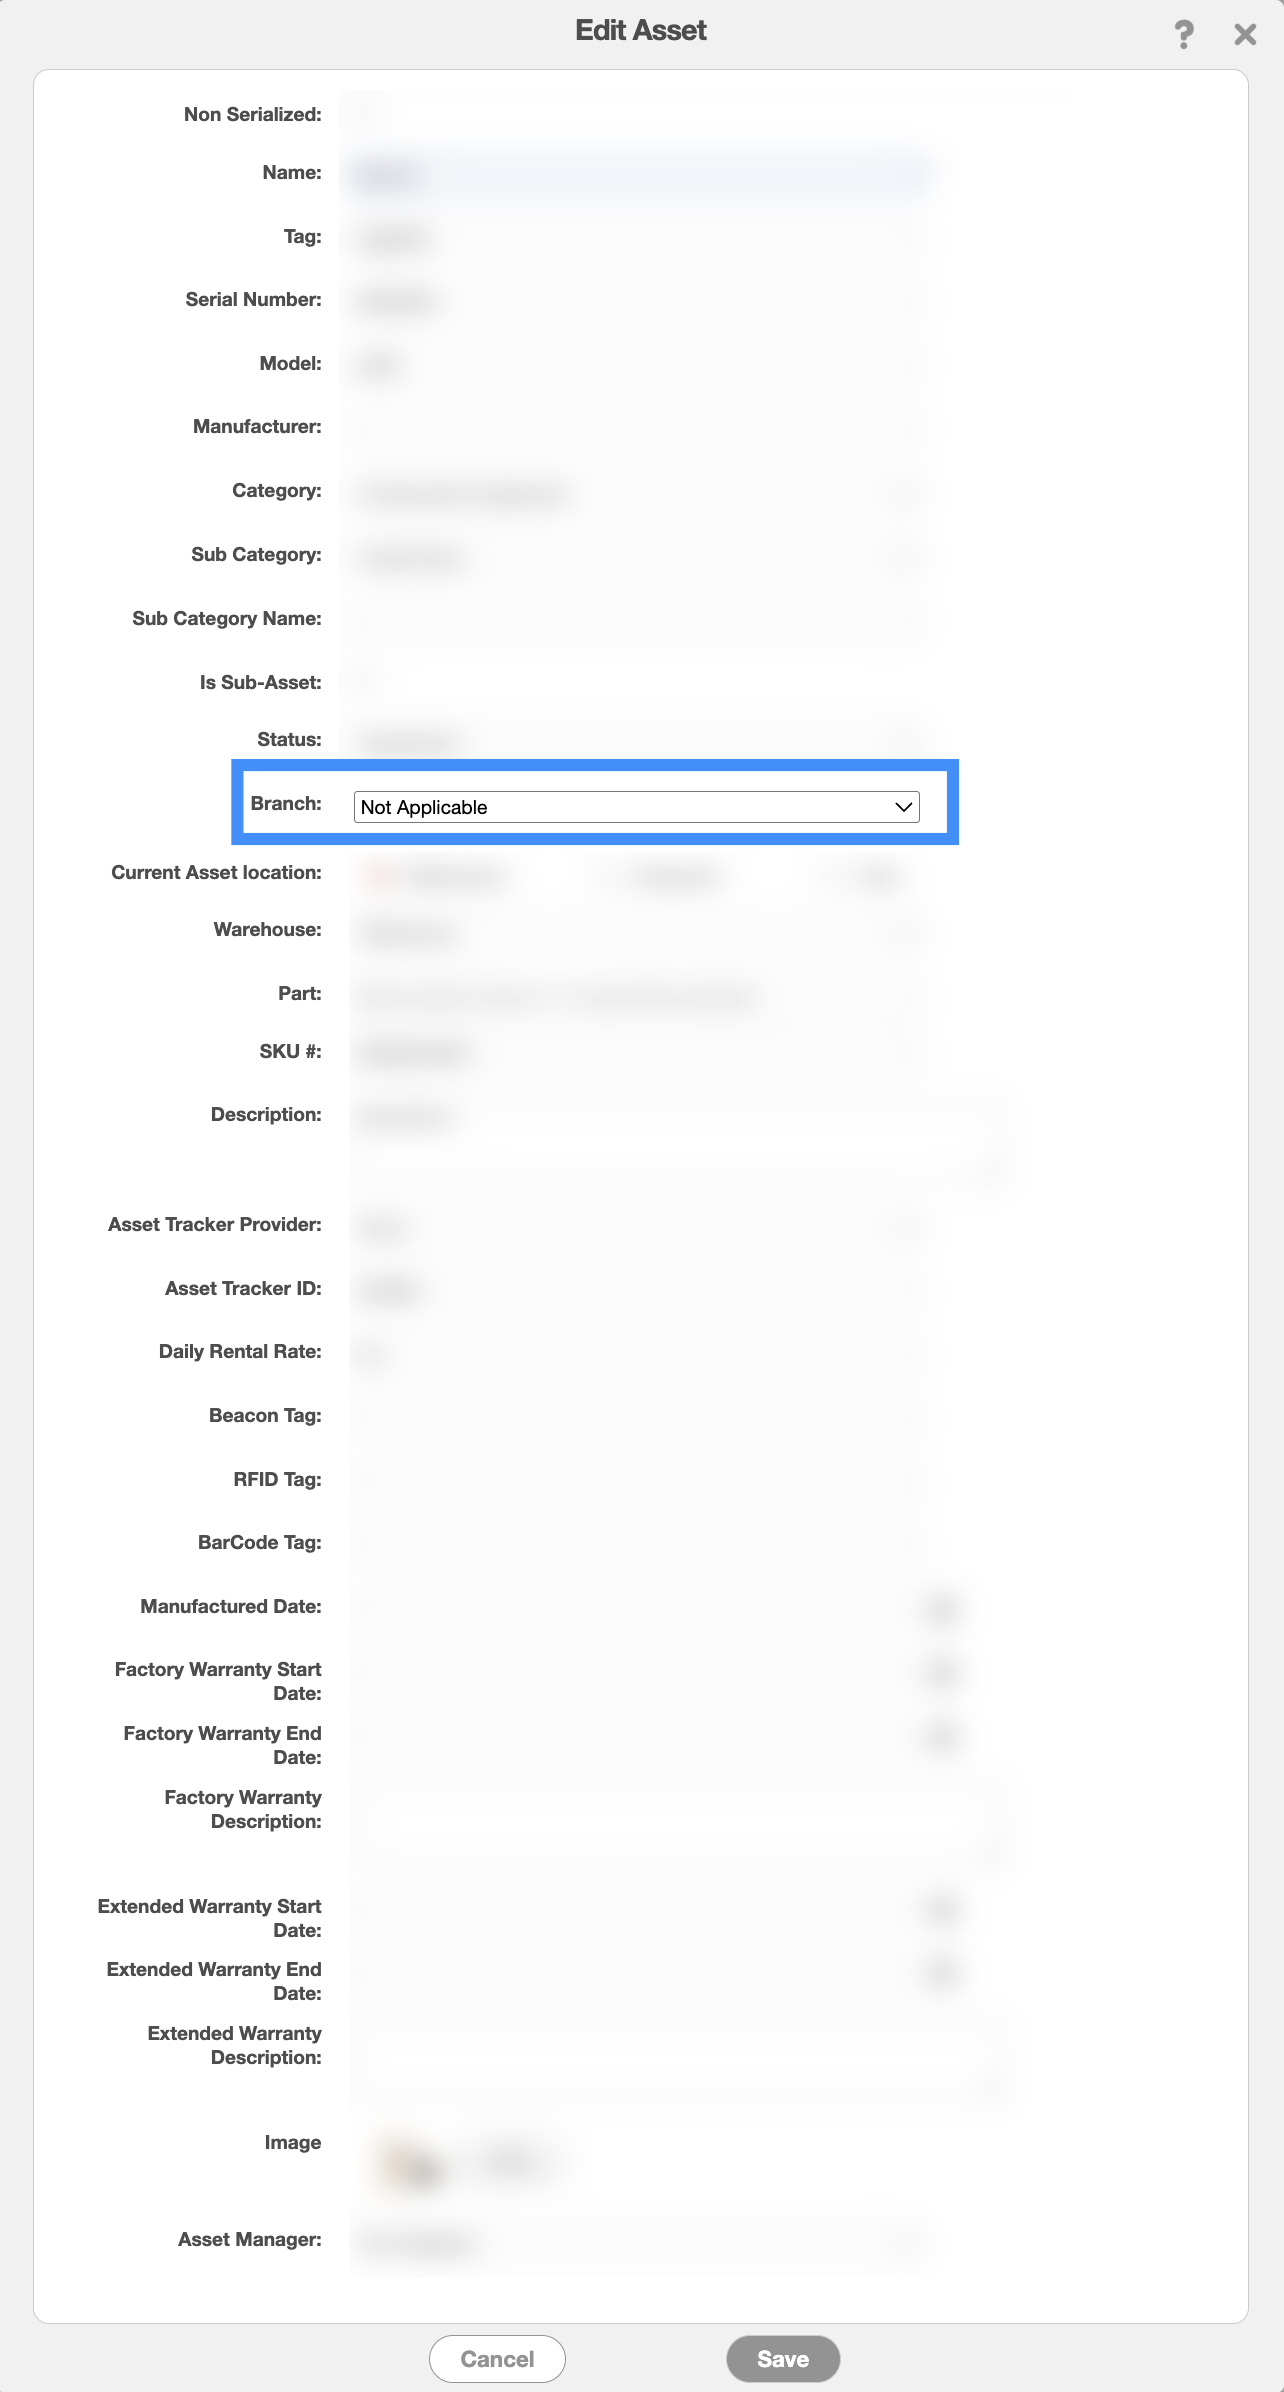
Once selected, click Save (if editing an existing asset) or Add (if adding a new asset) to confirm your changes. The example above shows the Edit Asset pop-up window.
To add a project to a specific branch, start by opening either the Edit Project or Add Project pop-up window. In the "Branch" drop-down, select the desired branch from the list of options:
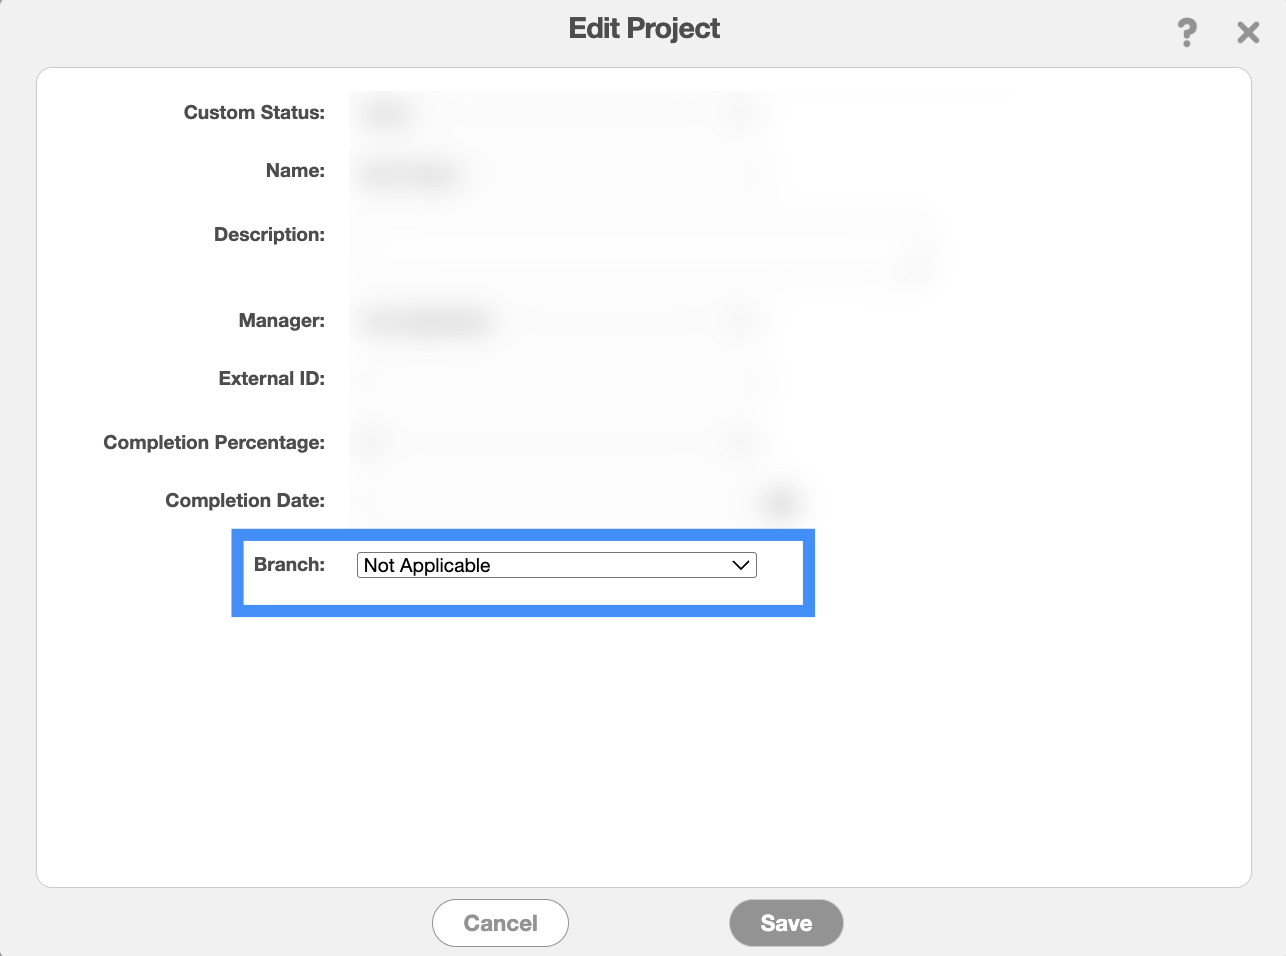
Once selected, click Save (if editing an existing project) or Add (if adding a new project) to confirm your changes. The example above shows the Edit Project pop-up window.
Note: The branch field will autopopulate to the branch that the corresponding customer is a part of. However, you can reassign the project to a different branch if needed.
To add a recurrent service to a specific branch, start by opening either the Edit Recurrent Service or Add Recurrent Service pop-up window. In the "Branch" drop-down, select the desired branch from the list of options:

Once selected, click Save (if editing an existing recurrent service) or Add (if adding a new recurrent service) to confirm your changes. The example above shows the Edit Recurrent Service pop-up window.
To add a recurrent invoice to a specific branch, start by opening either the Edit Recurrent Invoice or Add Recurrent Invoice pop-up window. In the "Branch" drop-down, select the desired branch from the list of options:
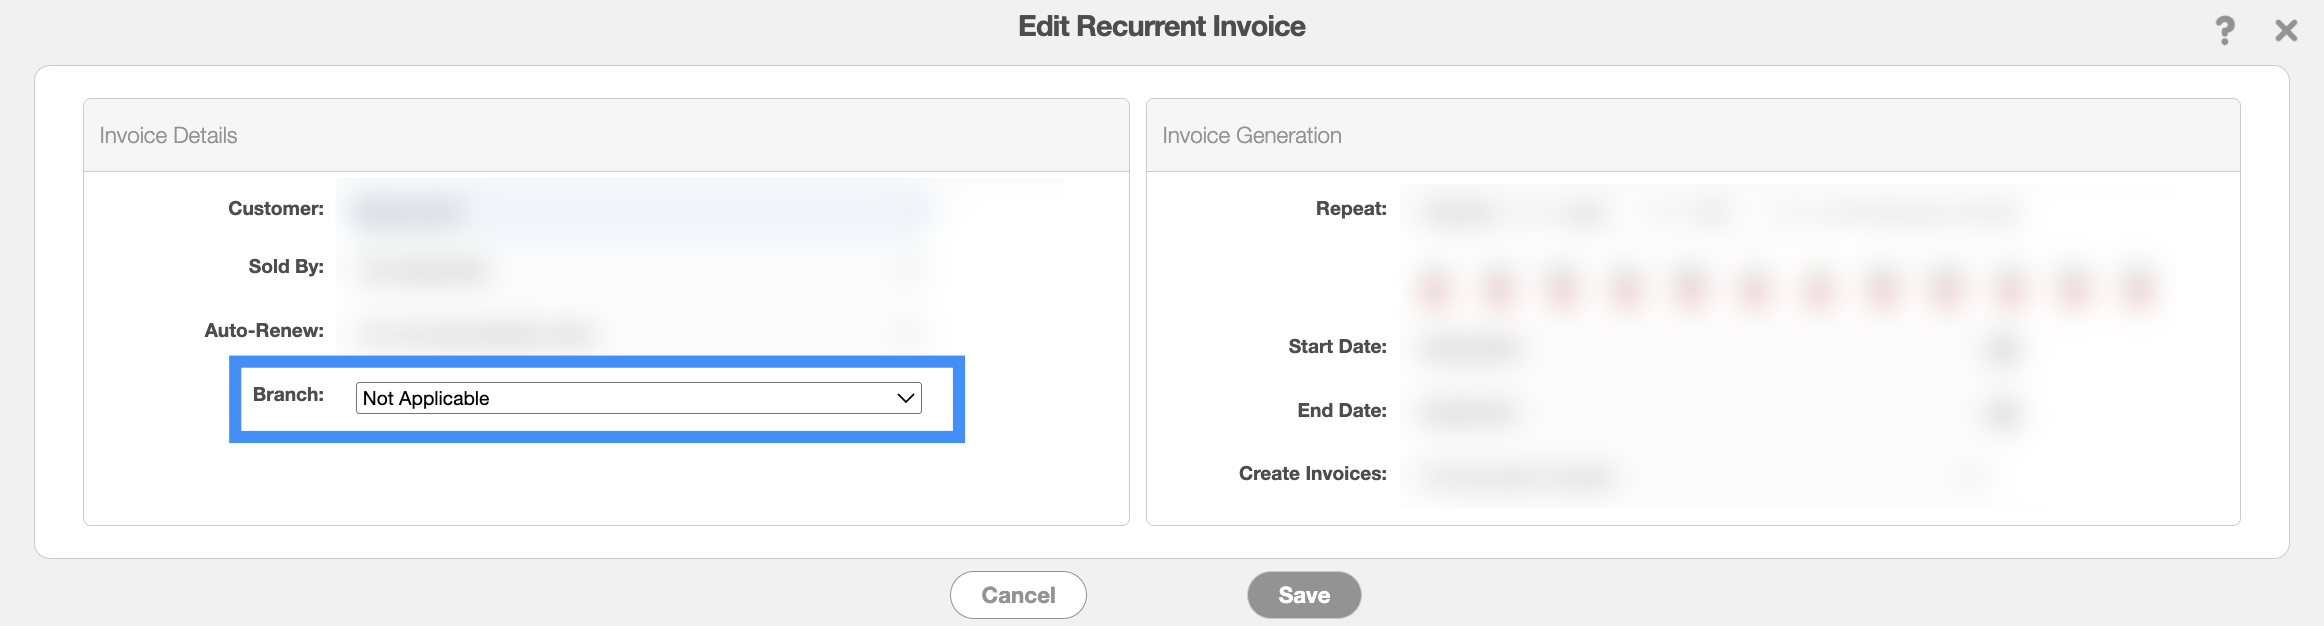
Once selected, click Save (if editing an existing recurrent invoice) or Add (if adding a new recurrent invoice) to confirm your changes. The example above shows the Edit Recurrent Invoice pop-up window.