To edit an expense, you will first need to be on the Expenses feature tab on MobiWork; for more information on how to access this page, please see the Expenses List section.
Once you are on this page, there are four different ways you can edit the expense:
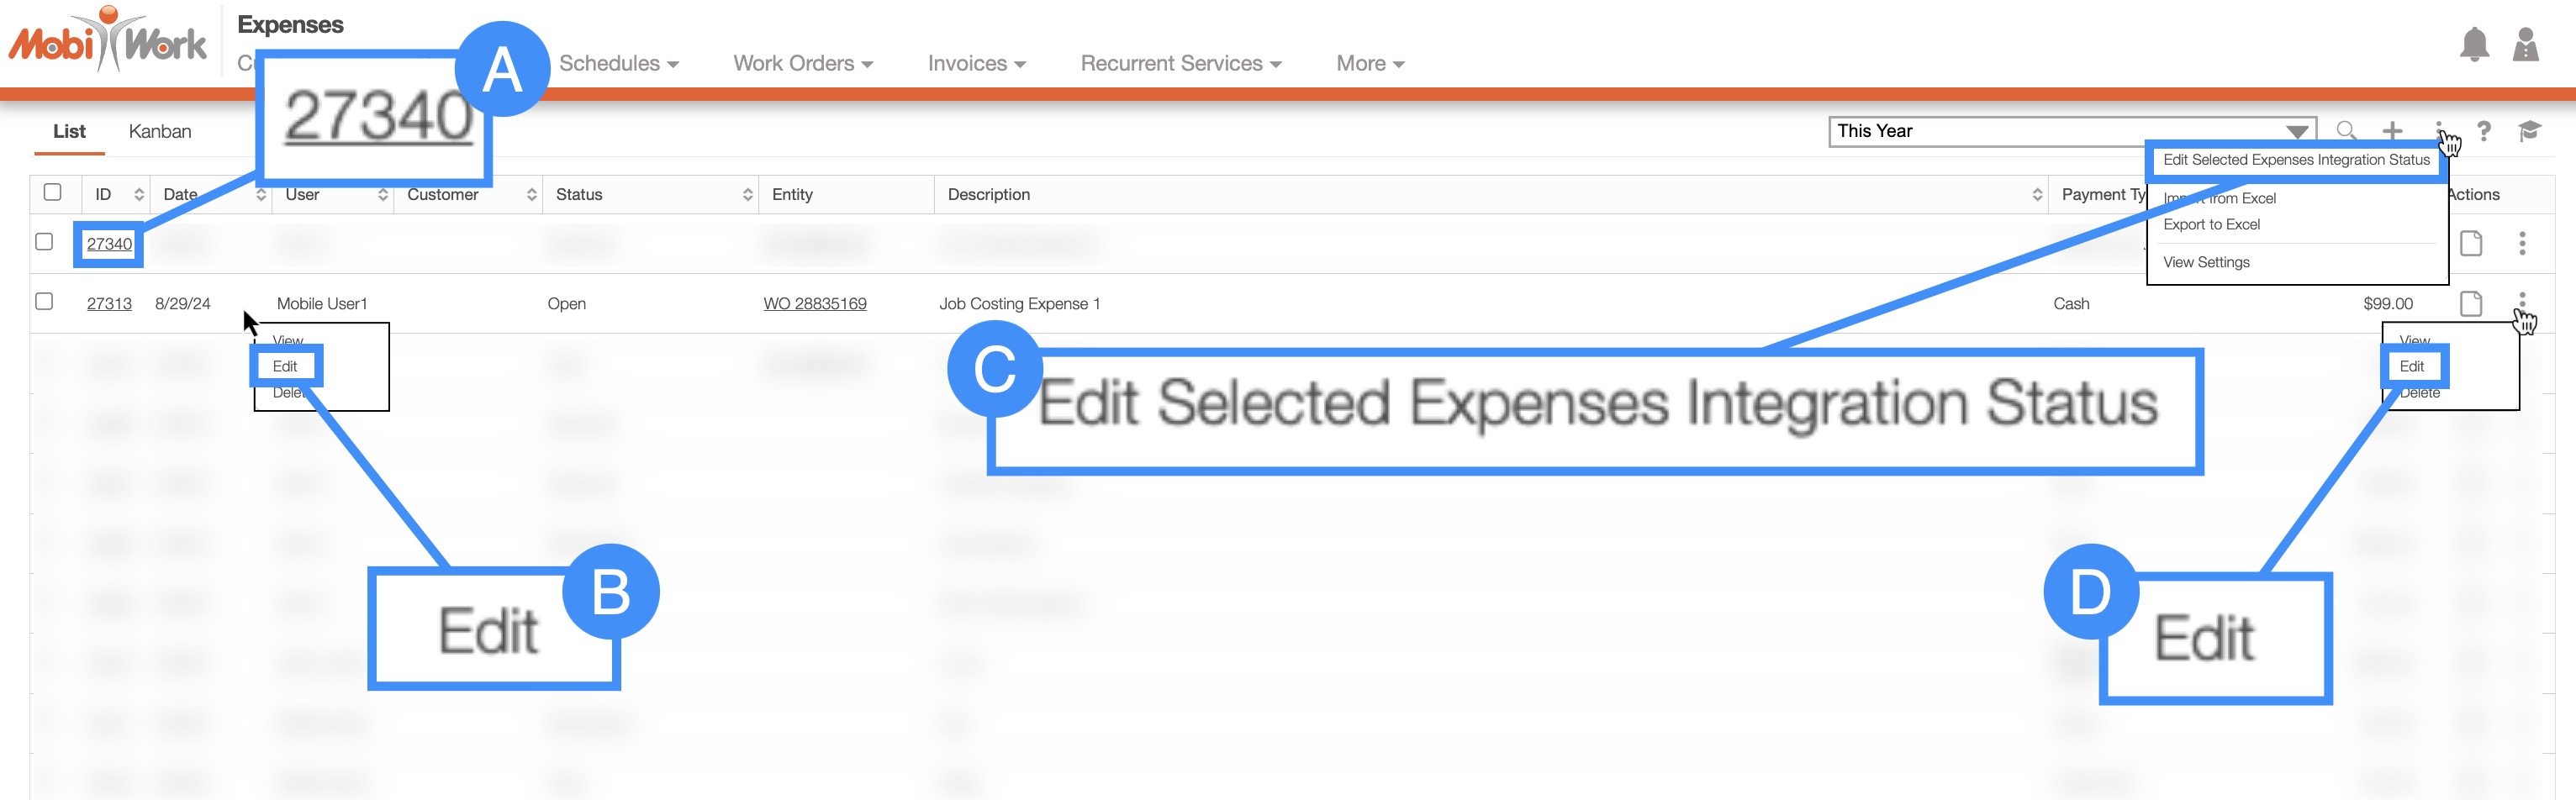
Clicking on the expense ID to open the View Expense pop-up window:
- In the upper right-corner of the View Expense pop-up window, you will see a Pencil icon and the Individual Actions button. Either option will allow you to edit the expense. The Edit button below these actions will also allow you to edit the expense. You can edit the custom status by selecting the "Edit Custom Status" option from the Individual Actions drop-down:
- Please note that there are many ways that you can access the View Expense pop-up window. Please see the View Expense page for the different ways that you can open the View Expense pop-up window.
Right-clicking on an expense to open the right-click options. (The options that are displayed when you right-click on an expense are also available when you select the Individual Actions button.)
Selecting the More Actions button from the "Global Actions" section. Please note that this option will give you the ability to edit multiple expenses' statuses at once.
Clicking on the Individual Actions button (the three vertical dots) from the "Actions" column. (The options that are displayed from the Individual Actions button are the same as when you right-click on an expense.)

The How to Access the Page section will highlight how to navigate to the Edit Expense pop-up window. Regardless of the method you choose, the Edit Expense pop-up window will appear:
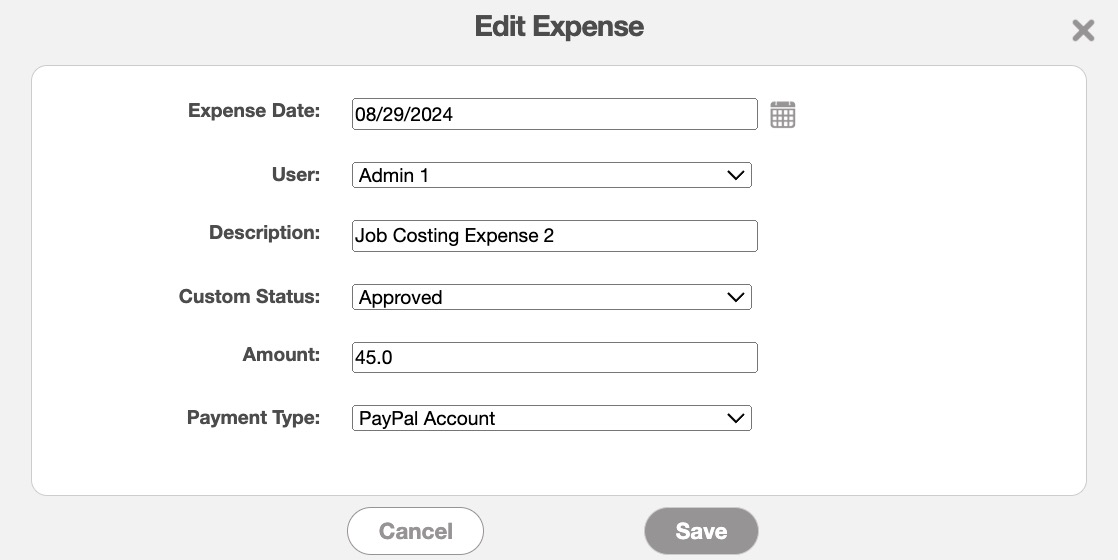
Once the Edit Expense pop-up window appears update the fields that you would like to change for the selected expense. When you are finished updating the selected fields, click on the Save button:
The date that the reimbursement is due for the expense.
The user the expense is intended for.
The description of the expense.
The custom status of the expense.
The reimbursement amount.
And payment type the user used to initially pay the expense.
The columns for the Edit Expense pop-up window are defined below:
| Name: | Description: |
|---|---|
| "Expense Date" | The due date of the expense. |
| "User" | The user the expense is intended for. |
| "Description" | The expense description. |
| "Custom Status" | The custom status of the expense. |
| "Amount" | The amount owed for the expense. |
| "Payment Type" | The method the user initially used to cover the payment. |
You can also edit the expense's status through the View Expense pop-up window:
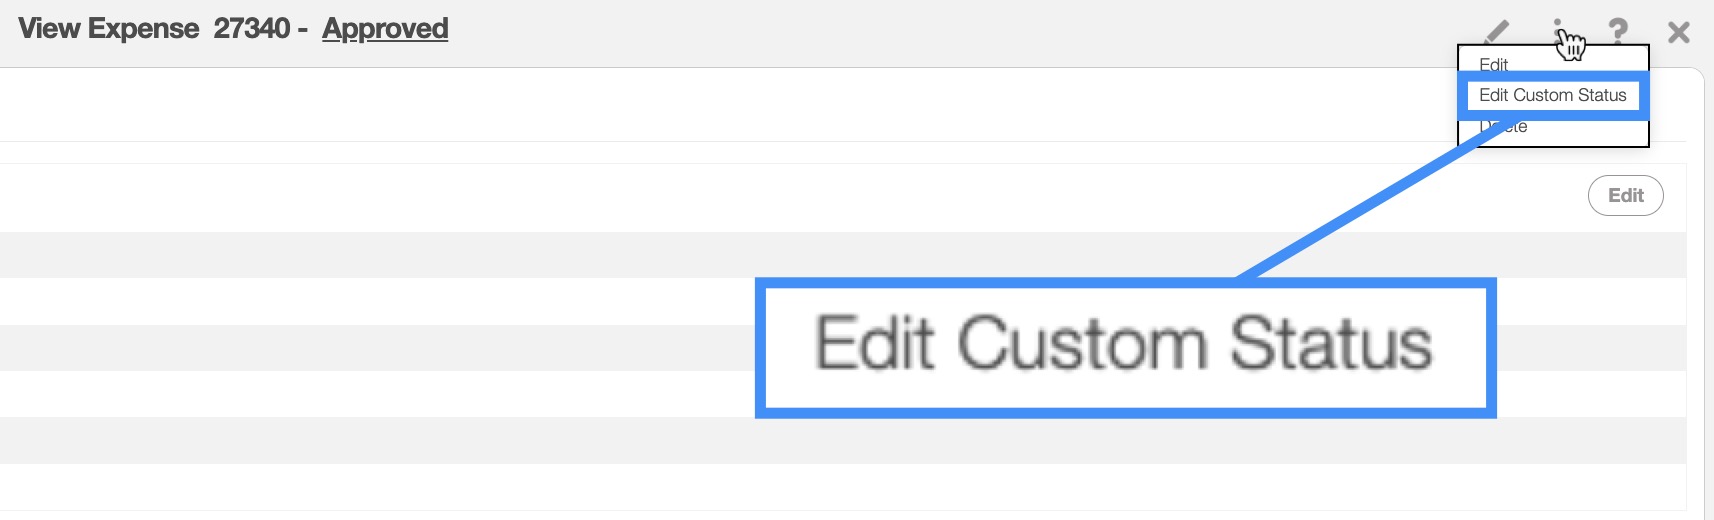
Through this window, click on the Individual Actions button and from the drop-down select the "Edit Custom Status" option:
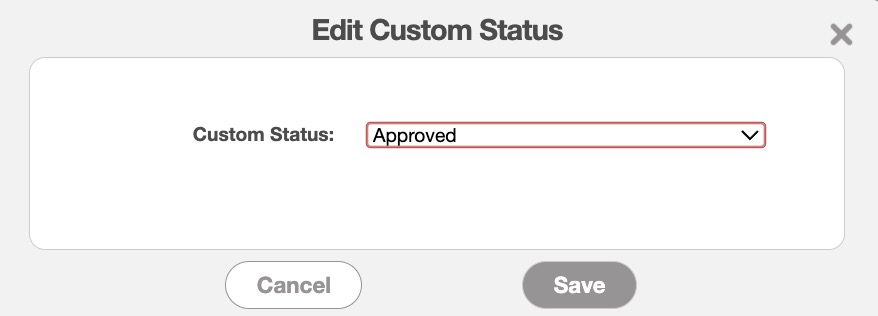
The Edit Custom Status pop-up window will then appear; in this pop-up window select the desired status from the drop-down and then click the Save button to confirm the updated status.
You can access the More Actions button through the Expenses feature page. For more information on how to access this page, please see the Expense List page for more information.
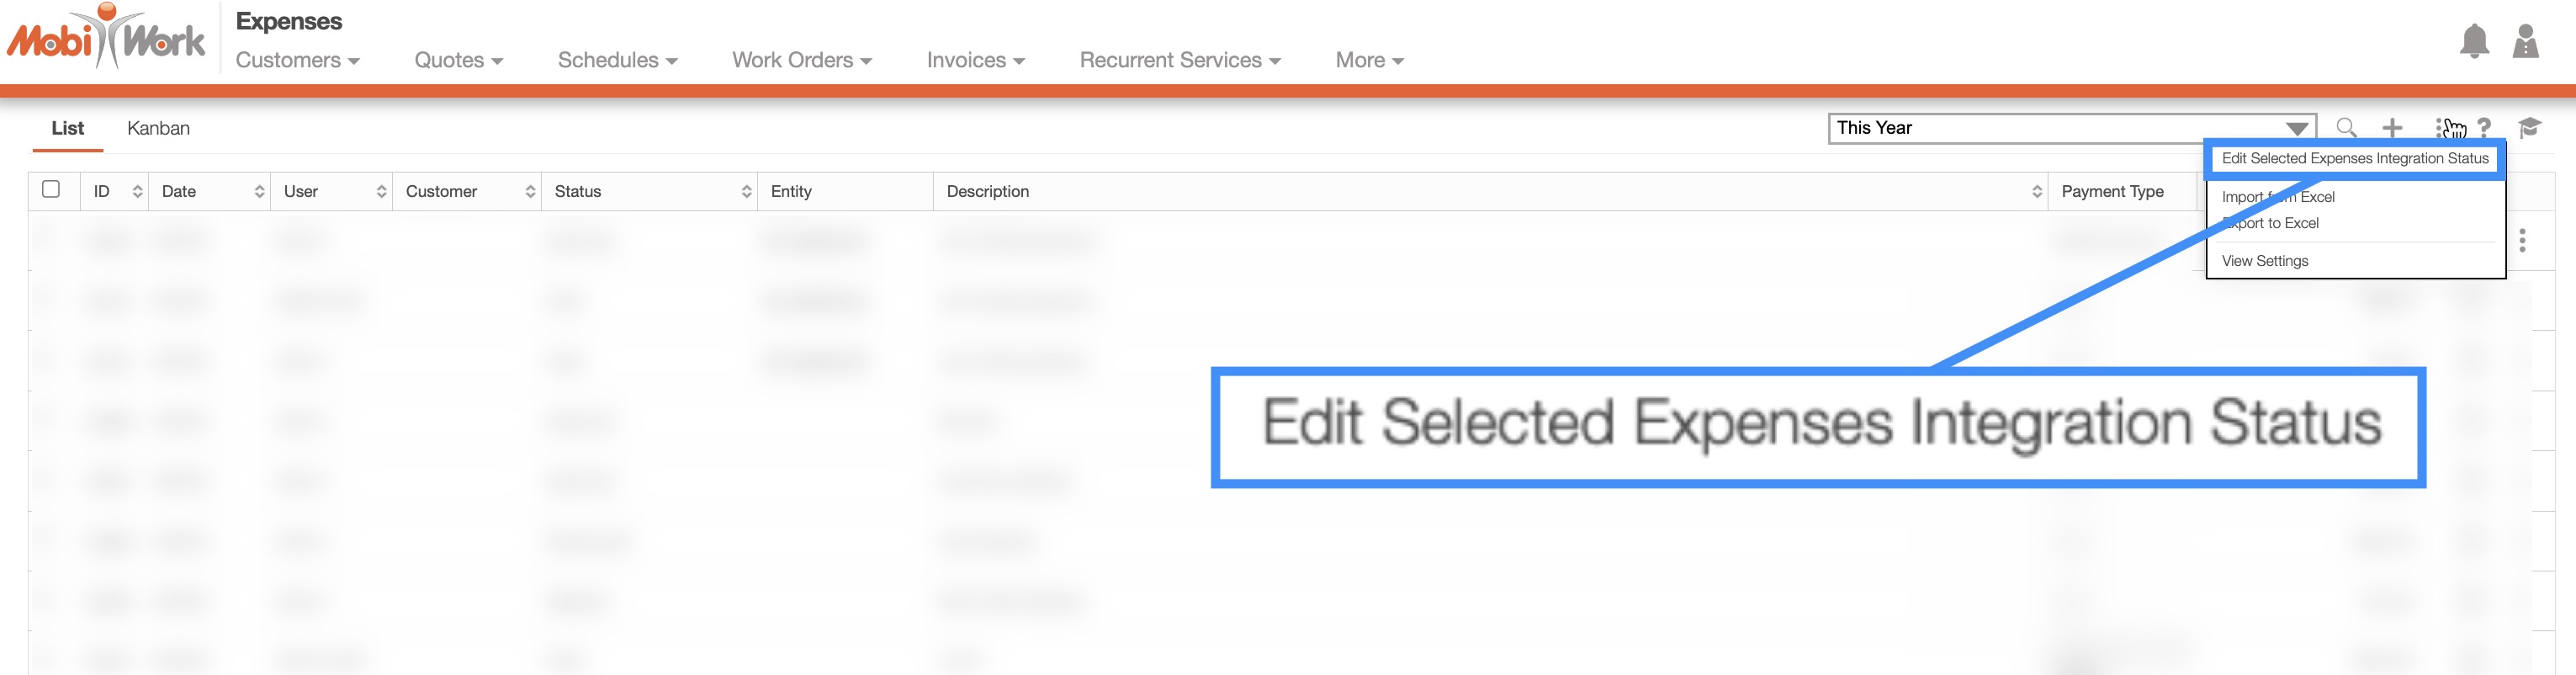
Check off the desired expenses you would like to edit; if you would like to edit all your expenses you can click on the topmost checkbox (Multiple Selection Area) located in the Expenses feature page. Click on the More Actions button and from the drop-down select the "Edit Selected Expenses Integration Status" option:
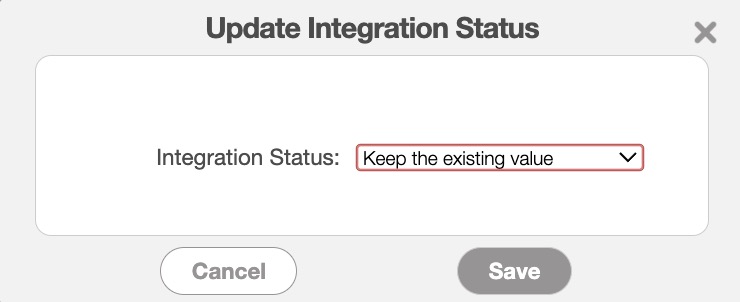
The Update Integration Status pop-up window will then appear. In this pop-up window, select the desired integration status from the drop-down and then click the Save button: