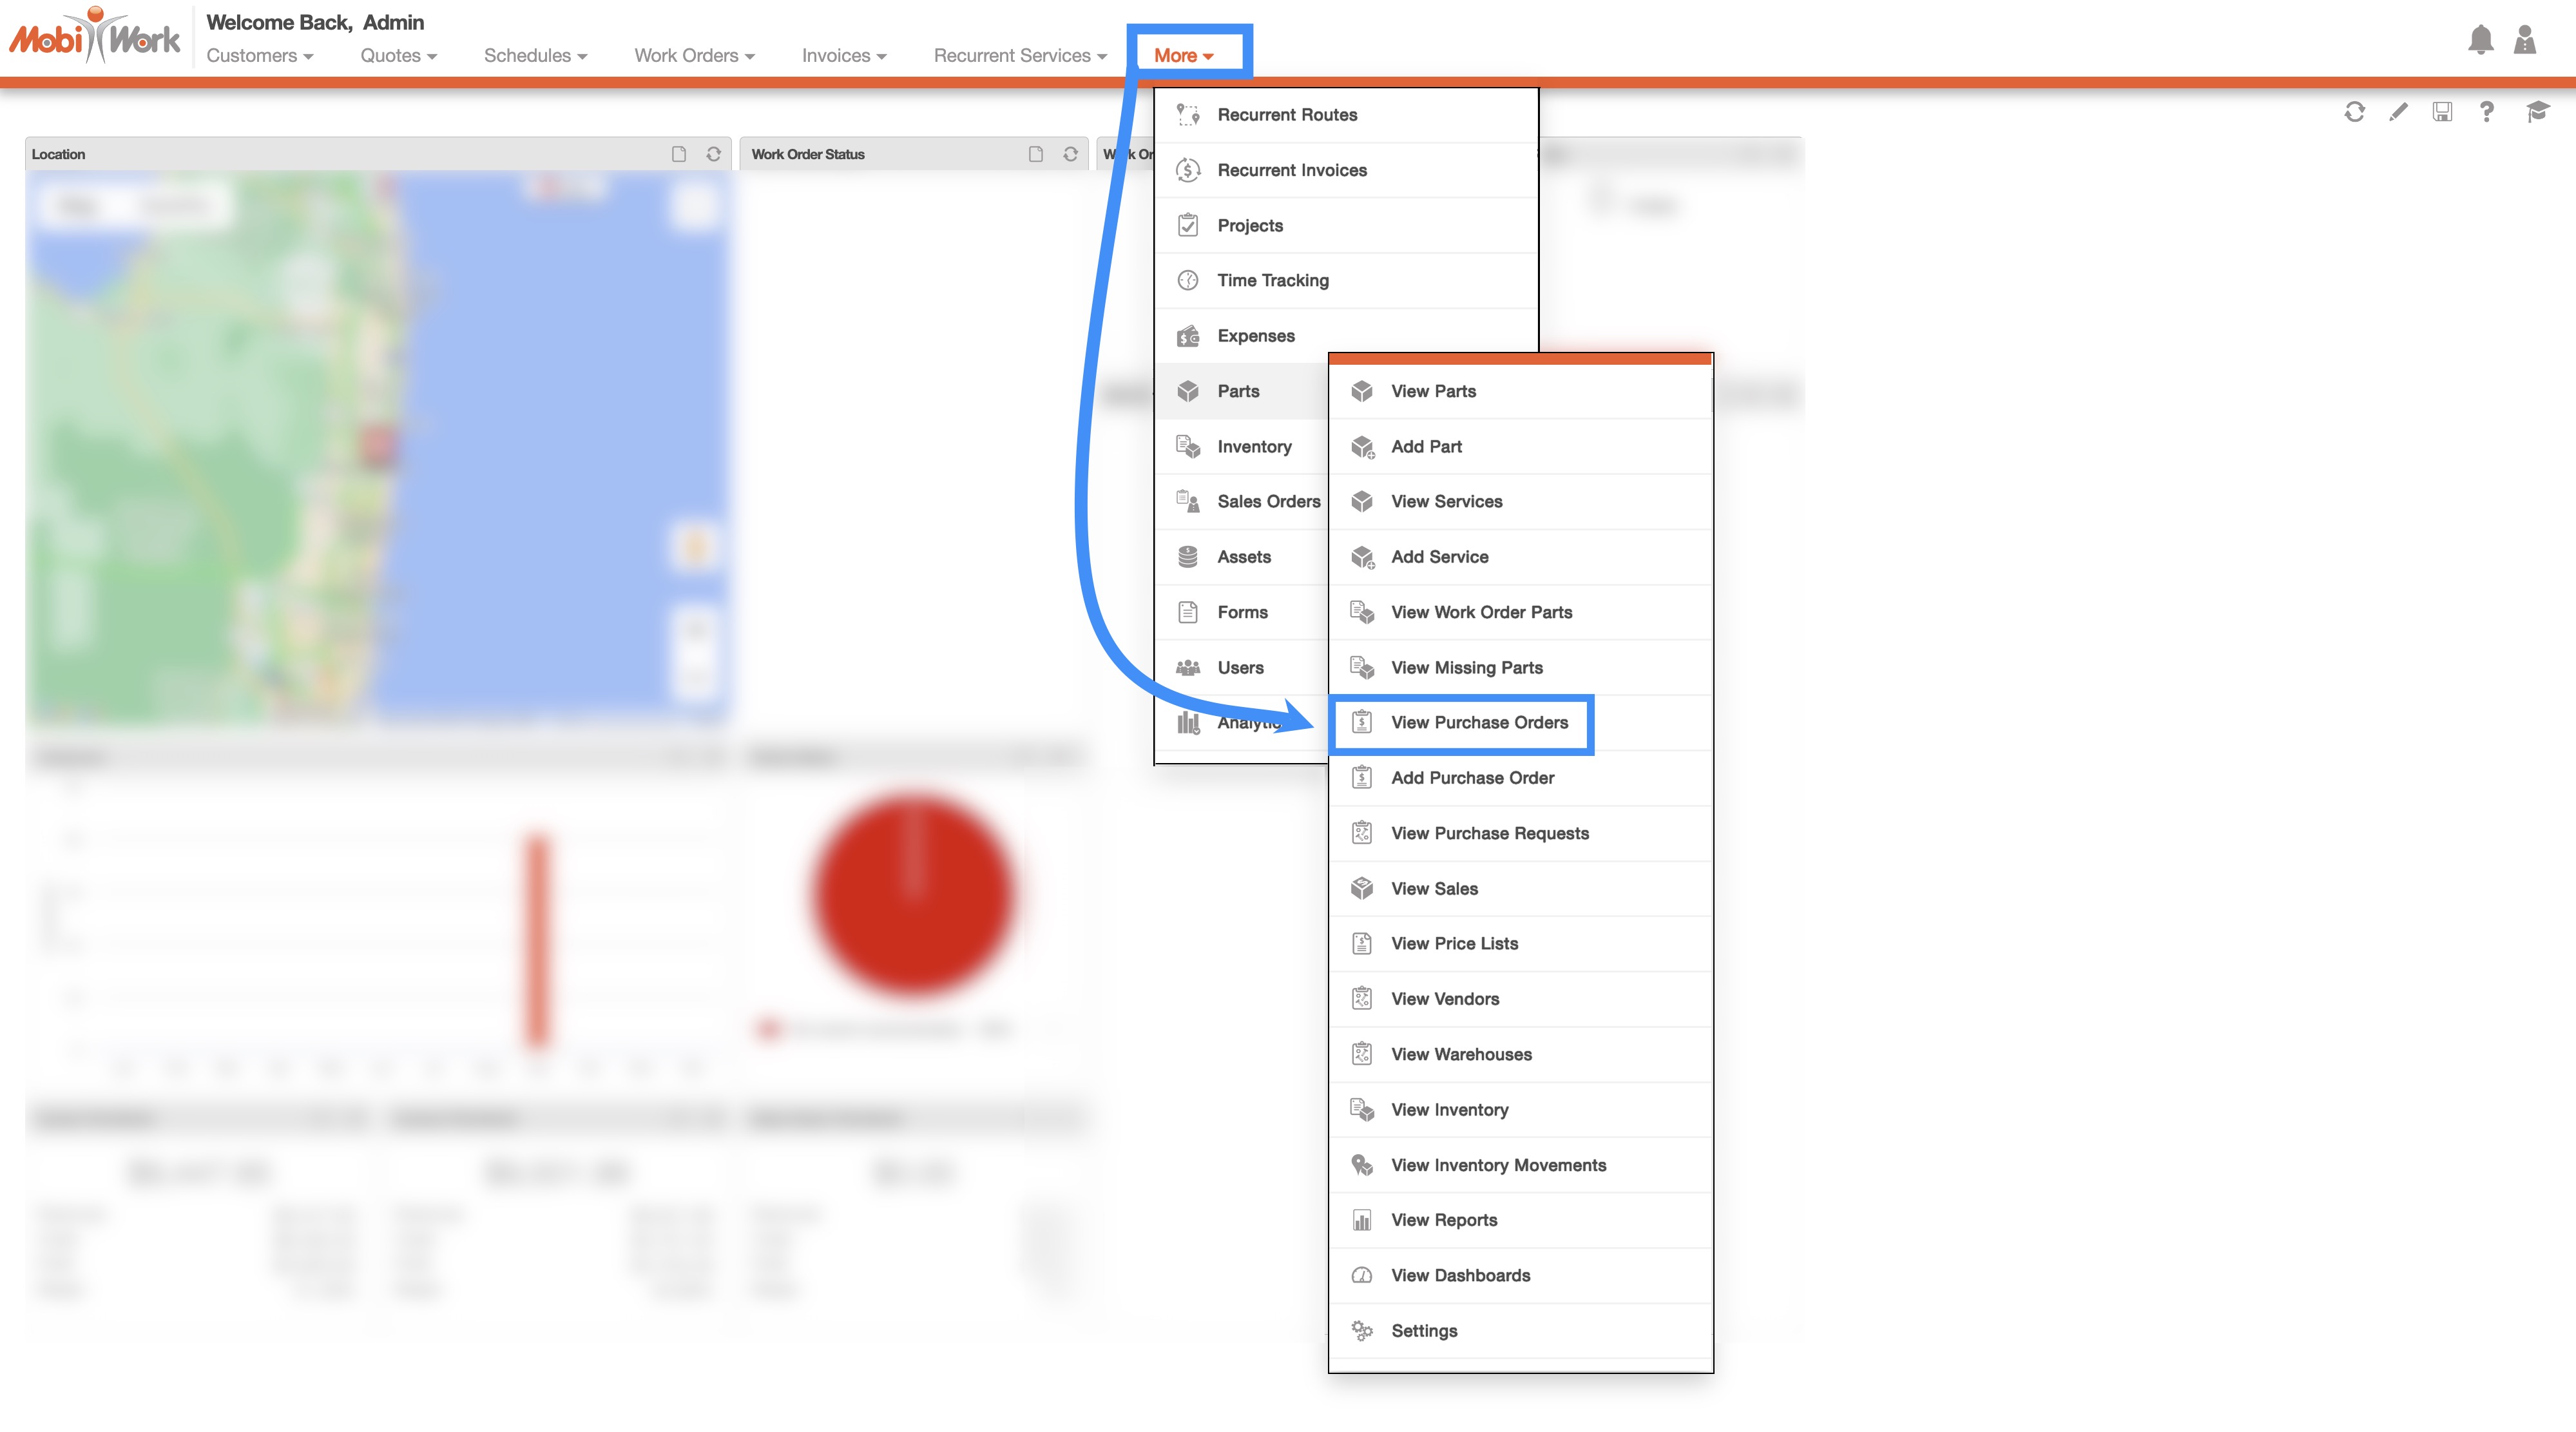
You can access the Purchase Orders feature page by hovering over the Parts feature from your MobiWork menu; from the drop-down that appears click on the "View Purchase Orders" option:
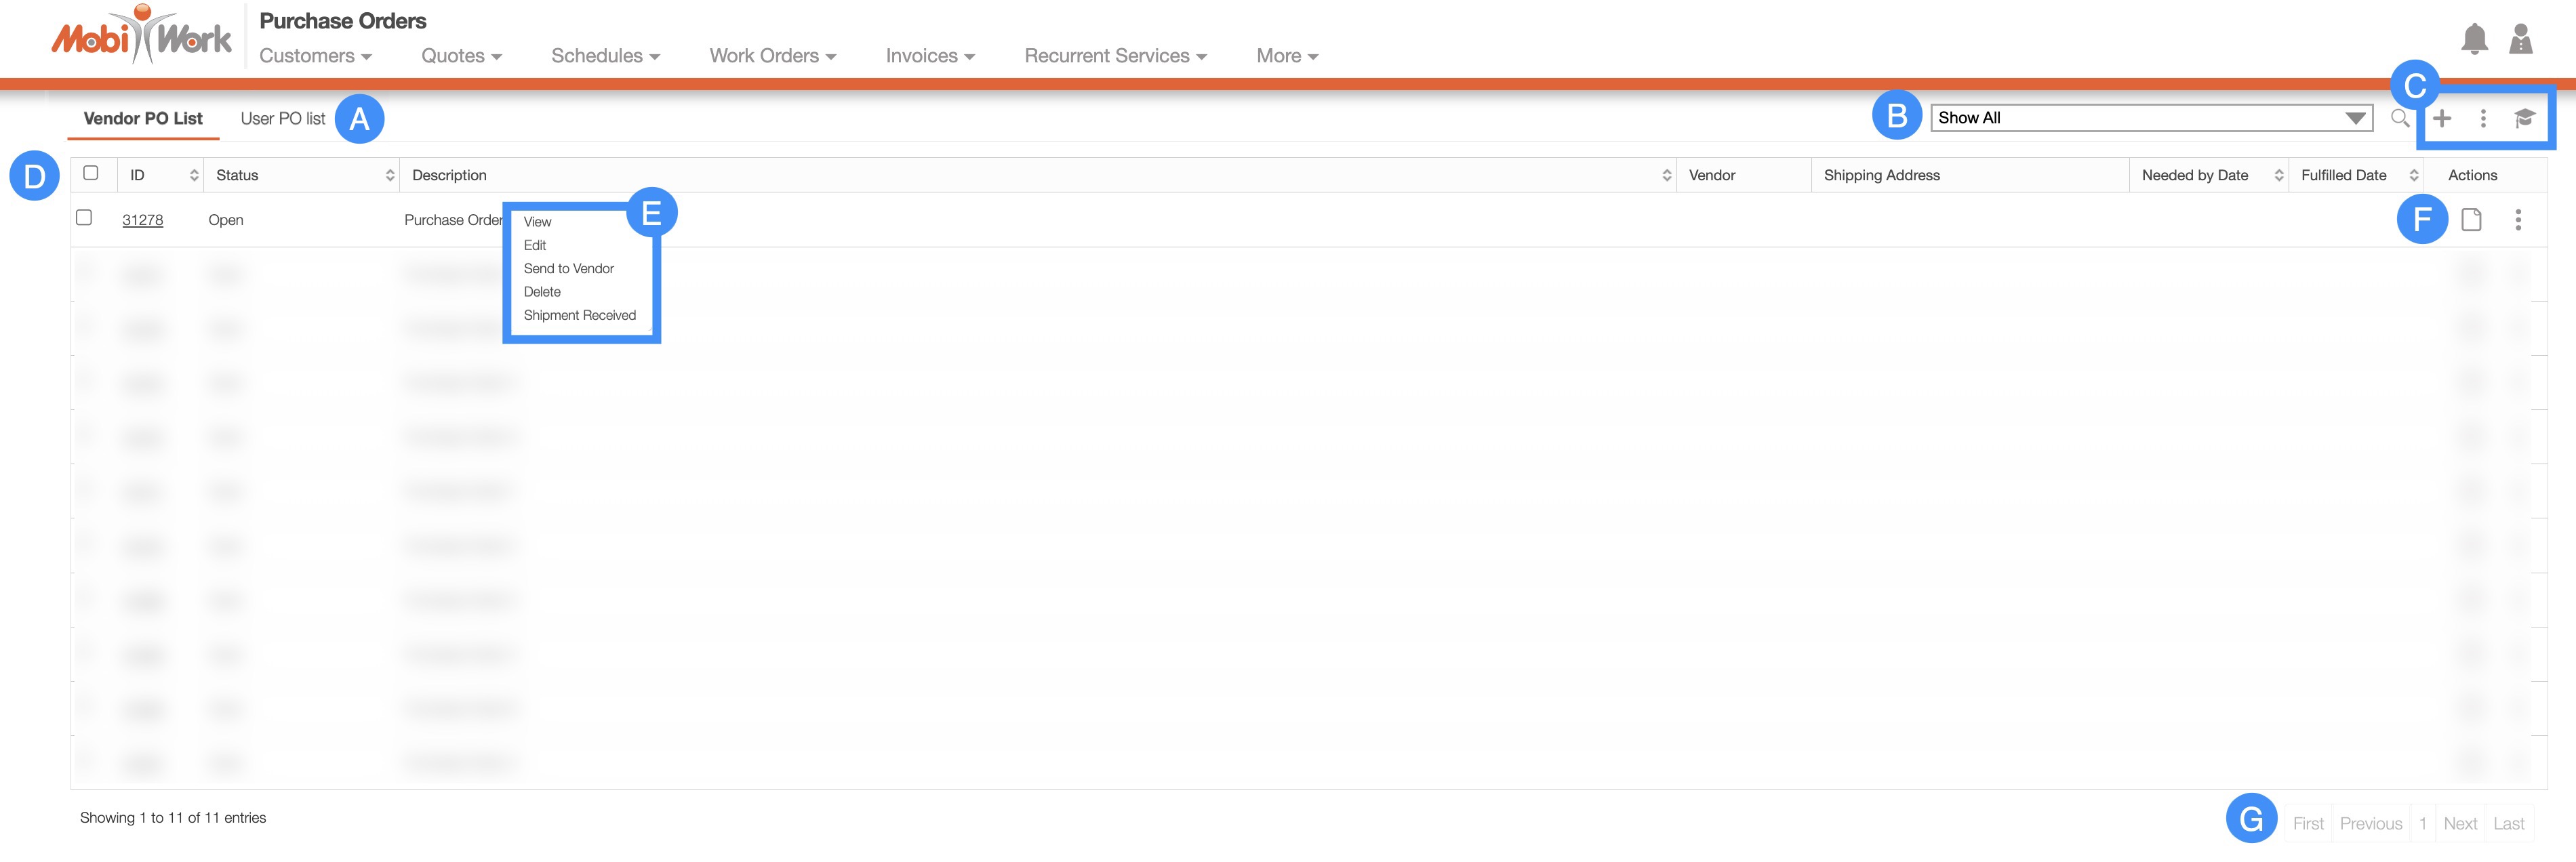
The "Vendor PO List" tab is the default tab you will be brought to once you access the Purchase Orders feature; from this page you can navigate to other tabs and see all your purchase order data summarized on one page.
Some features (e.g., the Search Area, Global Actions, etc.) can be found in all the tabs. Below is a list of the main features that are located on the "Vendor PO List" tab page:
MobiWork is committed to simplifying data management for your business, by offering a range of search options to streamline your workflow. From the free-text search, which allows you to enter specific search queries directly, to the ability to create your own saved searches for your everyday use, MobiWork has you covered. Furthermore, you can use the predefined saved searches that MobiWork already provides to locate a specific query or date range (e.g., created today).
These search functions are consistent across all MobiWork features, with the only differences being the predefined search data and the parameters for the new search. The following subsections will outline the various search features that are available to you.
Free-Text Search
You can type in the search bar (free-text search) to locate a specific work order. Once you click in the search bar, the search drop-down menu will automatically appear. You can use the search drop-down menu or continue typing your own search parameters:

When typing in the search bar, the drop-down menu will provide some helpful search criteria. With free-text search you will also be able to search by:
The name or description of the purchase order.
The purchase order ID.
If the number of purchase orders surpasses the number range, the subsequent number of purchase orders will be found on the next page:
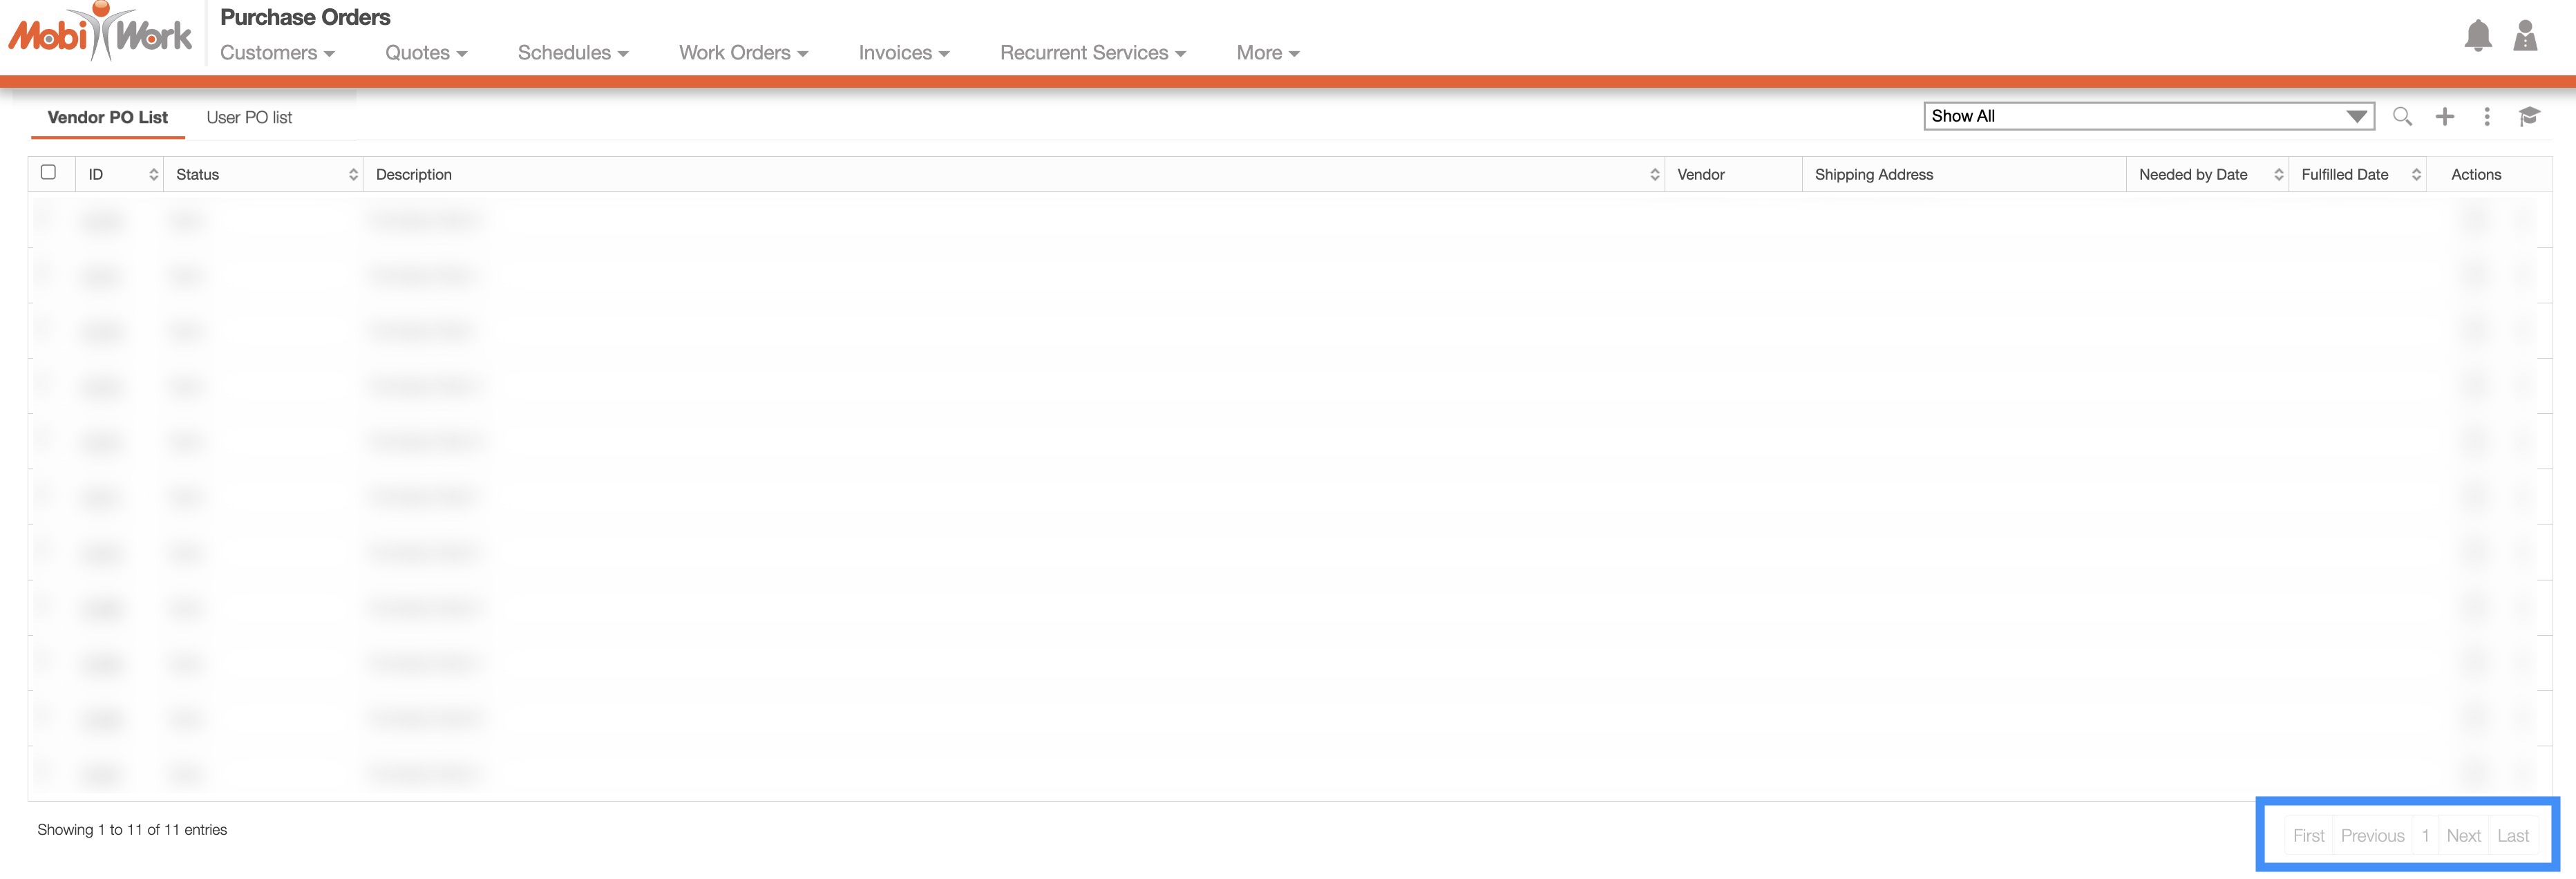
To navigate through these pages, use the First, Previous, Next, and Last buttons located towards the bottom of the Purchase Orders section.
Predefined Saved Searches
Saved searches are a powerful search tool where the search-criteria has been saved for future use; to access the saved searches drop-down, click in the search bar. The default saved search for Purchase Orders is the "Today" search.
These saved searches will appear in the drop-down menu and can also be used for dashboards and reports.
By default, MobiWork provides several saved searches for you to use, which are organized by status and date (e.g., Open, Yesterday, Last Year, etc.):
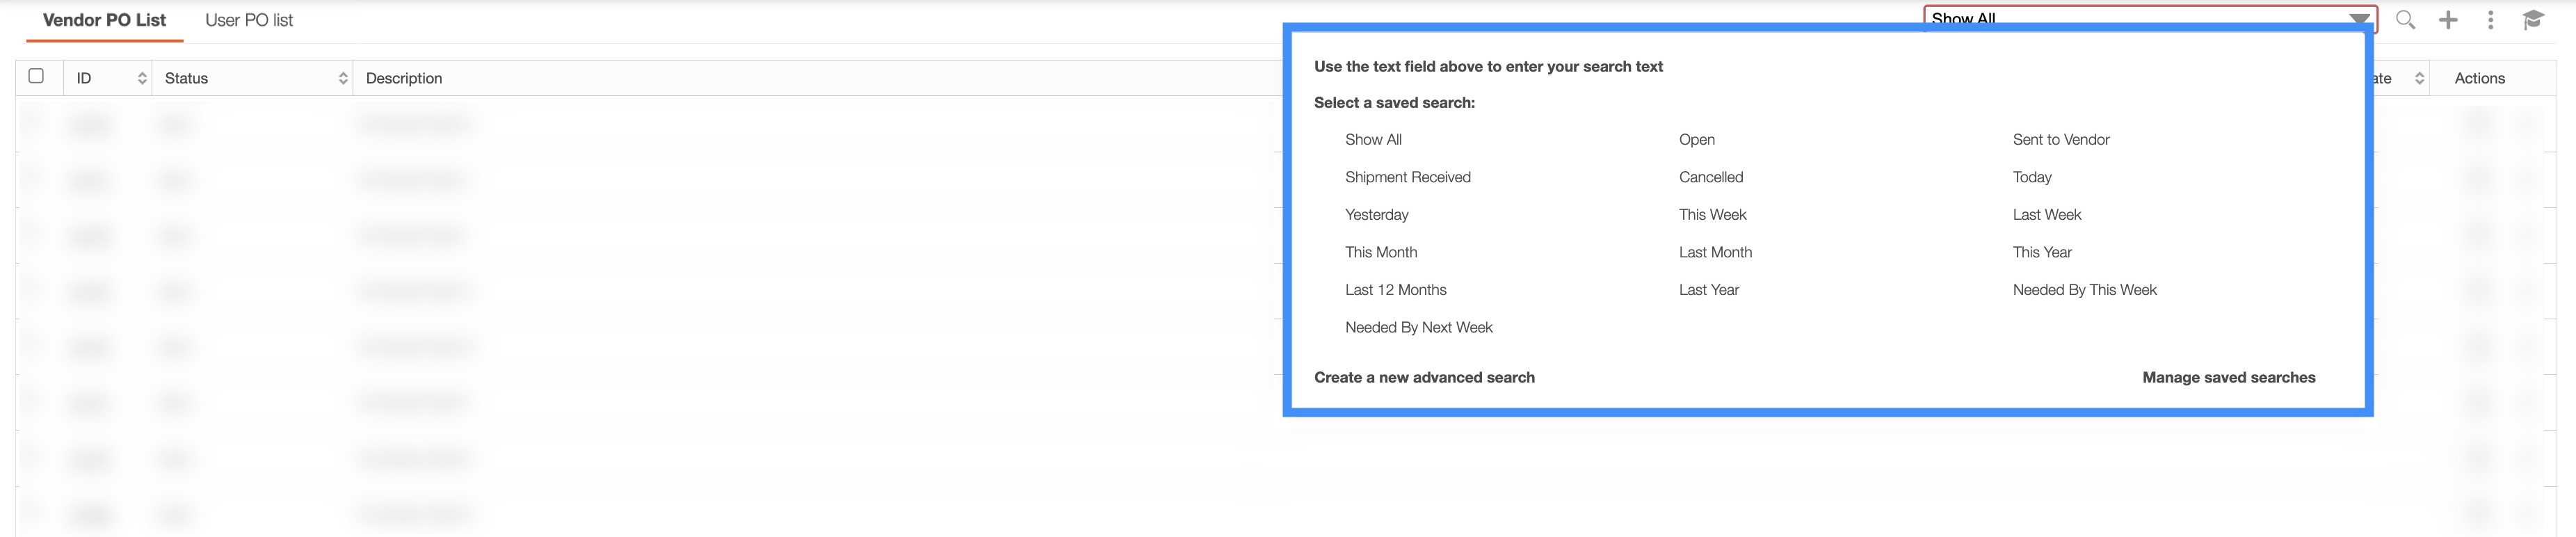
The list of statuses that can be used in predefined searches are below:
"Show All" Will display all purchase orders regardless of status.
"Shipment Received" Will display purchase orders where the requested parts or products have been delivered and received by your company.
"Yesterday" Will display the purchase orders that were created the day before.
"This Month" Will display the purchase orders that were created during the current month.
"Last 12 Months" Will display the purchase orders that were created during the last twelve months.
"Needed By Next Week" Will display purchase orders where the items are needed by the end of next week.
"Open" Will display purchase orders where the purchase order is active but has not yet been sent to the vendor for processing.
"Cancelled" Will display purchase orders where the purchase order has been canceled before the shipment was fulfilled or processed by the vendor.
"This Week" Will display the purchase orders that were created during the current week.
"Last Month" Will display the purchase orders that were created last month.
"Last Year" Will display the purchase orders that were created last year.
"Sent to Vendor" Will display purchase orders where the purchase order has been forwarded to the vendor for requisition and is awaiting fulfillment.
"Today" Will display the purchase orders that were created for the present day.
"Last Week" Will display the purchase orders that were created last week.
"This Year" Will display the purchase orders that were created during the year up until the current date.
"Needed By This Week" Will display purchase orders where the items are needed by the end of the current week.
You can access any of these saved searches by clicking on the "Search Area" and selecting your desired "Predefined Saved Search" from the drop-down menu.
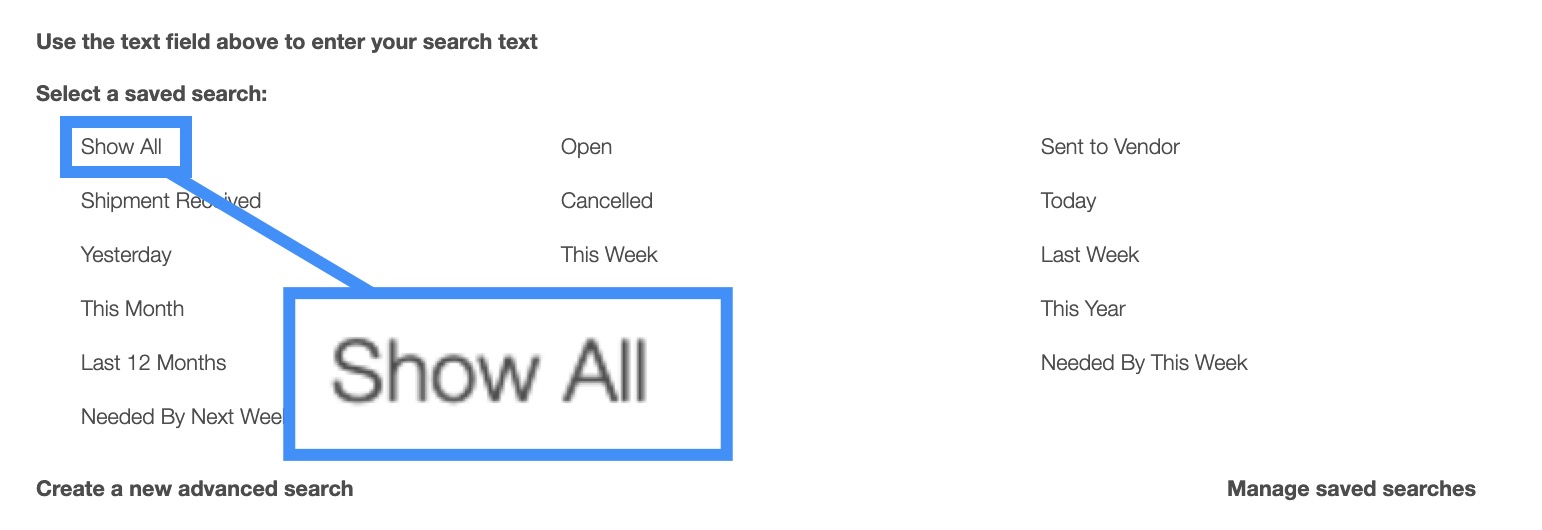
If you would like to view all your purchase orders, click on the "Show All" option from the drop-down menu:
Please note that once you name a new saved search, you will be unable to rename it (instead you would need to delete your saved search and create a new one).
New Search
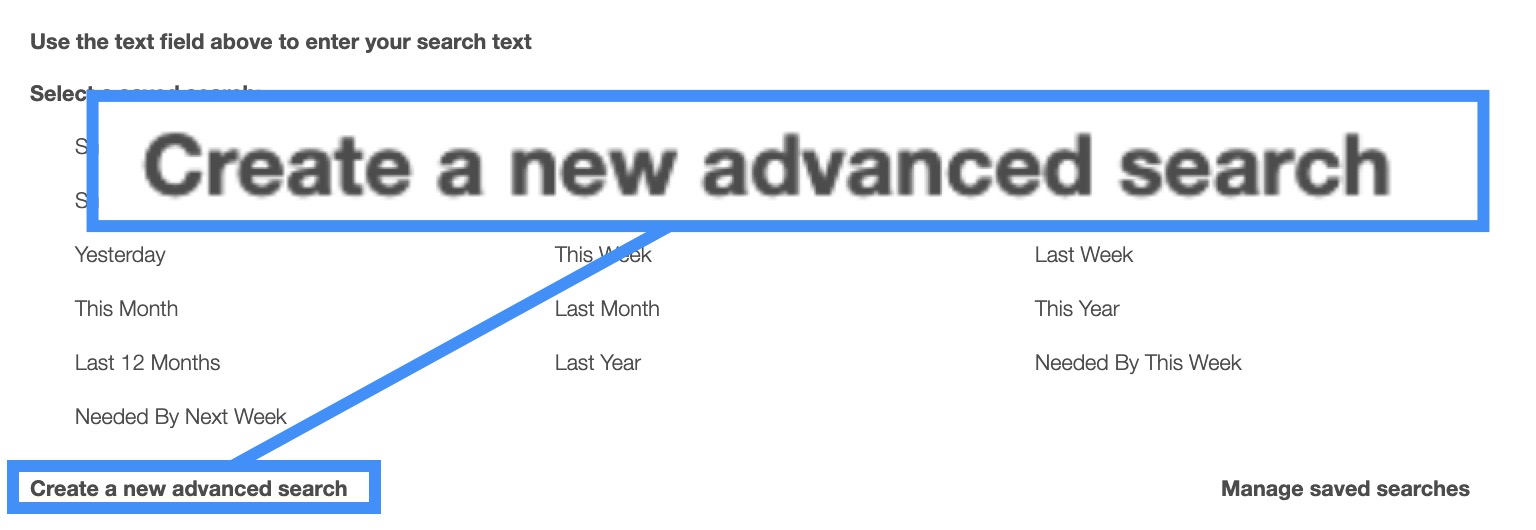
To create a new saved search, select the "Create a New Advanced Search" option from the drop-down menu:
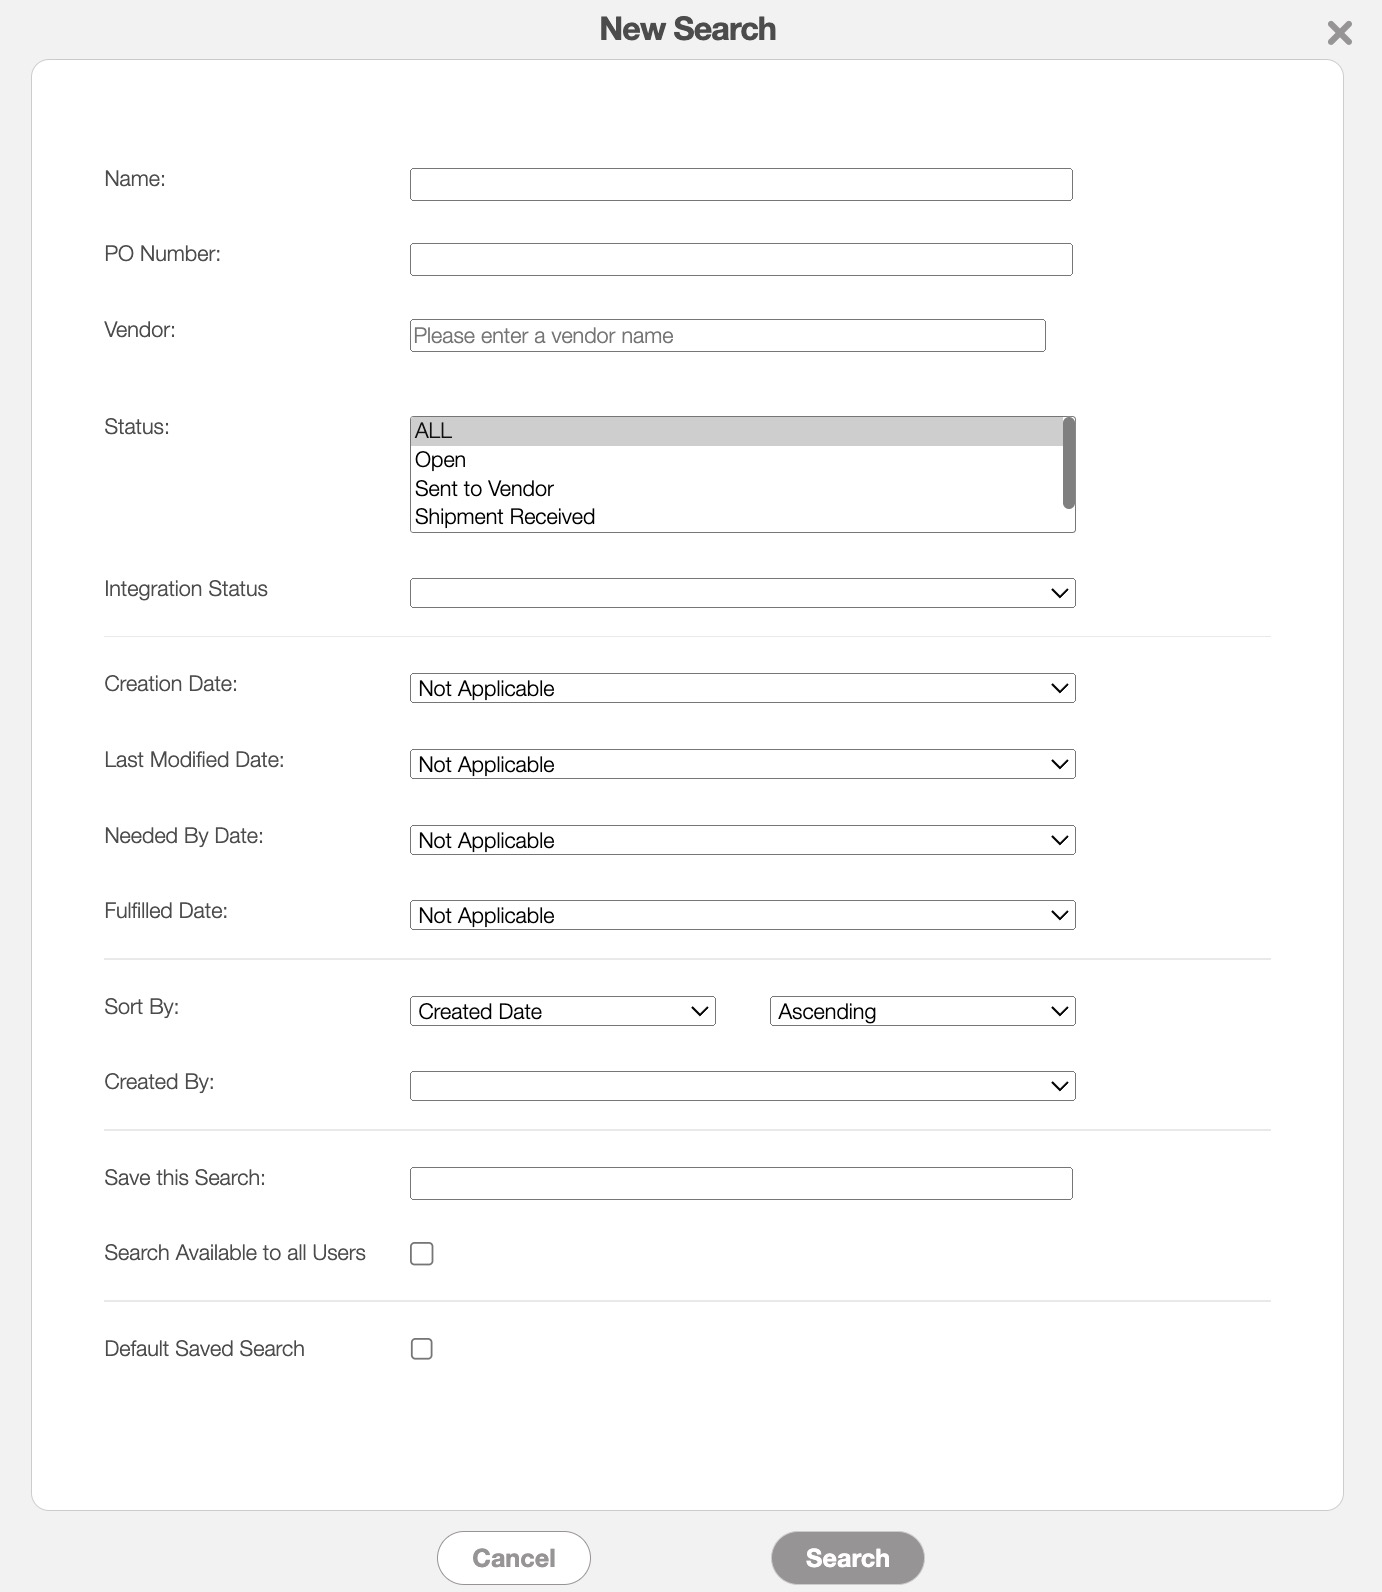
After clicking on "Create a New Advanced Search," a pop-up window will appear where you can enter your data in the appropriate fields. If you would like to exit from this pop-up window you can click on the esc button from your keyboard.
Once you have finished inputting the required information, you can save the search, make it available to all users, or make it your default search:
Please note that the data used to create a saved search can also serve as the basis for generating reports in MobiWork.
Further definitions for all the terms in the New Search pop-up window can be found below:
| Name: | Description: |
|---|---|
| "Name" | The title or description associated with the purchase order. |
| "PO Number" | The unique identification number assigned to the purchase order. |
| "Vendor" | The vendor responsible for fulfilling the purchase order. |
| "Status" | The status of the purchase order. The status can be "Open," "Sent to Vendor," "Shipment Received," or "Cancelled." |
| "Integration Status" | The status of integrating with a third-party software solution such as QuickBooks. Includes the options: Not Applicable, Not Ready for Integration, Integrated, Ready for Integration, and Not Integrated. |
| "Creation Date" | The date when the purchase order was initially created in the system. |
| "Last Modified Date" | The most recent date when the purchase order was updated. |
| "Needed By Date" | The required date by which the purchase order must be fulfilled. |
| "Fulfilled Date" | The date when the items requested in the purchase order were fully requisitioned. |
| "Sort By" | Sorts your search in ascending or descending order by: Created Date, ID, PO Number, Name, and Status. |
| "Created By" | Indicates the user who created the purchase order. |
| "Save This Search" | Allows the search to be available to all users. |
| "Search Available to all Users" | Allows the search parameters to be saved under a name to be reused in the future. |
| "Default Saved Search" | Makes the specified search the default saved search. |
Manage Saved Searches
After creating a saved search, you can adjust the search criteria (e.g., dates, tags, categories, etc.) to include more data or to be more selective in the data that is being searched.
Please note that the data used to create a saved search can also serve as the basis for generating reports in MobiWork.
Any new searches that are added can be managed or edited in the Manage Saved Searches pop-up window:
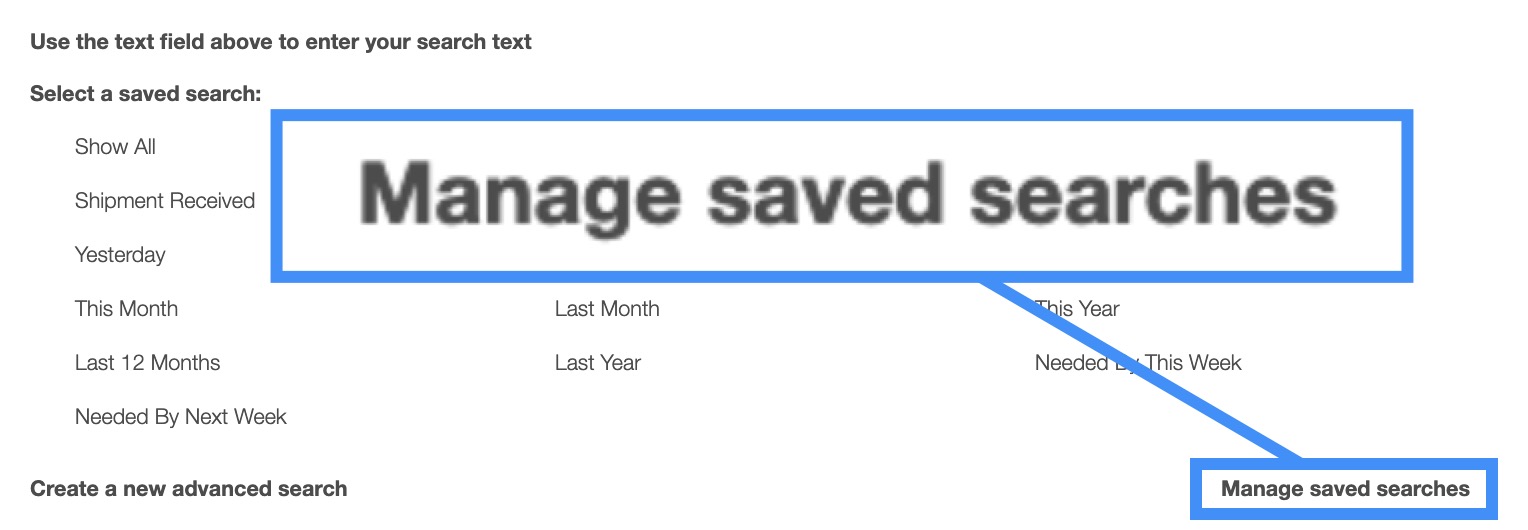
To manage, edit, or remove any Saved Searches you can access the "Manage Saved Searches" option in the drop-down menu; the Manage Saved Searches pop-up window will then appear:
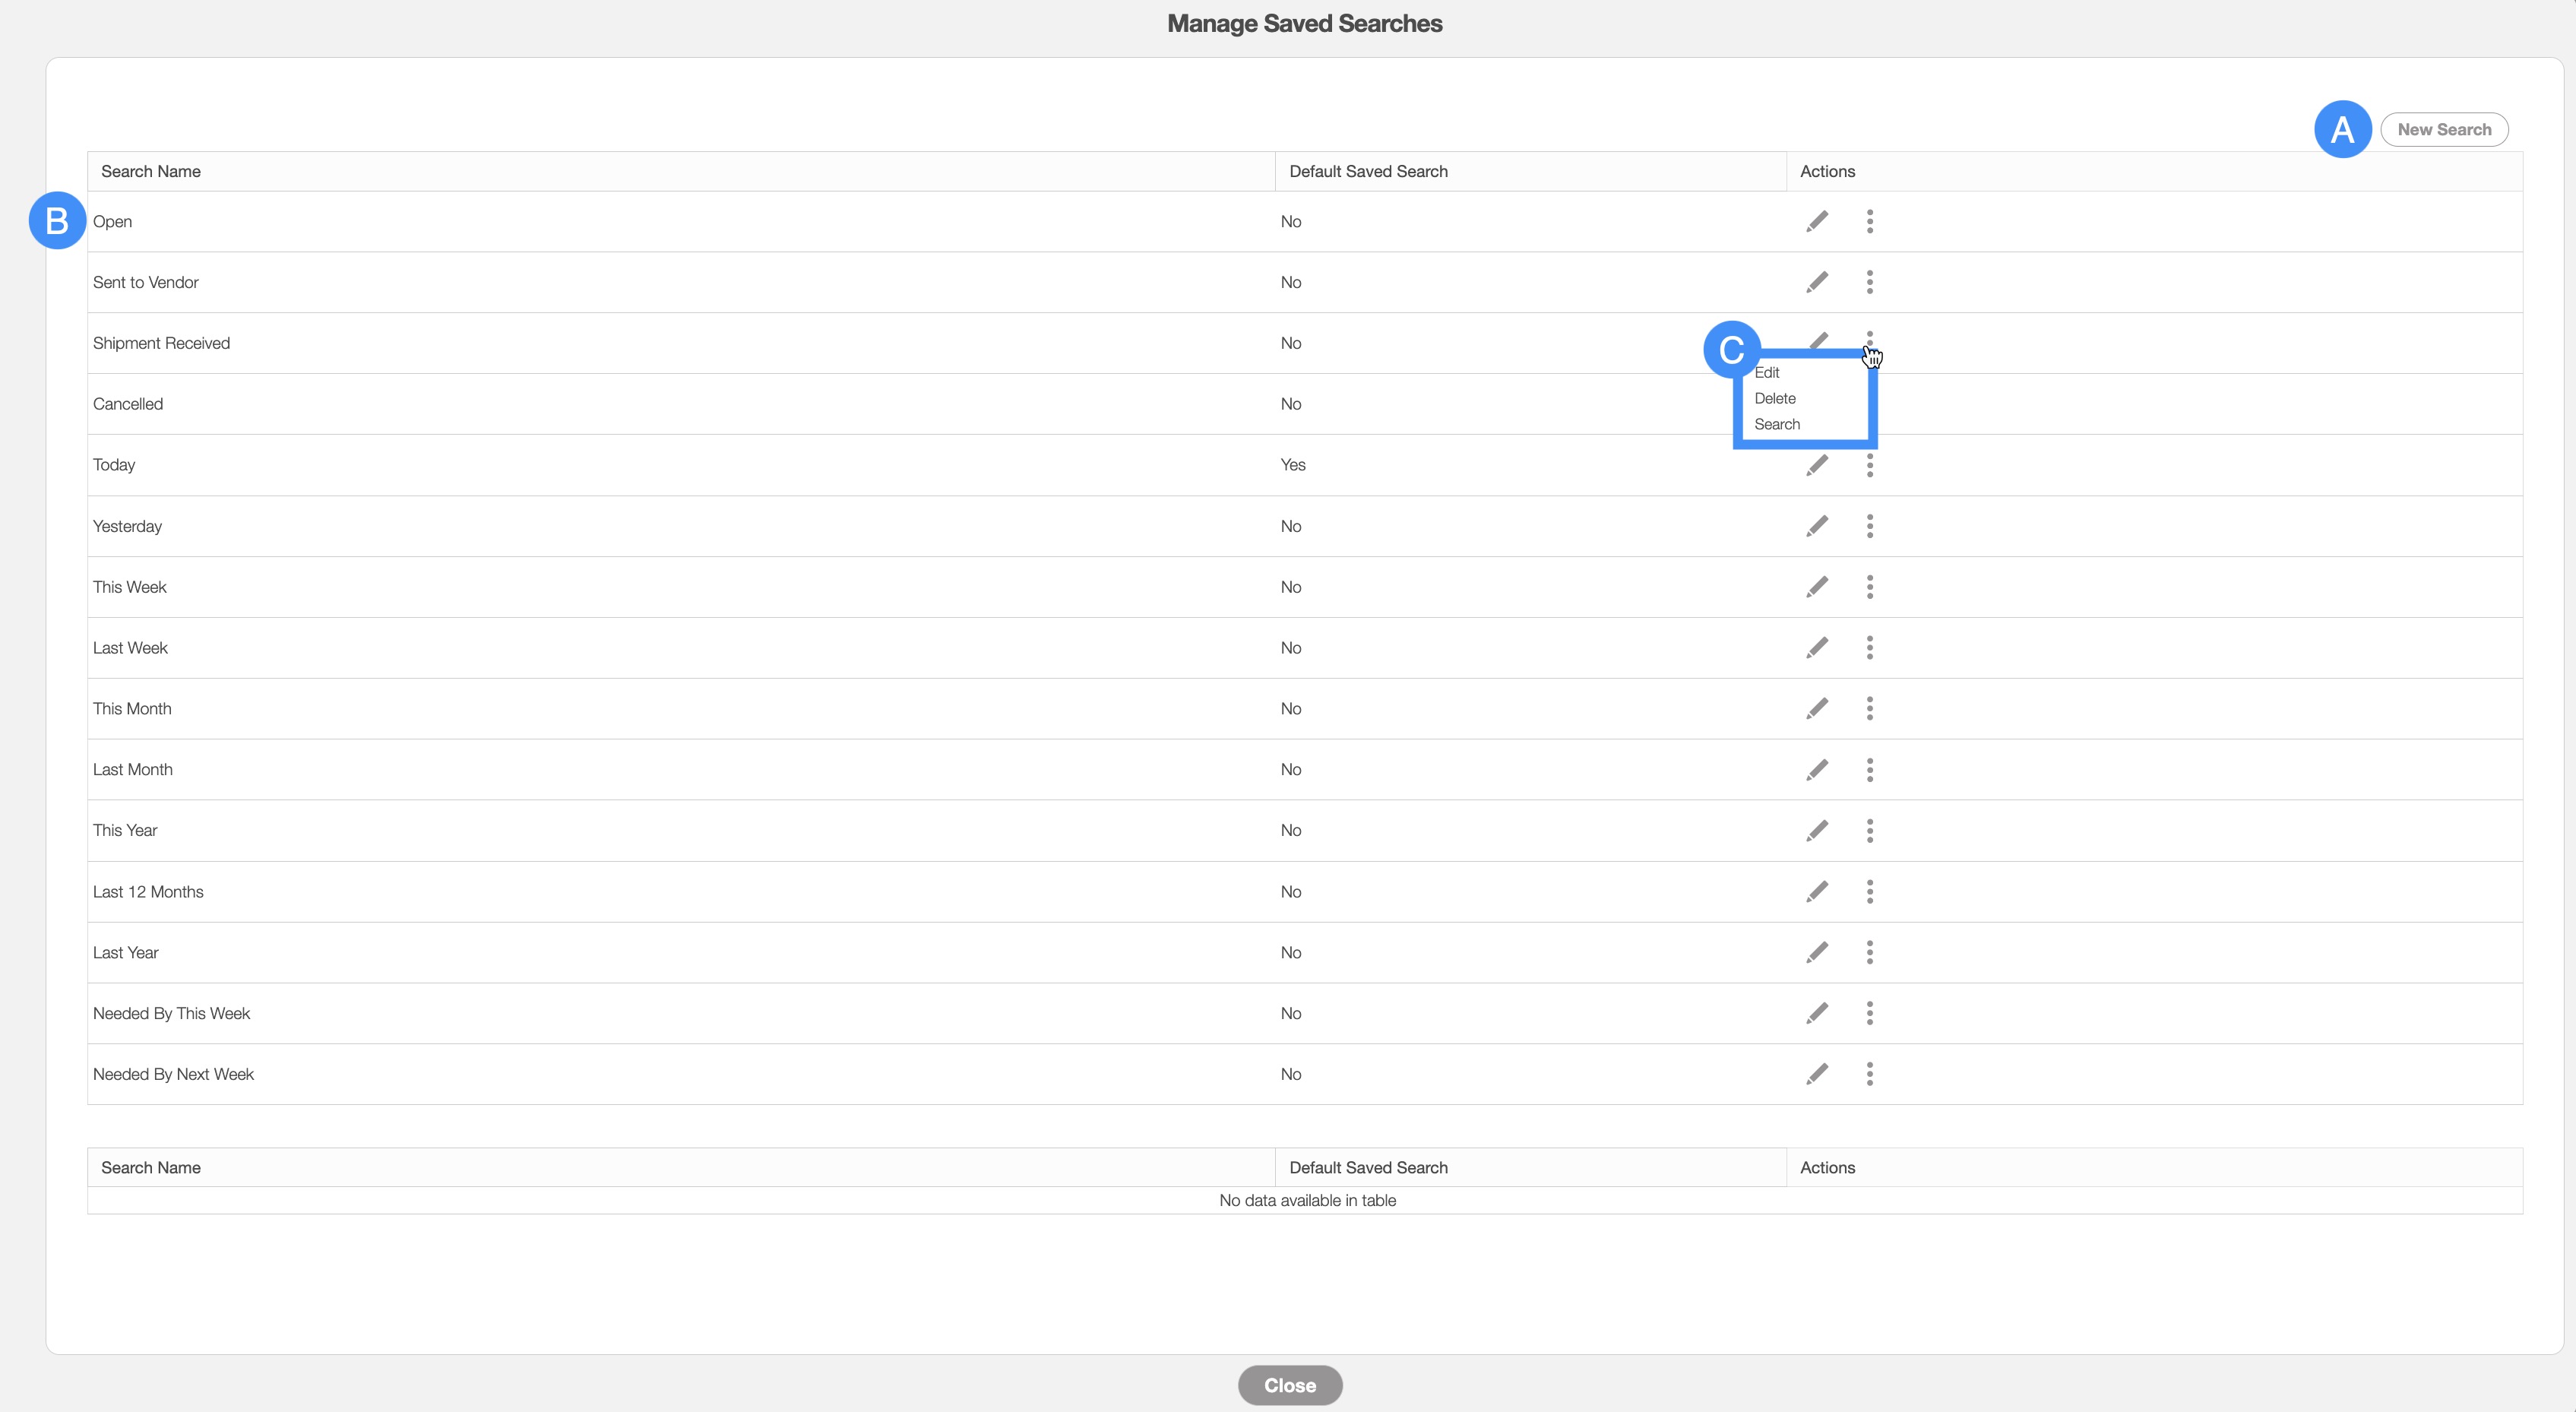
You can add a new saved search by clicking the New Search button in the top right of the pop-up window.
You can rearrange the order of the saved searches by clicking, then dragging & dropping the selected Search.
You can edit or delete a selected saved search by using the drop-down menu under the "Actions" column.
If you would like to easily close this pop-up window, you can click on the esc button from your keyboard.
The "Global Actions" section is located at the top-right of your Purchase Orders feature page; regardless of the tab that you are on, the "Global Actions" will remain in the top-right corner:
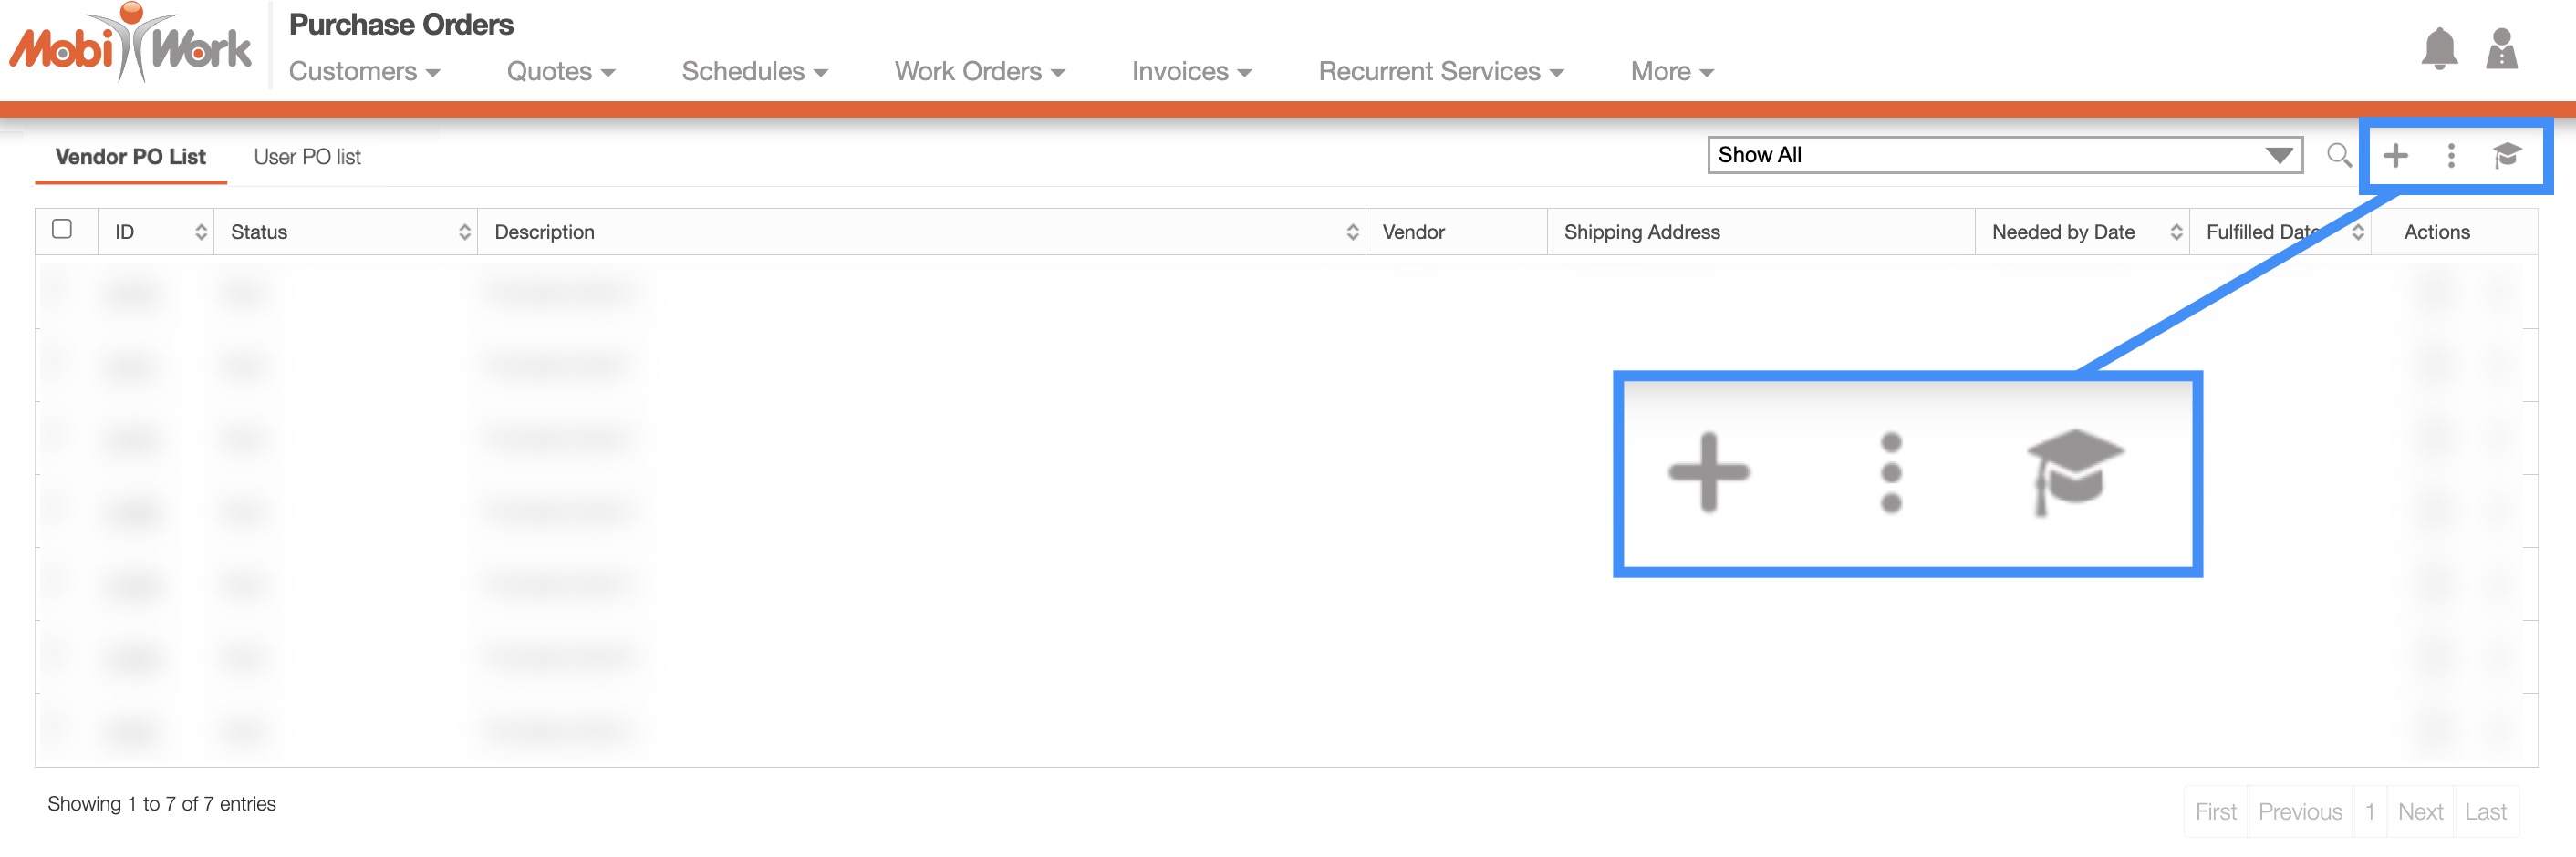
The "Global Actions" section includes:
The Plus Sign button which will allow you to quickly add a new work order.
The More Actions button (represented by the three vertical dots) which will allow you to edit selected purchase orders or import/export the purchase orders to and from Excel.
The Graduation Cap which will activate the Onboarding Assistant.
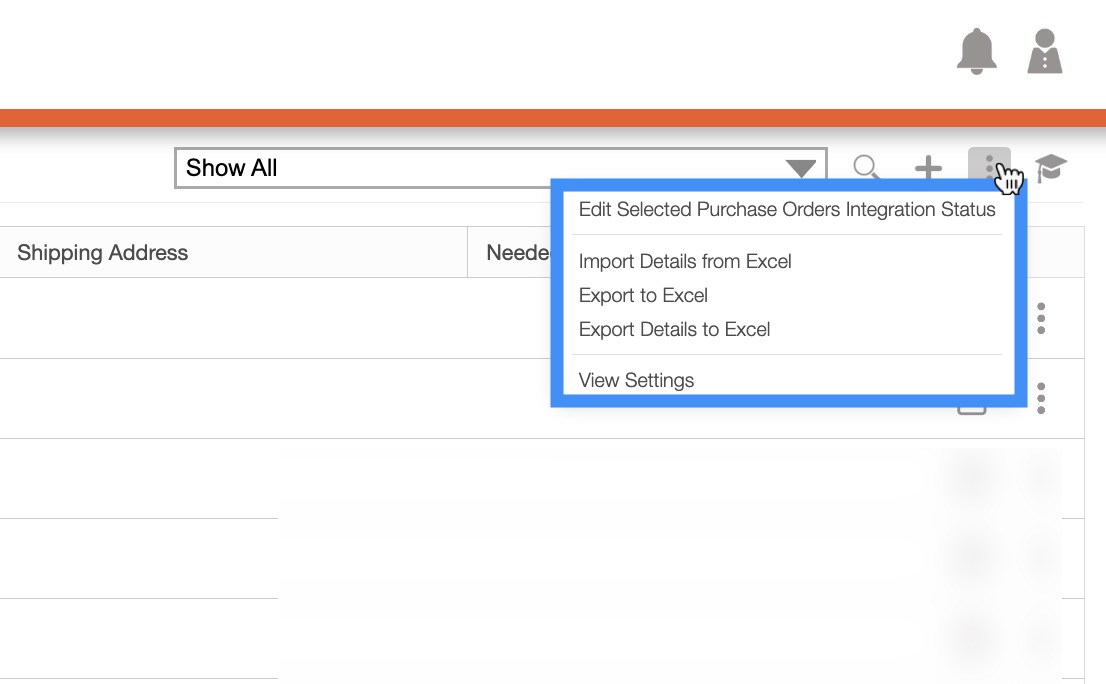
After clicking on the vertical three dots in the top-right corner, the More Actions drop-down menu will appear.
From the More Actions drop-down menu, you can select various actions that will help to manage your purchase orders, such as editing multiple purchase orders, and exporting/importing purchase orders.
These actions can be performed on a single purchase order or on multiple purchase orders.
The complete list of actions found in the More Actions drop-down menu are defined below:
| Name: | Description: |
|---|---|
| "Edit Selected Purchase Orders Integration Status" | Edits the integration status of the selected purchase orders; this is the status of the purchase order integrating with a third-party software solution such as QuickBooks. Includes the options: Not Applicable, Not Ready for Integration, Integrated, Ready for Integration, and Not Integrated. |
| "Import Details From Excel" | Imports the purchase order details from Excel. |
| "Export to Excel" | Exports the purchase order to Excel. |
| "Export Details to Excel" | Exports the purchase order details to Excel. |
| "View Settings" | Directs you to the Purchase Orders Settings page. |
The "Vendor PO List" tab will display your purchase orders' ID, the status of the purchase order, the vendor, and more:
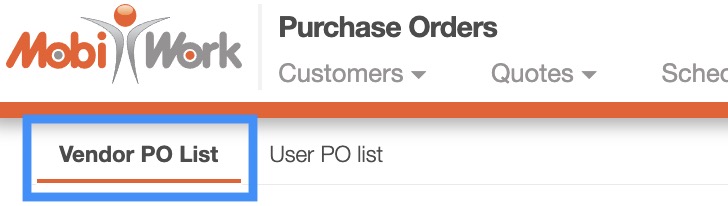
The "Vendor PO List" tab is the default view when you click on the Purchase Orders feature. The purchase orders in this tab display those issued to external vendors or suppliers. You can indicate if the purchase order is meant for a vendor when adding a new purchase order and selecting the "Vendor PO" type in the "PO Type" field.
Vendor PO List Tab Columns
In the "Vendor PO List" tab, the columns are structured to display specific data related to each individual purchase order.
These columns are organized as: "ID," "Status," "Description," "Vendor," "Shipping Address," "Needed by Date," "Fulfilled Date," and "Actions:"

The corresponding rows under the column headings will display the relevant purchase order data.
The checkboxes (multiple selection area) found to the left of the "ID" column, will allow you to select either one or multiple purchase orders to view, edit, remove, etc.:

By clicking the topmost checkbox in the column heading you will select all the purchase orders.
The "Vendor PO List" tab column headings are defined as:
| Name: | Description: |
|---|---|
| "ID" | The unique identification number assigned to the purchase order. |
| "Status" | The status of the purchase order. The status can be "Open," "Sent to Vendor," "Shipment Received," or "Cancelled." |
| "Description" | The title or description associated with the purchase order. |
| "Vendor" | The vendor responsible for fulfilling the purchase order. |
| "Shipping Address" | The destination address where the ordered parts or products are to be delivered (this can include your warehouse or the customer's address). |
| "Needed By Date" | The required date by which the purchase order must be fulfilled. |
| "Fulfilled Date" | The date when the items requested in the purchase order were fully requisitioned. |
| "Actions" | The View icon and the Individual Actions button can be found here; these buttons will allow you to perform actions on a purchase order. |
Vendor PO List Tab Individual Actions
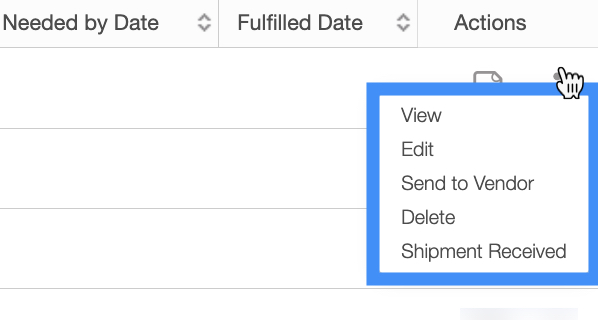
When selecting a purchase order and clicking on the Individual Actions button (the three vertical dots under the "Actions" column) you will be able to view, edit, and more to the selected purchase order.
Any actions that are done with the Individual Actions button will only apply to the selected purchase order:
The View icon found under the "Actions" column will allow you to quickly access the View Purchase Order pop-up window of the selected purchase order:
![]()
The options that are displayed when you select the Individual Actions button are also available under the right-click actions.
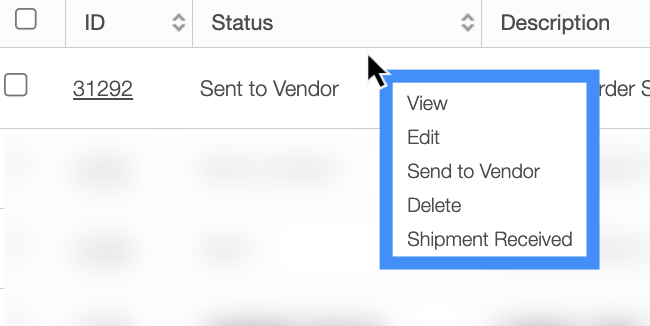
Vendor PO List Tab Right-Click Actions
When right-clicking with your mouse on a purchase order in the "Vendor PO List" tab, you will be able to view, edit, and more to the selected purchase order.
The options that are displayed when you right-click on a purchase order, are also available when you select the Individual Actions button.
Any actions that are done with the right-click actions will only apply to the selected purchase order:
The definitions for the actions found in the Individual Actions button and when you right-click in the "Vendor PO List" tab are below:
| Name: | Description: |
|---|---|
| "View" | Opens the View Purchase Order pop-up window, allowing you to review the details of the selected purchase order. |
| "Edit" | Enables you to modify the selected purchase order. |
| "Send to Vendor" | Sends the purchase order to the designated vendor for processing. |
| "Delete" | Removes the selected purchase order from the system. |
| "Shipment Received" | Confirms that your company has received the parts or products associated with the purchase order. |
The "User PO List" tab will display your purchase orders' ID, the status of the purchase order, the user, and more:
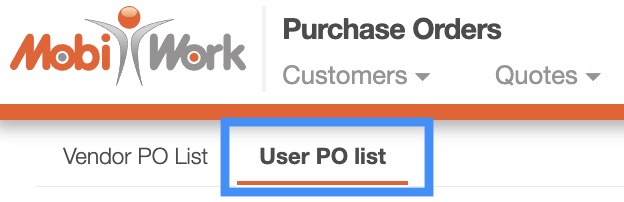
The purchase orders in this tab display those issued to users; you can indicate if the purchase order is meant for a user when adding a new purchase order and selecting the "User PO" type in the "PO Type" field.
User PO List Layout
The image below will illustrate the layout of the "User PO List" tab and the functions that you can perform on this tab:
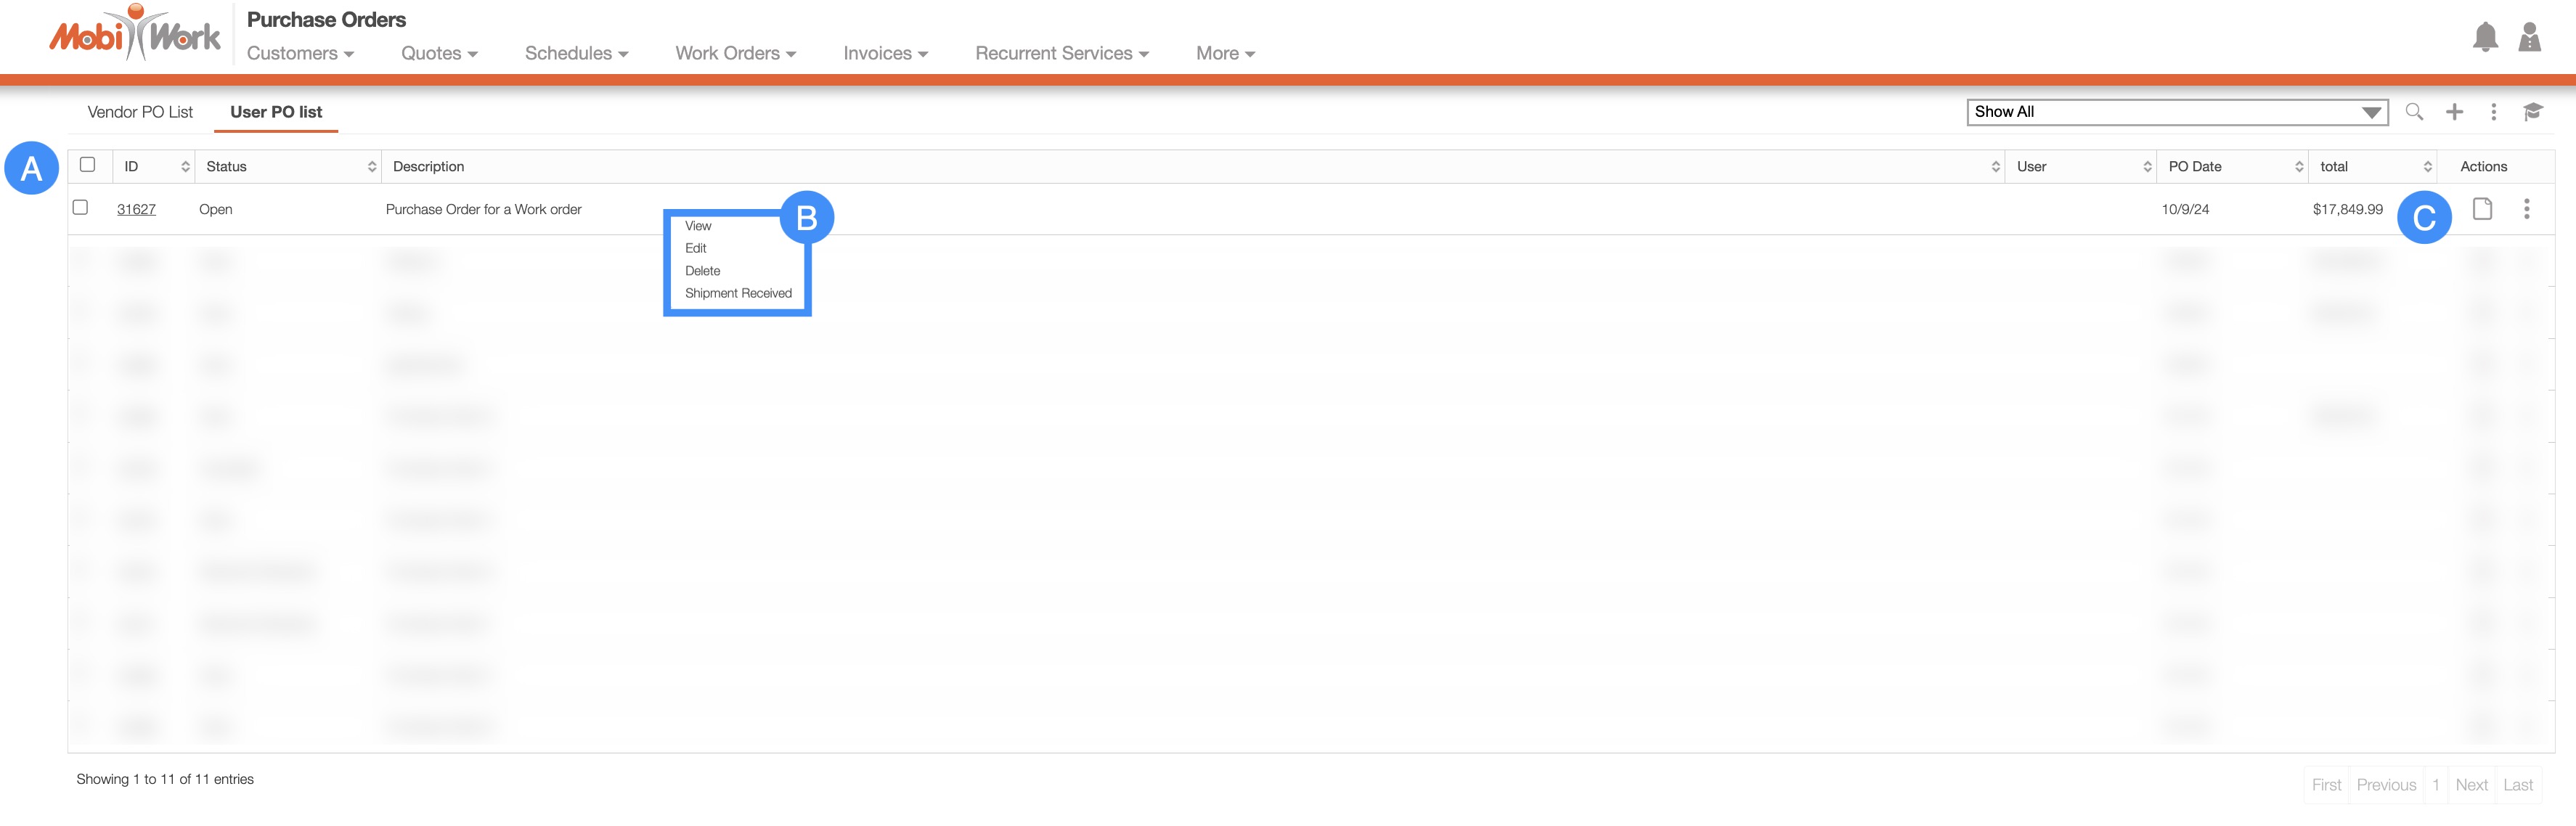
User PO List Tab Columns
In the "User PO List" tab, the columns are structured to display specific data related to each individual purchase order.
These columns are organized as: "ID," "Status," "Description," "User," "PO Date," "Total," and "Actions:"

The corresponding rows under the column headings will display the relevant purchase order data.
The checkboxes (multiple selection area) found to the left of the "ID" column, will allow you to select either one or multiple purchase orders to view, edit, remove, etc.:
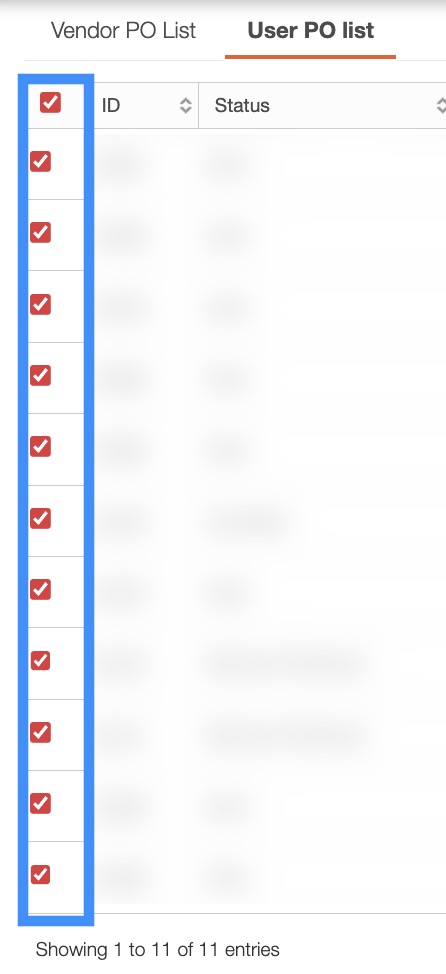
By clicking the topmost checkbox in the column heading you will select all the purchase orders.
The "User PO List" tab column headings are defined as:
| Name: | Description: |
|---|---|
| "ID" | The unique identification number assigned to the purchase order. |
| "Status" | The status of the purchase order. The status can be "Open," "Sent to Vendor," "Shipment Received," or "Cancelled." |
| "Description" | The title or description associated with the purchase order. |
| "User" | The individual responsible for creating the purchase order. |
| "PO Date" | The date when the purchase order was initially generated. |
| "Total" | The overall monetary value of the purchase order, including all items and applicable taxes or fees. |
| "Actions" | The View icon and the Individual Actions button can be found here; these buttons will allow you to perform actions on a purchase order. |
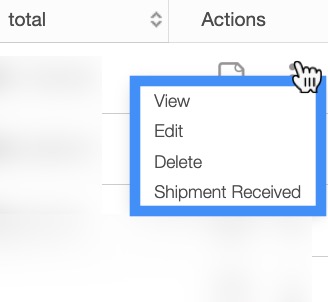
User PO List Tab Individual Actions
When selecting a purchase order and clicking on the Individual Actions button (the three vertical dots under the "Actions" column) you will be able to view, edit, and more to the selected purchase order.
Any actions that are done with the Individual Actions button will only apply to the selected purchase order:
The View icon found under the "Actions" column will allow you to quickly access the View Purchase Order pop-up window of the selected purchase order:
![]()
The options that are displayed when you select the Individual Actions button are also available under the right-click actions.
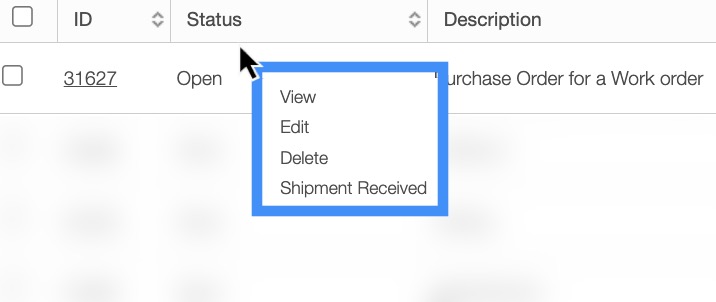
User PO List Tab Right-Click Actions
When right-clicking with your mouse on a purchase order in the "User PO List" tab, you will be able to view, edit, and more to the selected purchase order.
The options that are displayed when you right-click on a purchase order, are also available when you select the Individual Actions button.
Any actions that are done with the right-click actions will only apply to the selected purchase order:
The definitions for the actions found in the Individual Actions button and when you right-click in the "User PO List" tab are below:
| Name: | Description: |
|---|---|
| "View" | Opens the View Purchase Order pop-up window, allowing you to review the details of the selected purchase order. |
| "Edit" | Enables you to modify the selected purchase order. |
| "Delete" | Removes the selected purchase order from the system. |
| "Shipment Received" | Confirms that your company has received the parts or products associated with the purchase order. |