- Overview
- Account Settings
- Assets
- Connectors Framework
- Overview
- QuickBooks Online
- QuickBooks Desktop Web Connector
- Azure AD
- Salesforce Integration
- FleetNet Connector
- Avalara Connector
- Inbound REST API
- Outbound REST API
- Mailchimp Connector
- Text Messaging Connector
- Clearent Connector
- Stripe Connector
- HubSpot Connector
- UKG Connector
- Paylocity Connector
- UKG Connector
- Gusto Connector
- iSolved Payroll Connector
- Customer Portal
- Customers
- Dashboards
- Devices
- Dispatching
- Forms
- Inventory
- Invoices & Billing
- Locations
- Payments
- Parts
- Projects
- Quotes
- Recurrent Routes
- Recurrent Services
- Reports
- Sales Orders
- Schedule
- Services
- Tasks
- Text Messaging
- Time Tracking
- Users
- Work Orders
Learn how to setup the Avalara Connector within your MobiWork account.
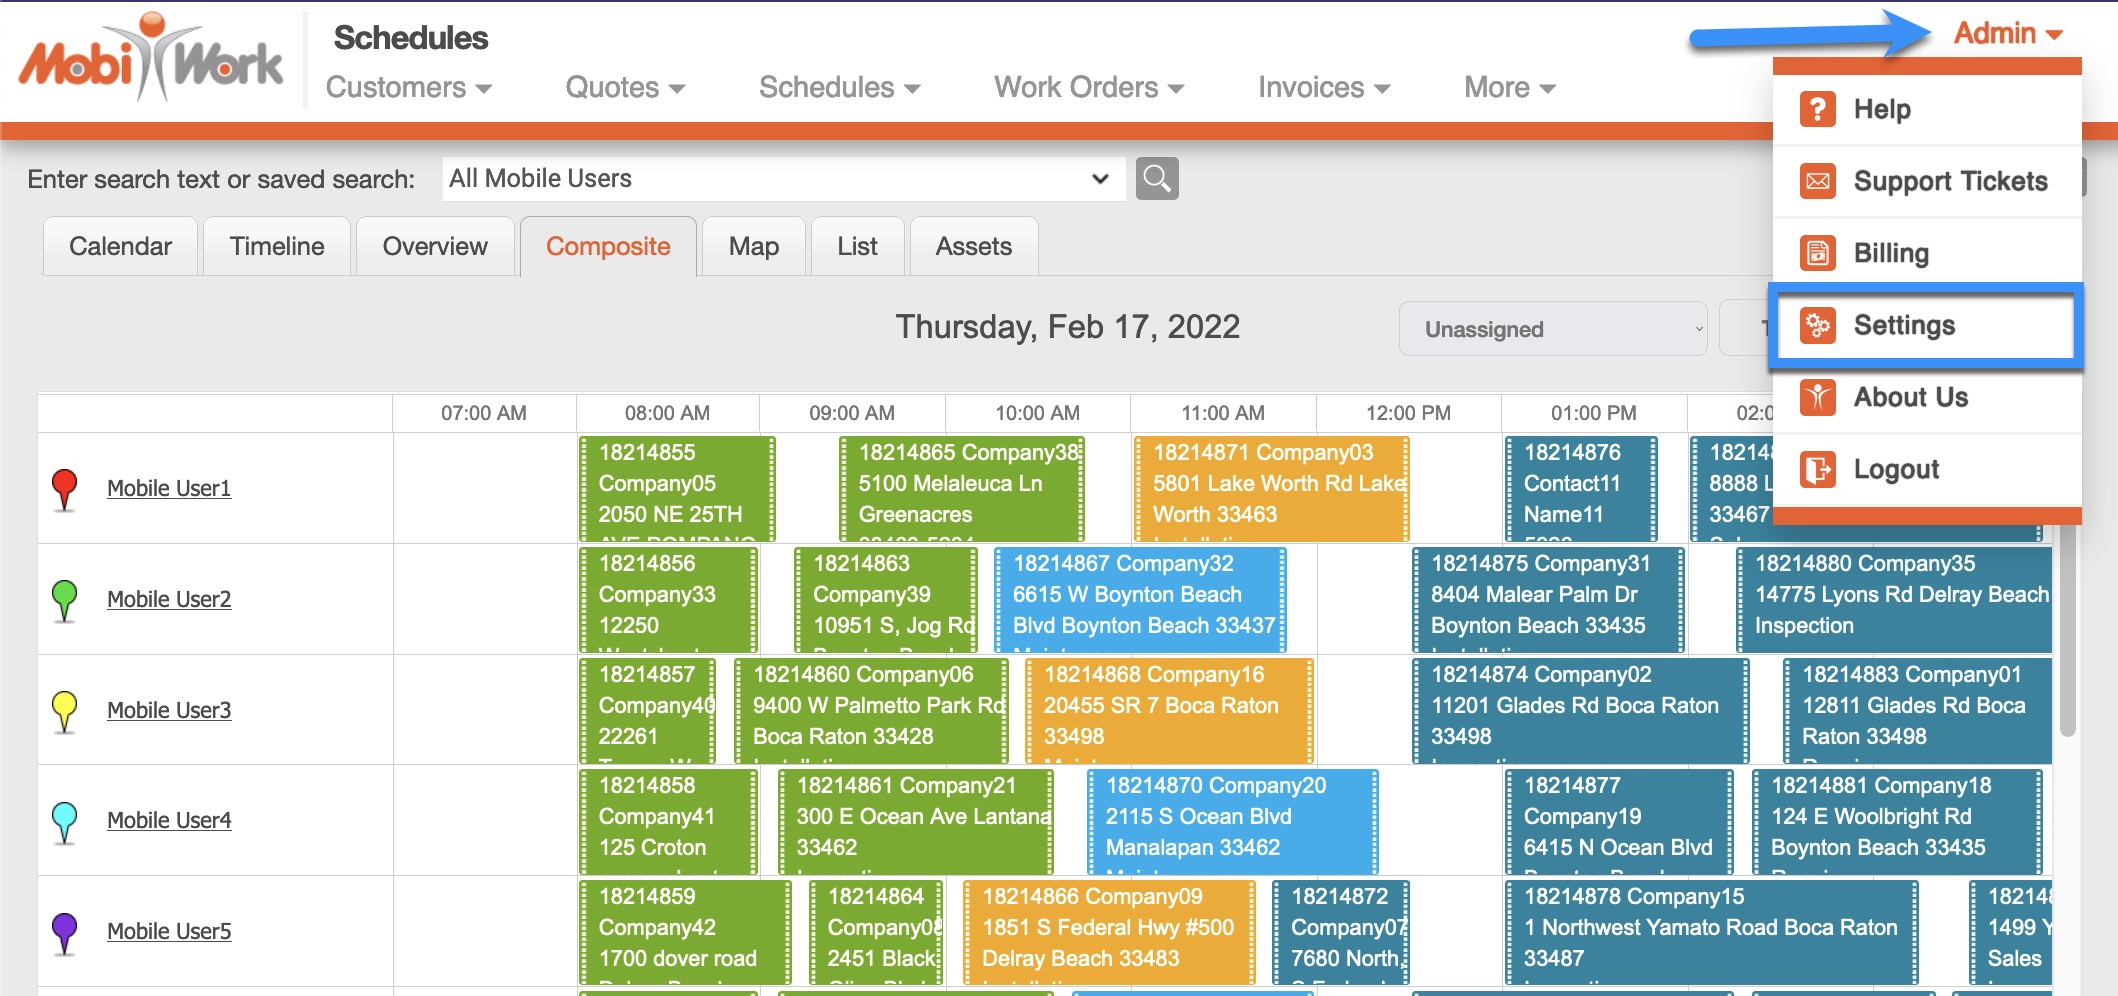
- Navigate to your Settings page and choose the Connectors tab:
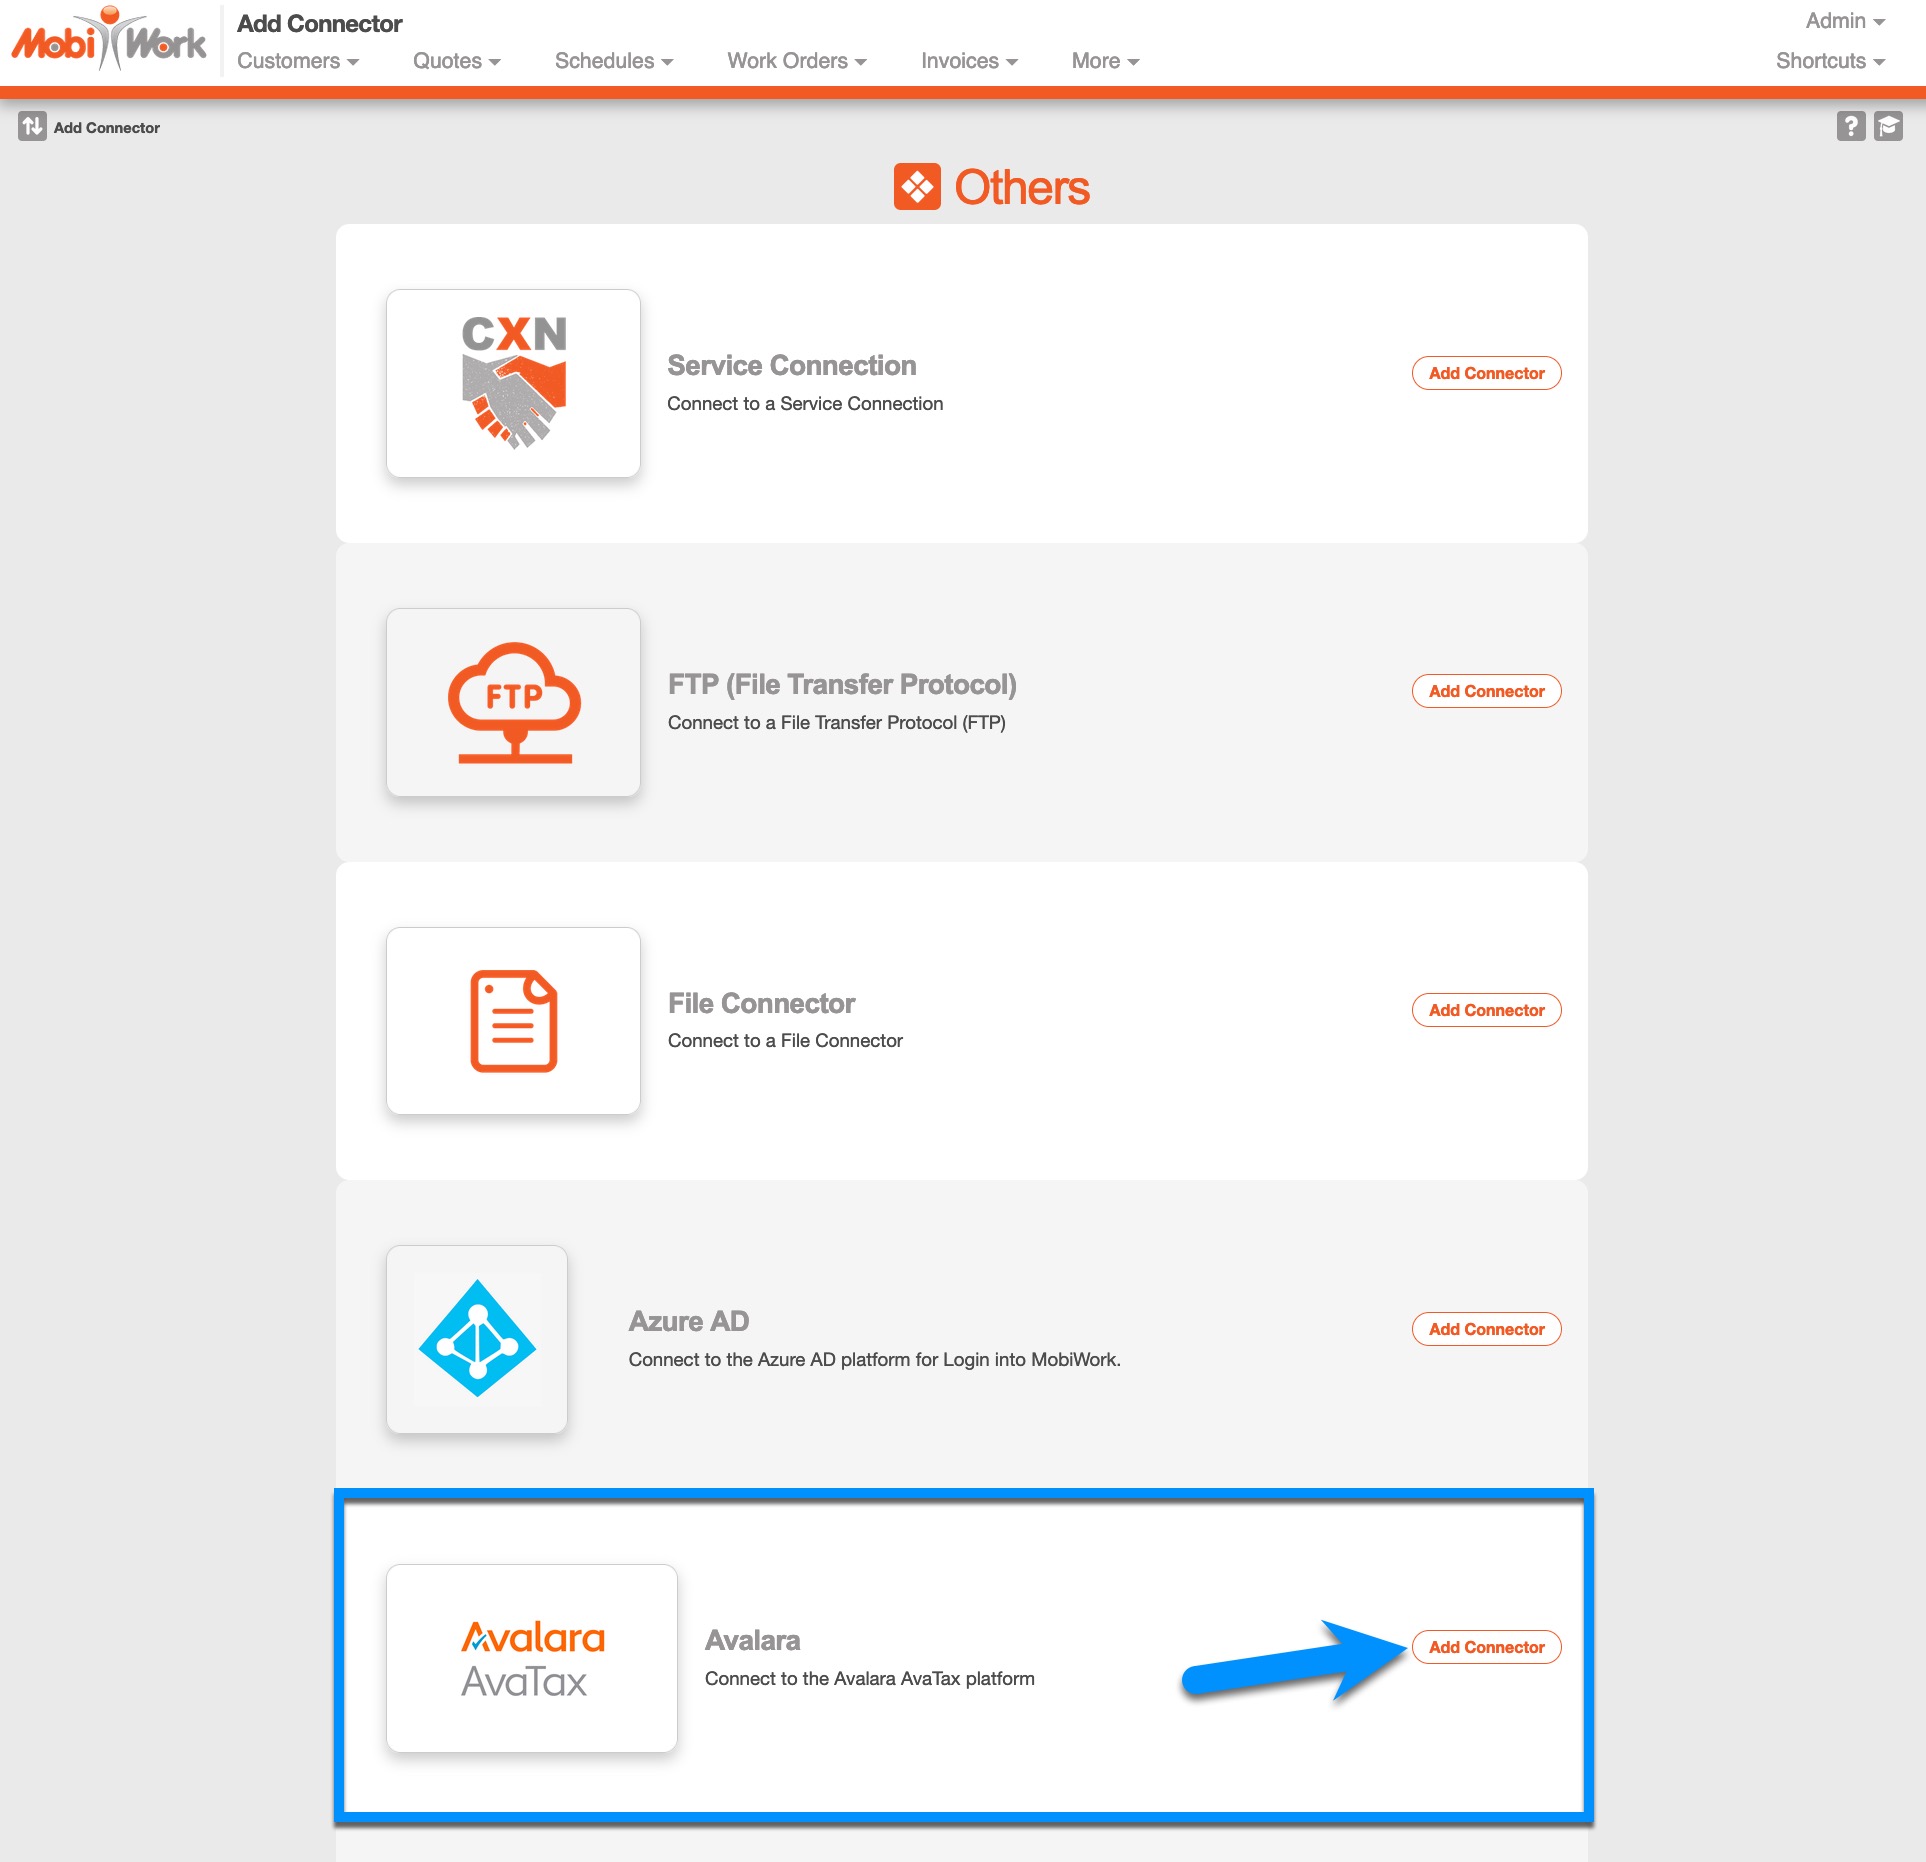
- Select the Add Connector button:
- Scroll down to the “Others” section and choose Add Connector for Avalara:
- Fill in the required information based on the information below:
When you are finished, you have one of two options:
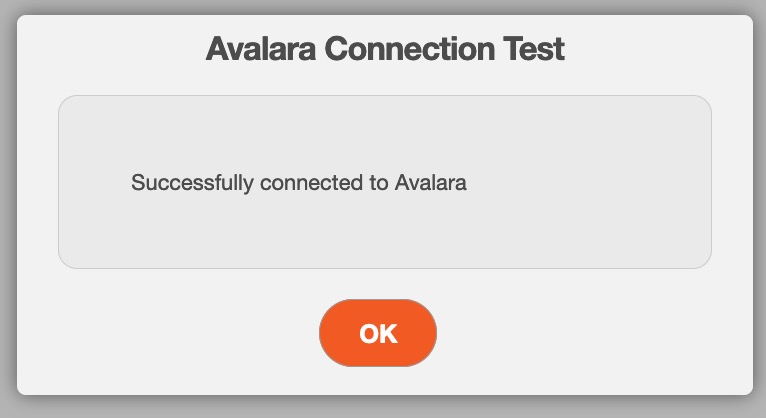
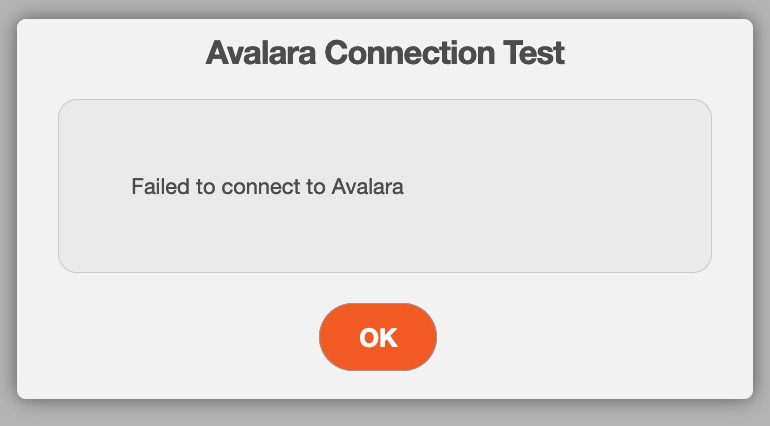
Test the connector information by choosing the Test button, which will produce either a "Success" or "Failed" message:
Successful Connection:
- Choose Save to finish setting up the Avalara connector.
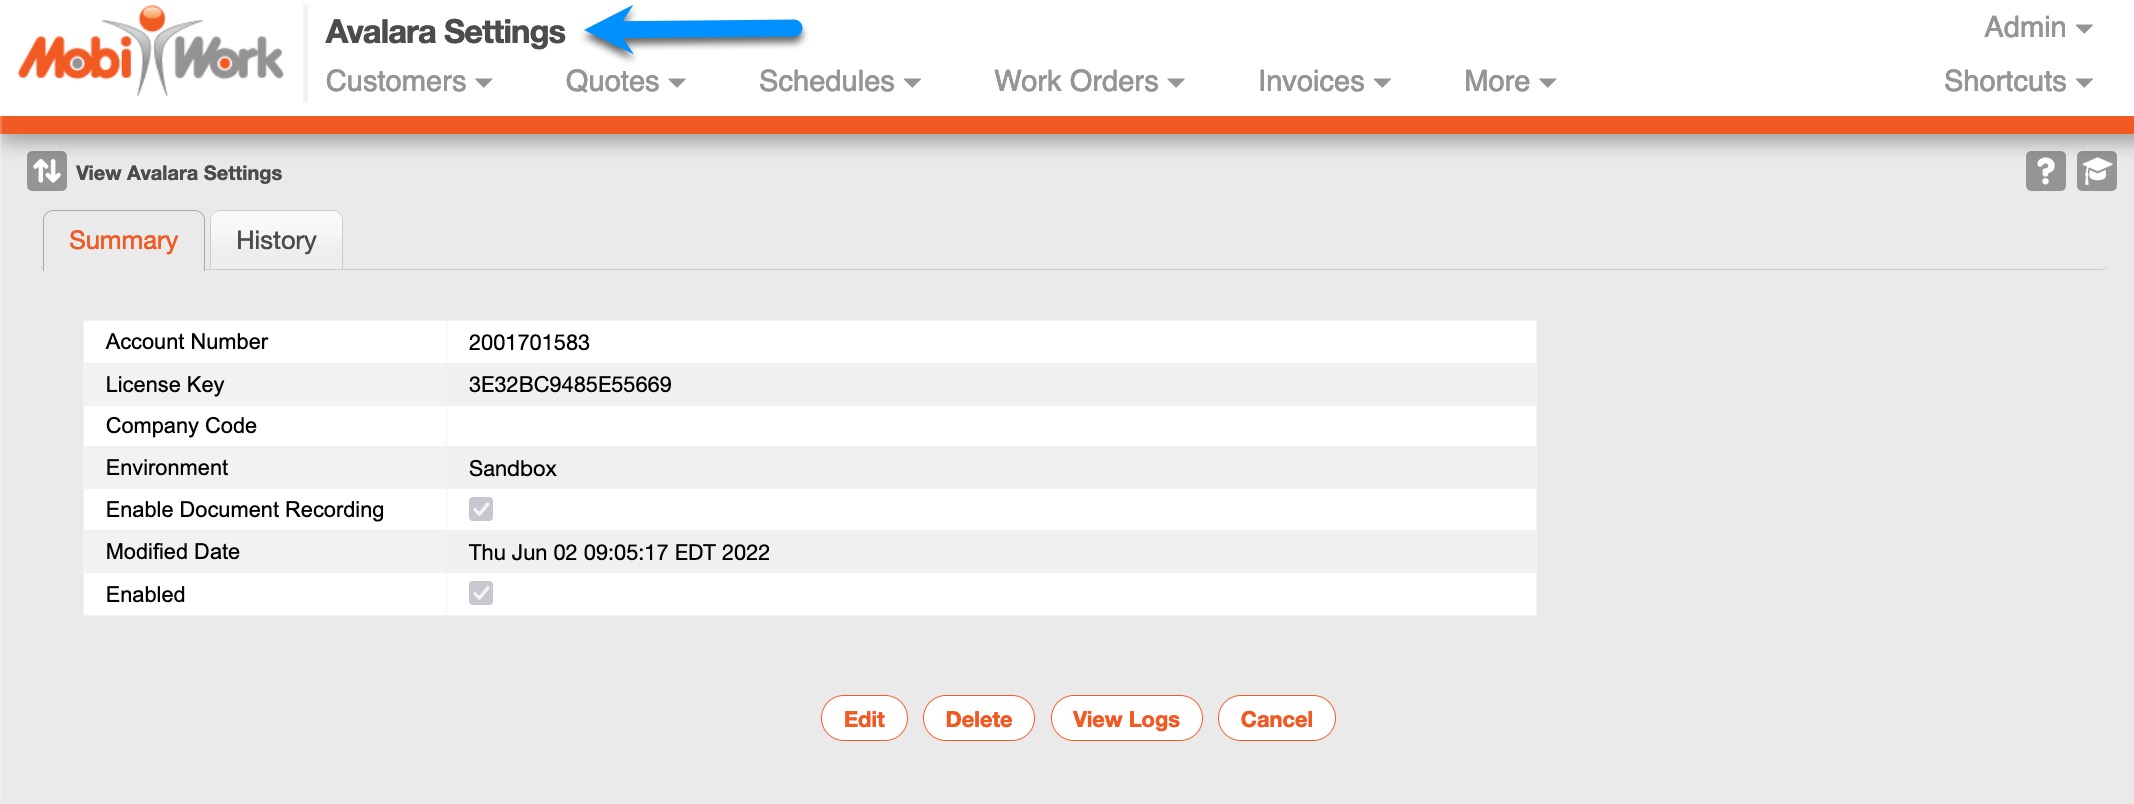
Once setup, you will be directly taken to the Avalara Settings page, with the ability to Edit the settings, Delete the connector, View Logs or Cancel back to the main Connectors page:

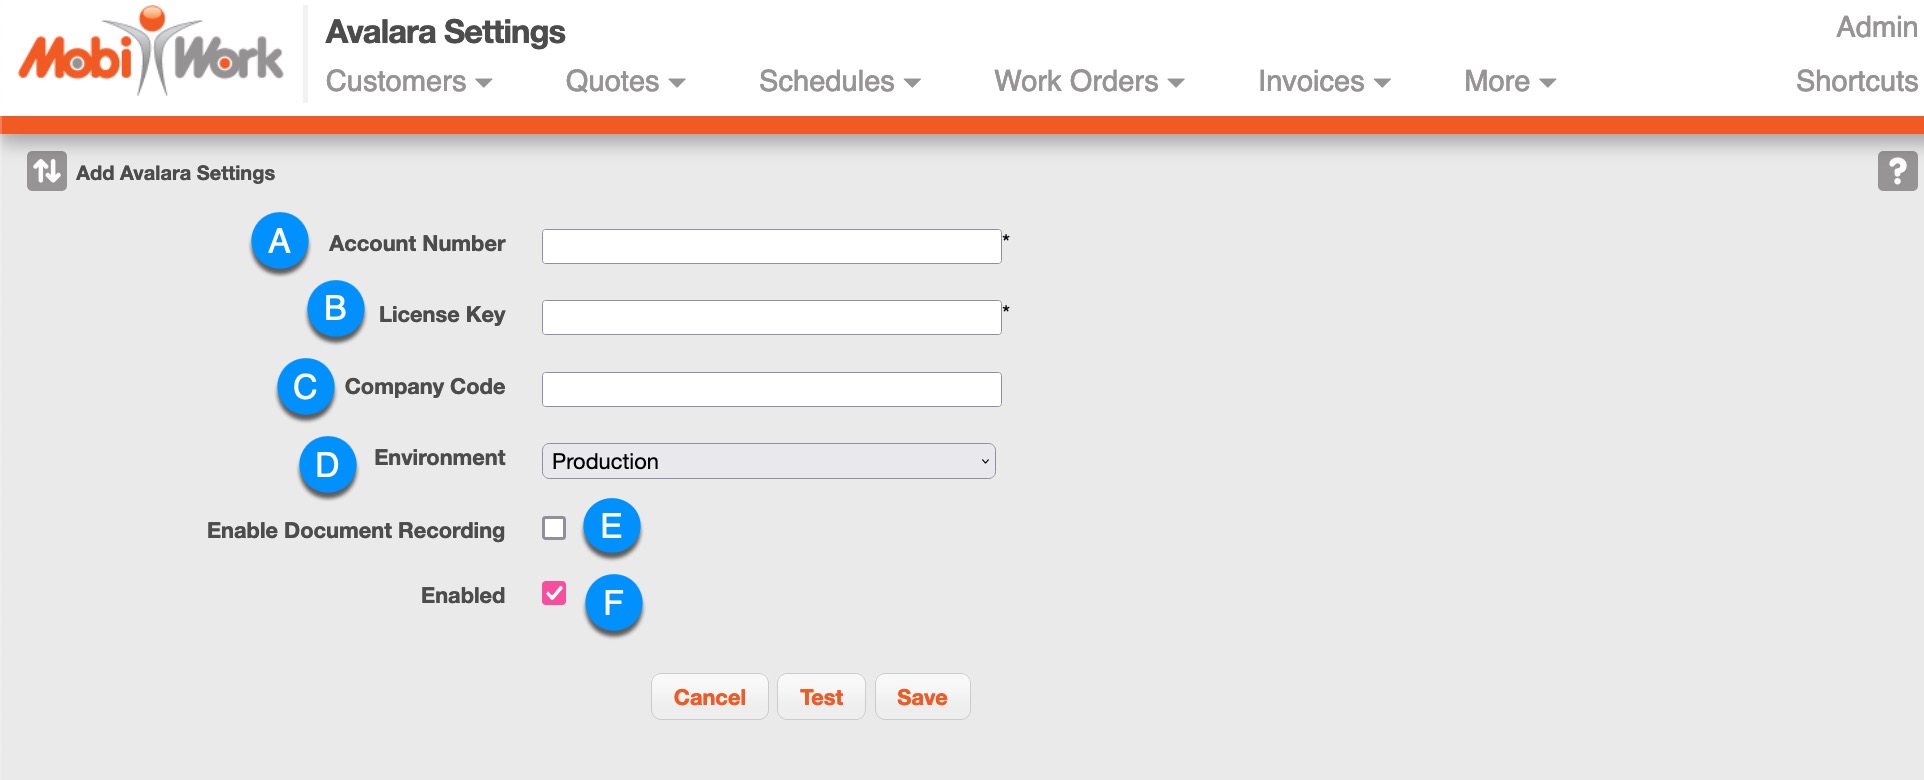
| Name: | Description: |
|---|---|
| A: Account Number | From your Avalara account (either using your Sandbox or Production credentials). |
| B: License Key | From your Avalara account (either using your Sandbox or Production credentials). |
| C: Company Code | If using Avalara for multiple companies, specify a Company Code to differentiate which company this connector would be connected to. If left blank, the default company will be selected. |
| D: Environment | Depending on the credentials used, either choose Sandbox or Production. |
| E: Enable Document Recording | Select this option if you would like information to be sent over to your Avalara account. If not selected, values will just be displayed within MobiWork. |
| F: Enabled | Selected by default to enable the connector. |
Once the Avalara connector has been setup, you can begin setting up your Customers.
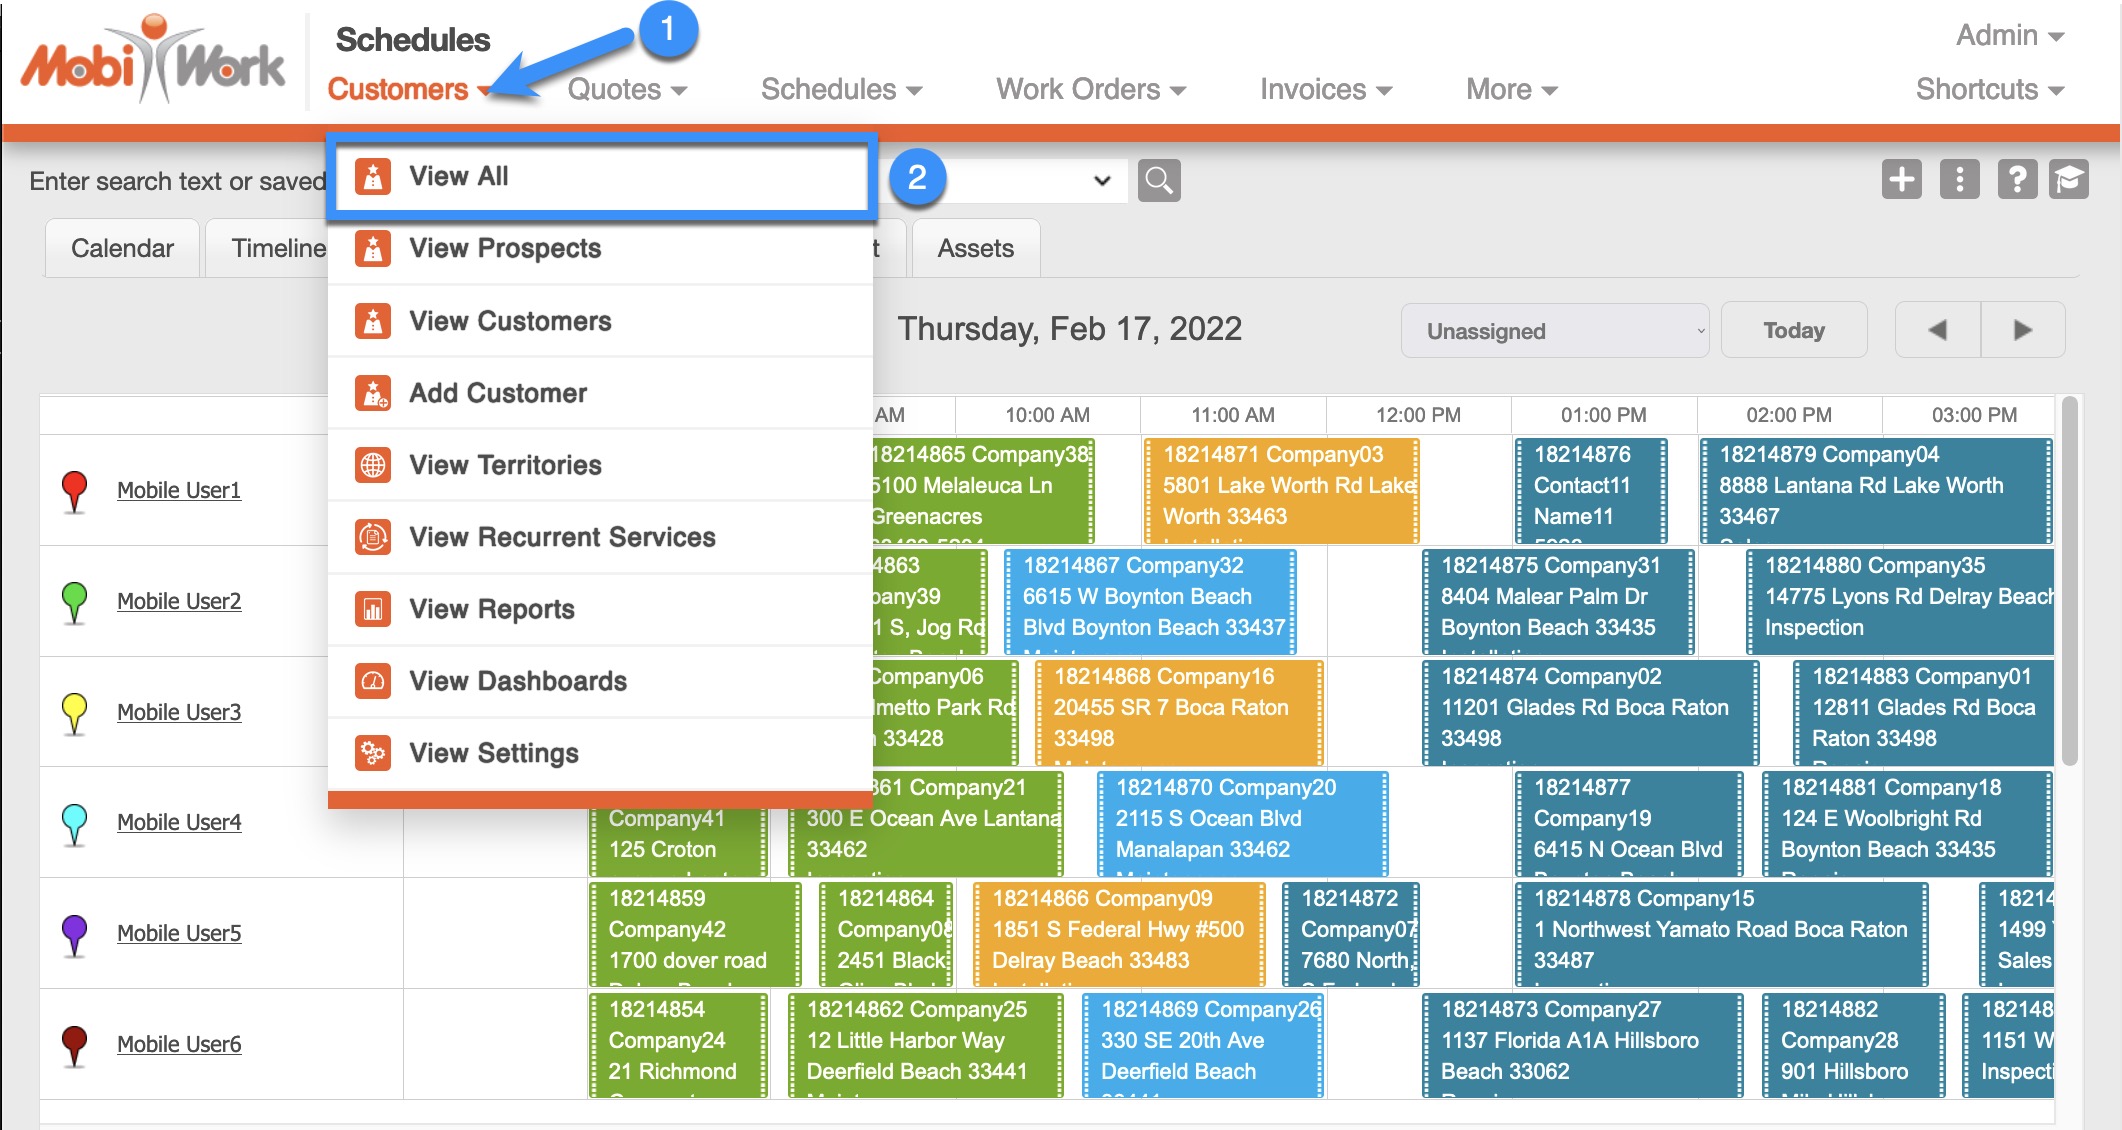
Navigate to Customers within MobiWork.
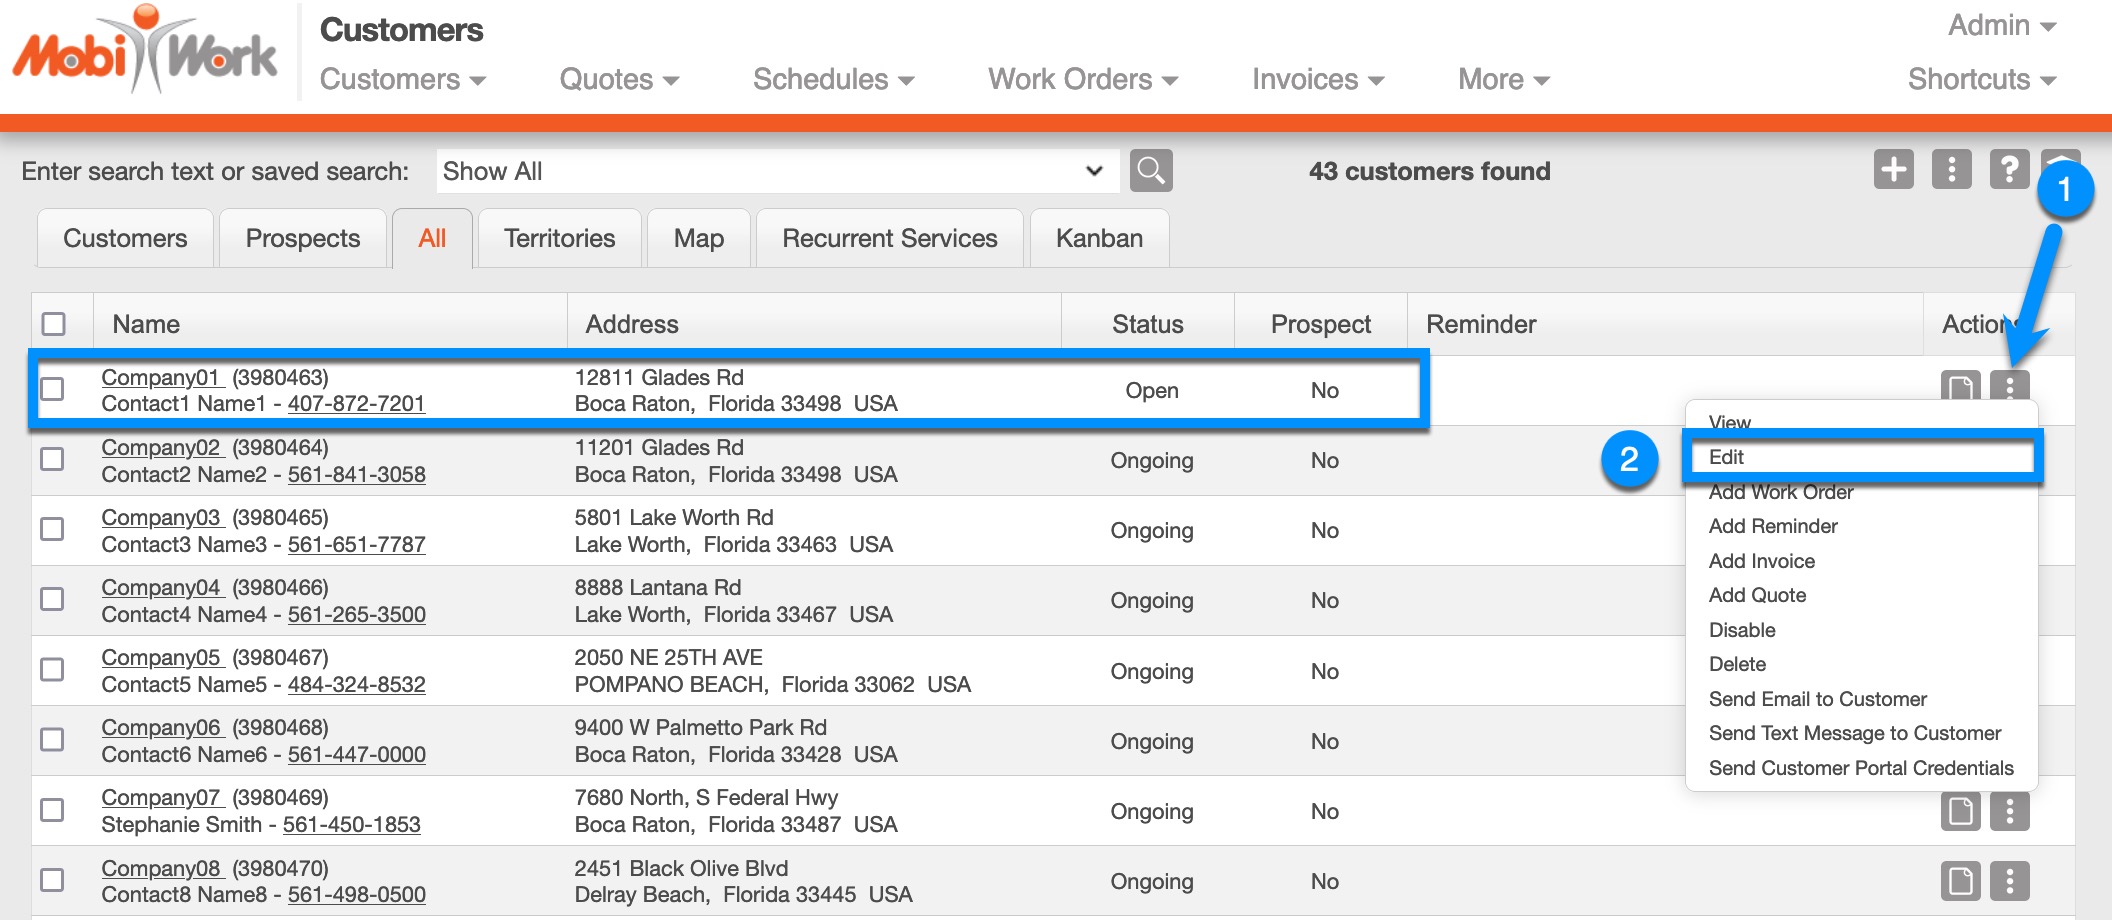
Choose More Actions > Edit for any customer.
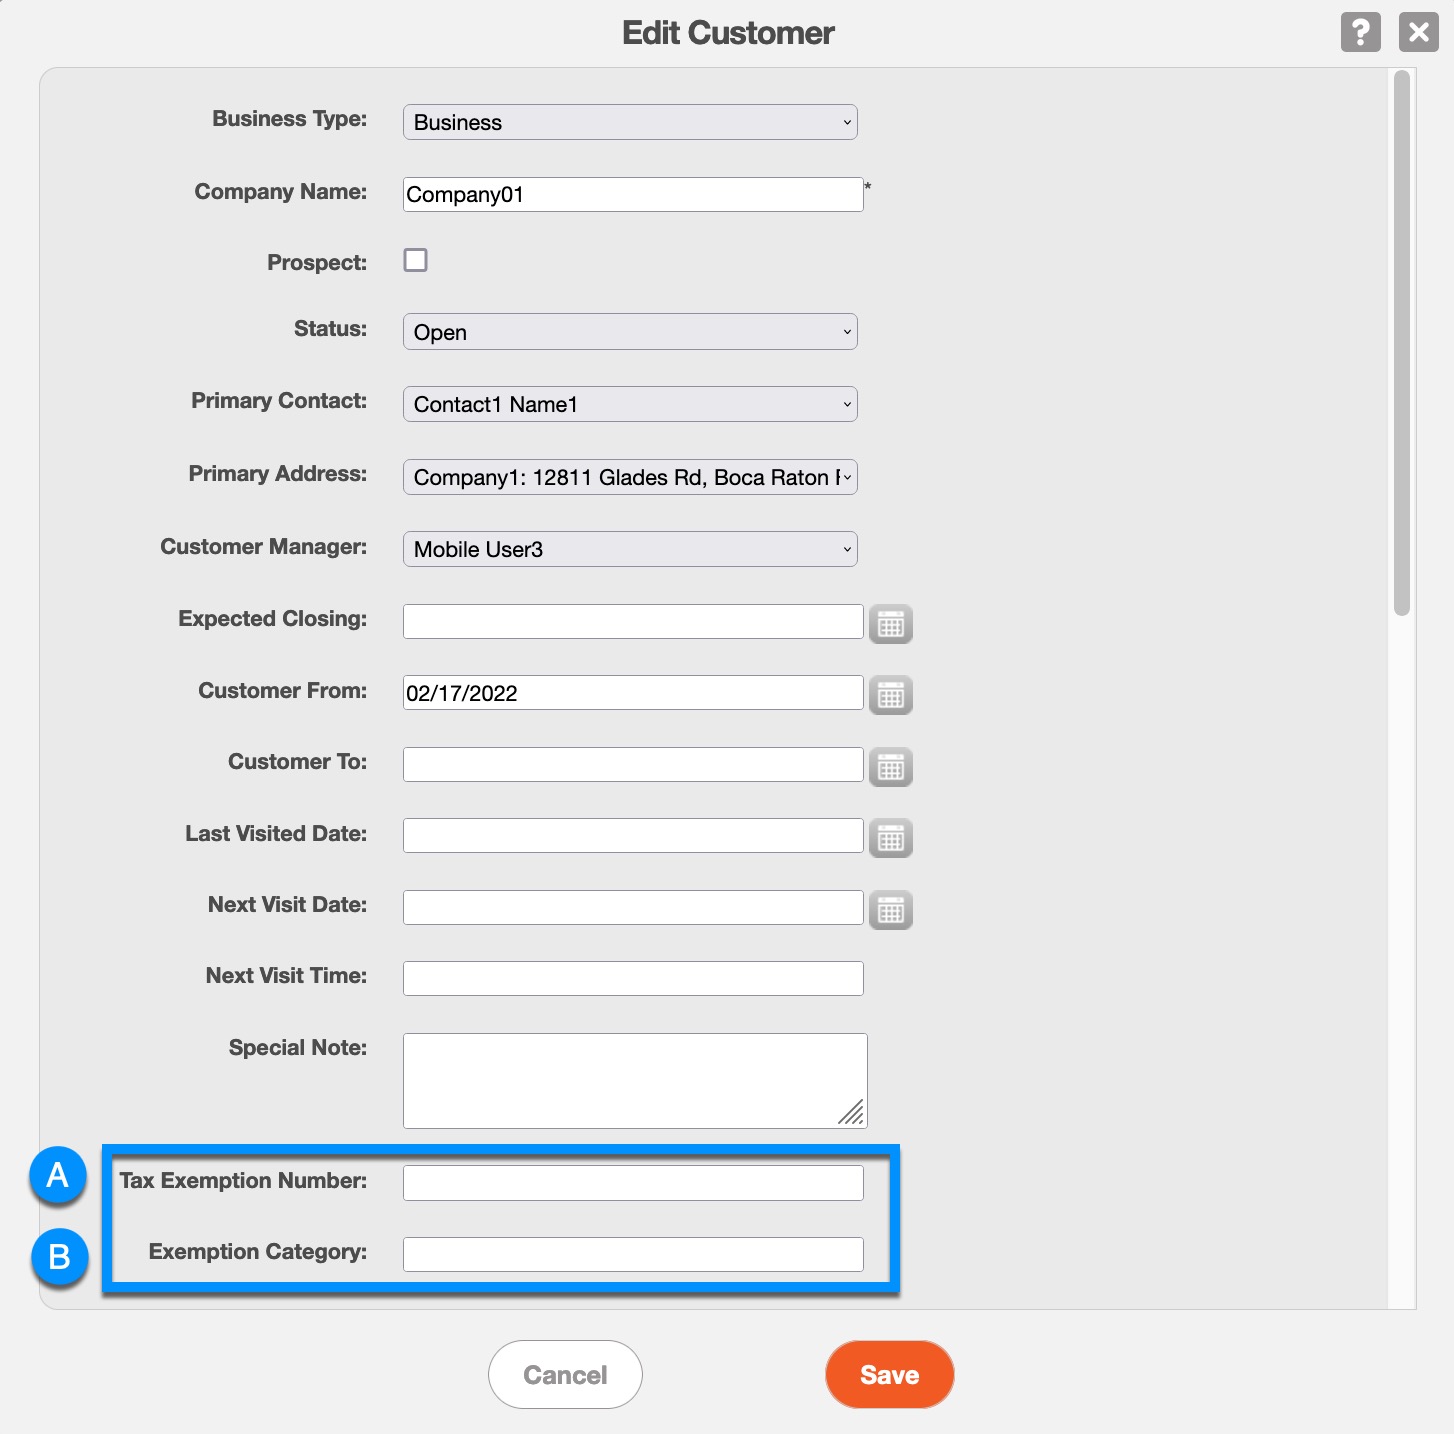
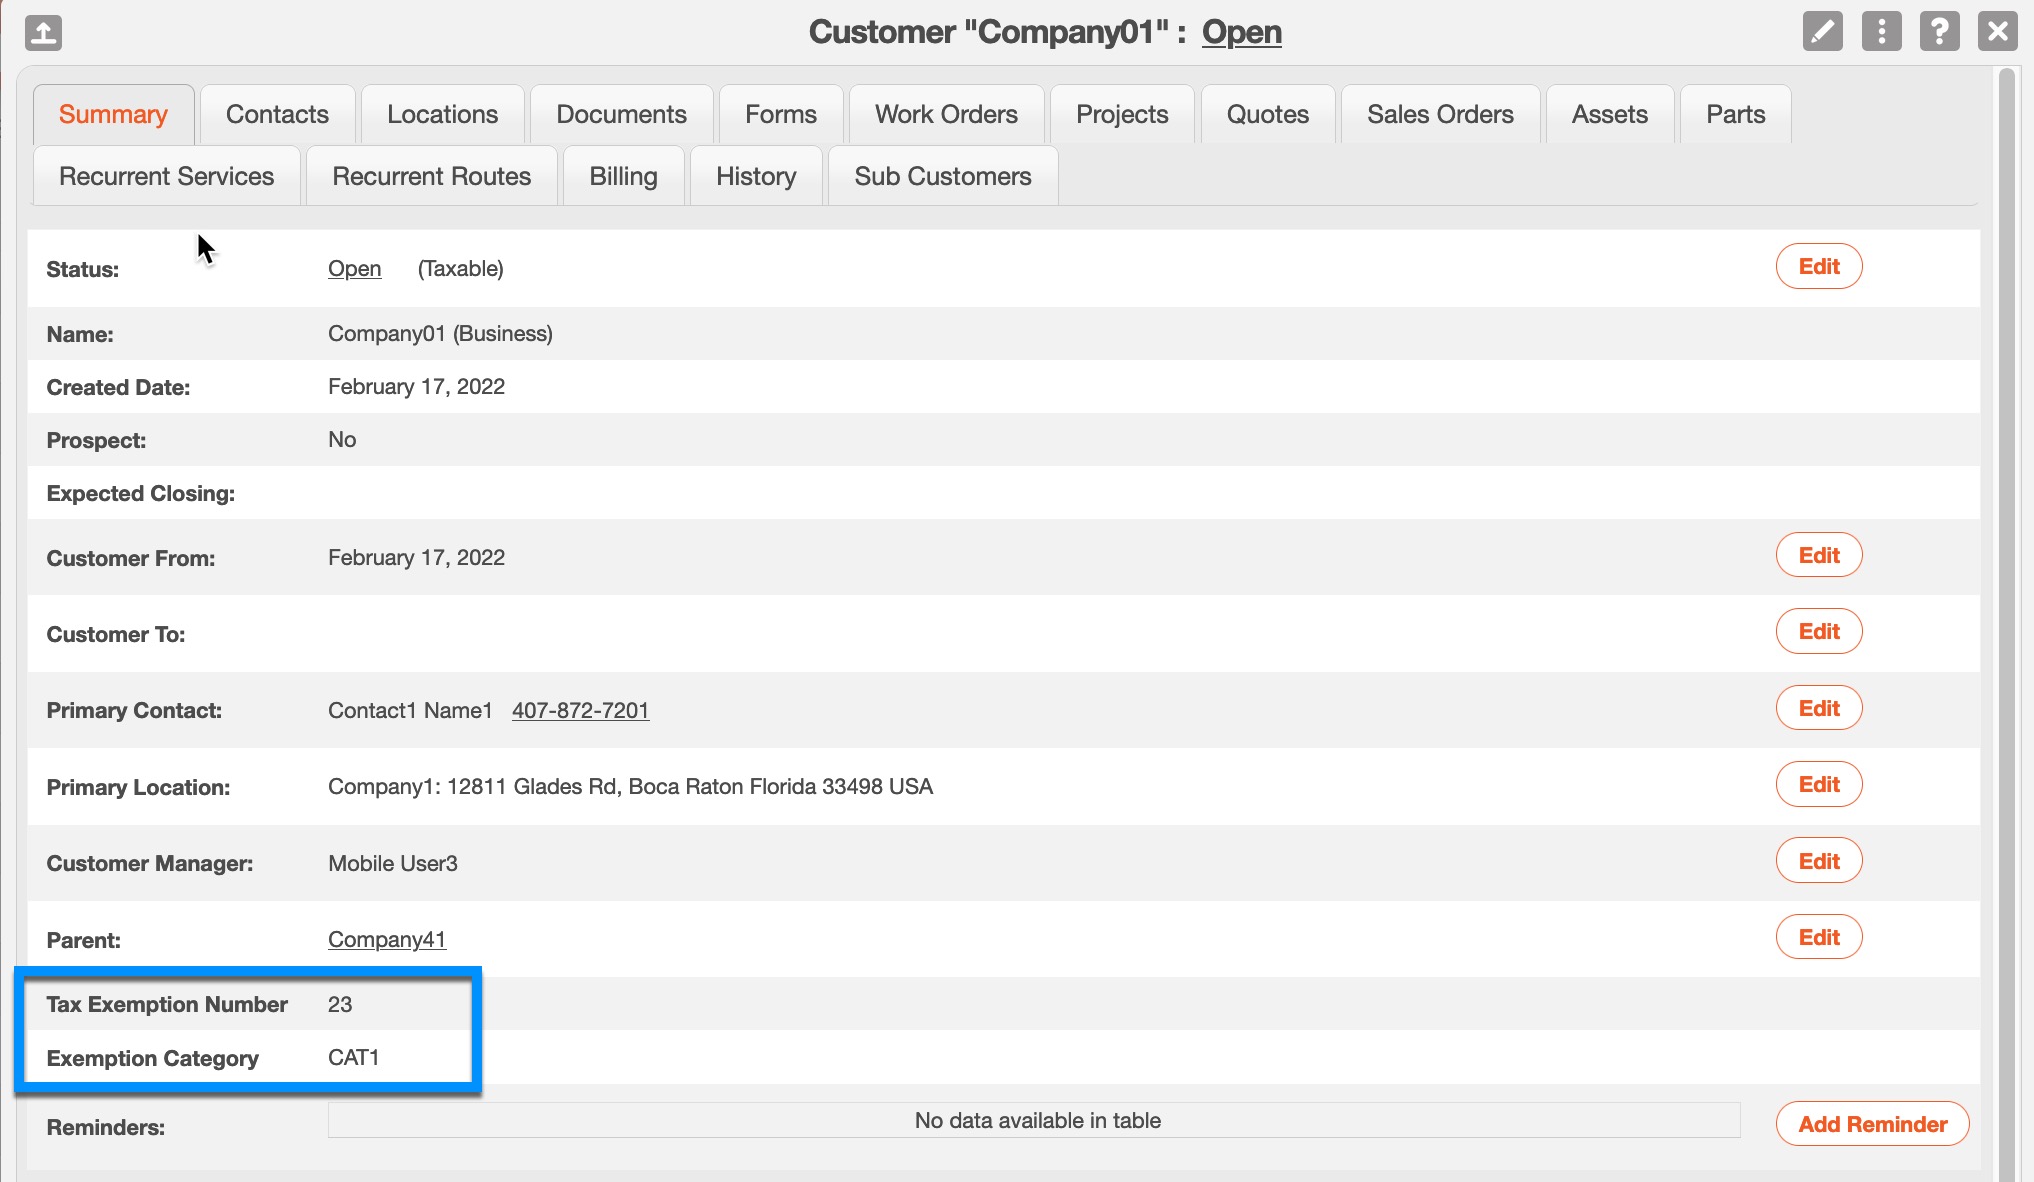
Scroll down to see two new fields added; fill in the fields with the correct information.
| Name: | Description: |
|---|---|
| A: Tax Exemption Number | Found within your Avalara account, used for tracking customers who have tax exempt transactions. |
| B: Exemption Category | Found within your Avalara account, used to define the exemption category for that customer. |
Once the Avalara connector has been setup, you can begin setting up your Products/Services.
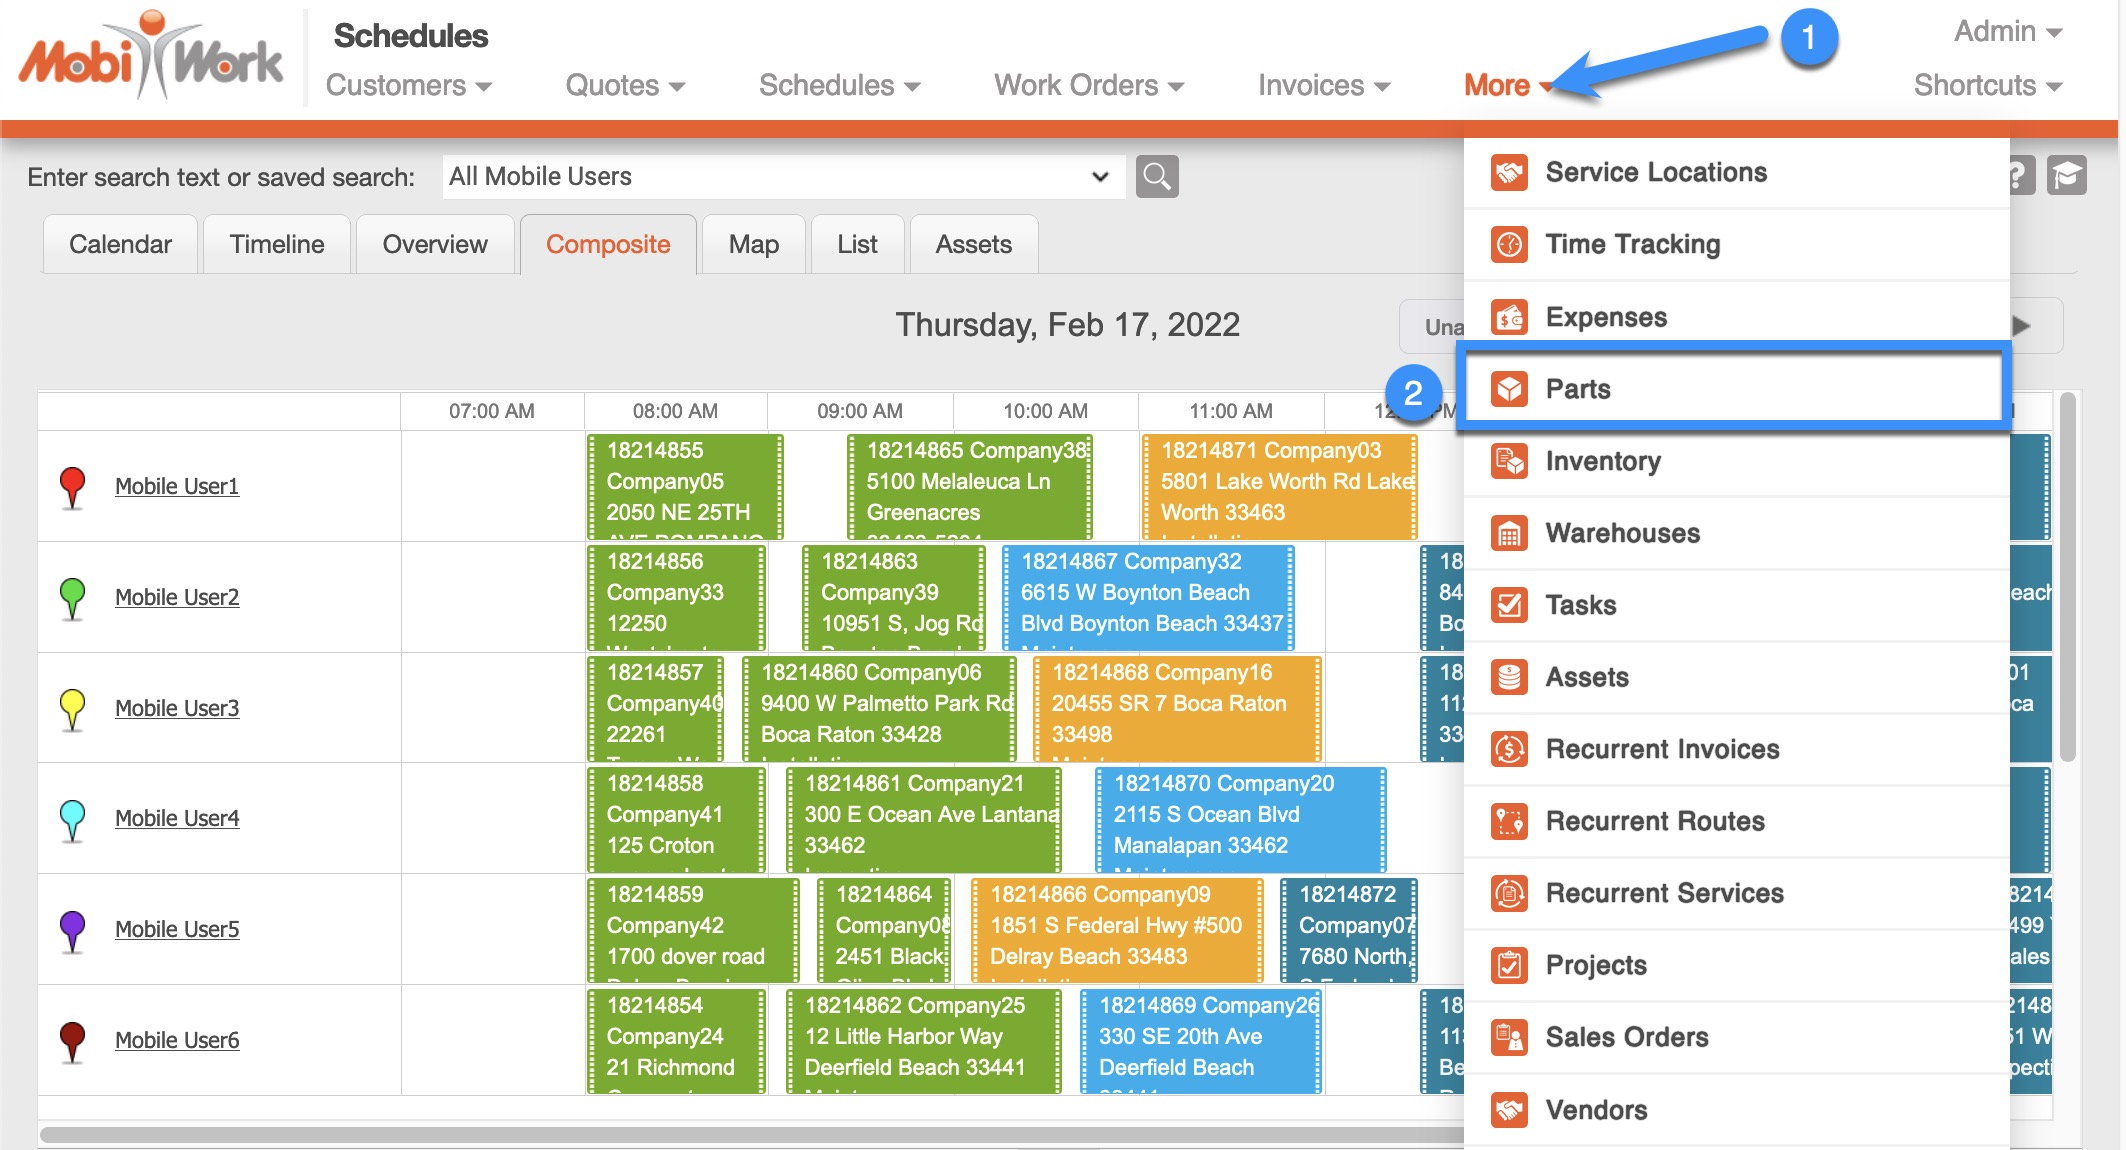
Navigate to Parts within MobiWork:
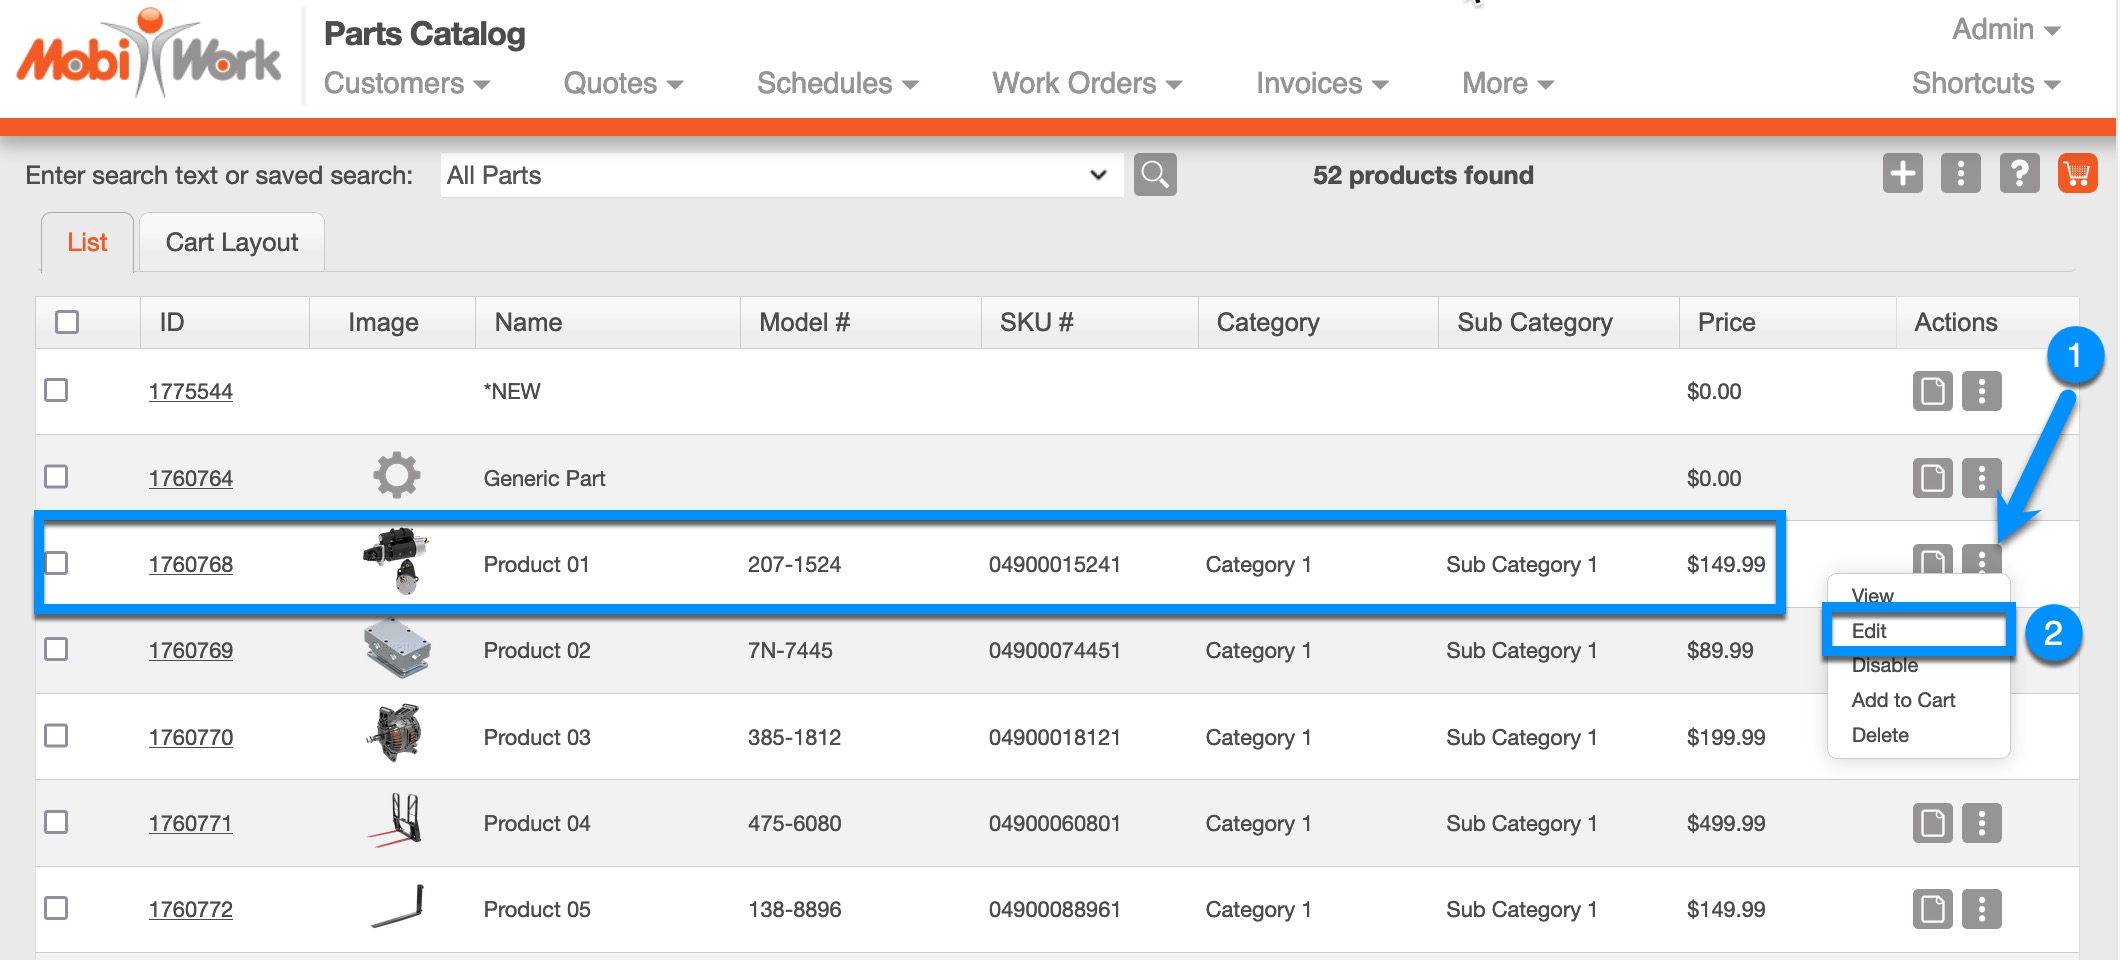
Choose More Actions > Edit for any part/service:
Scroll down to see two new fields added; fill in the fields with the correct information:
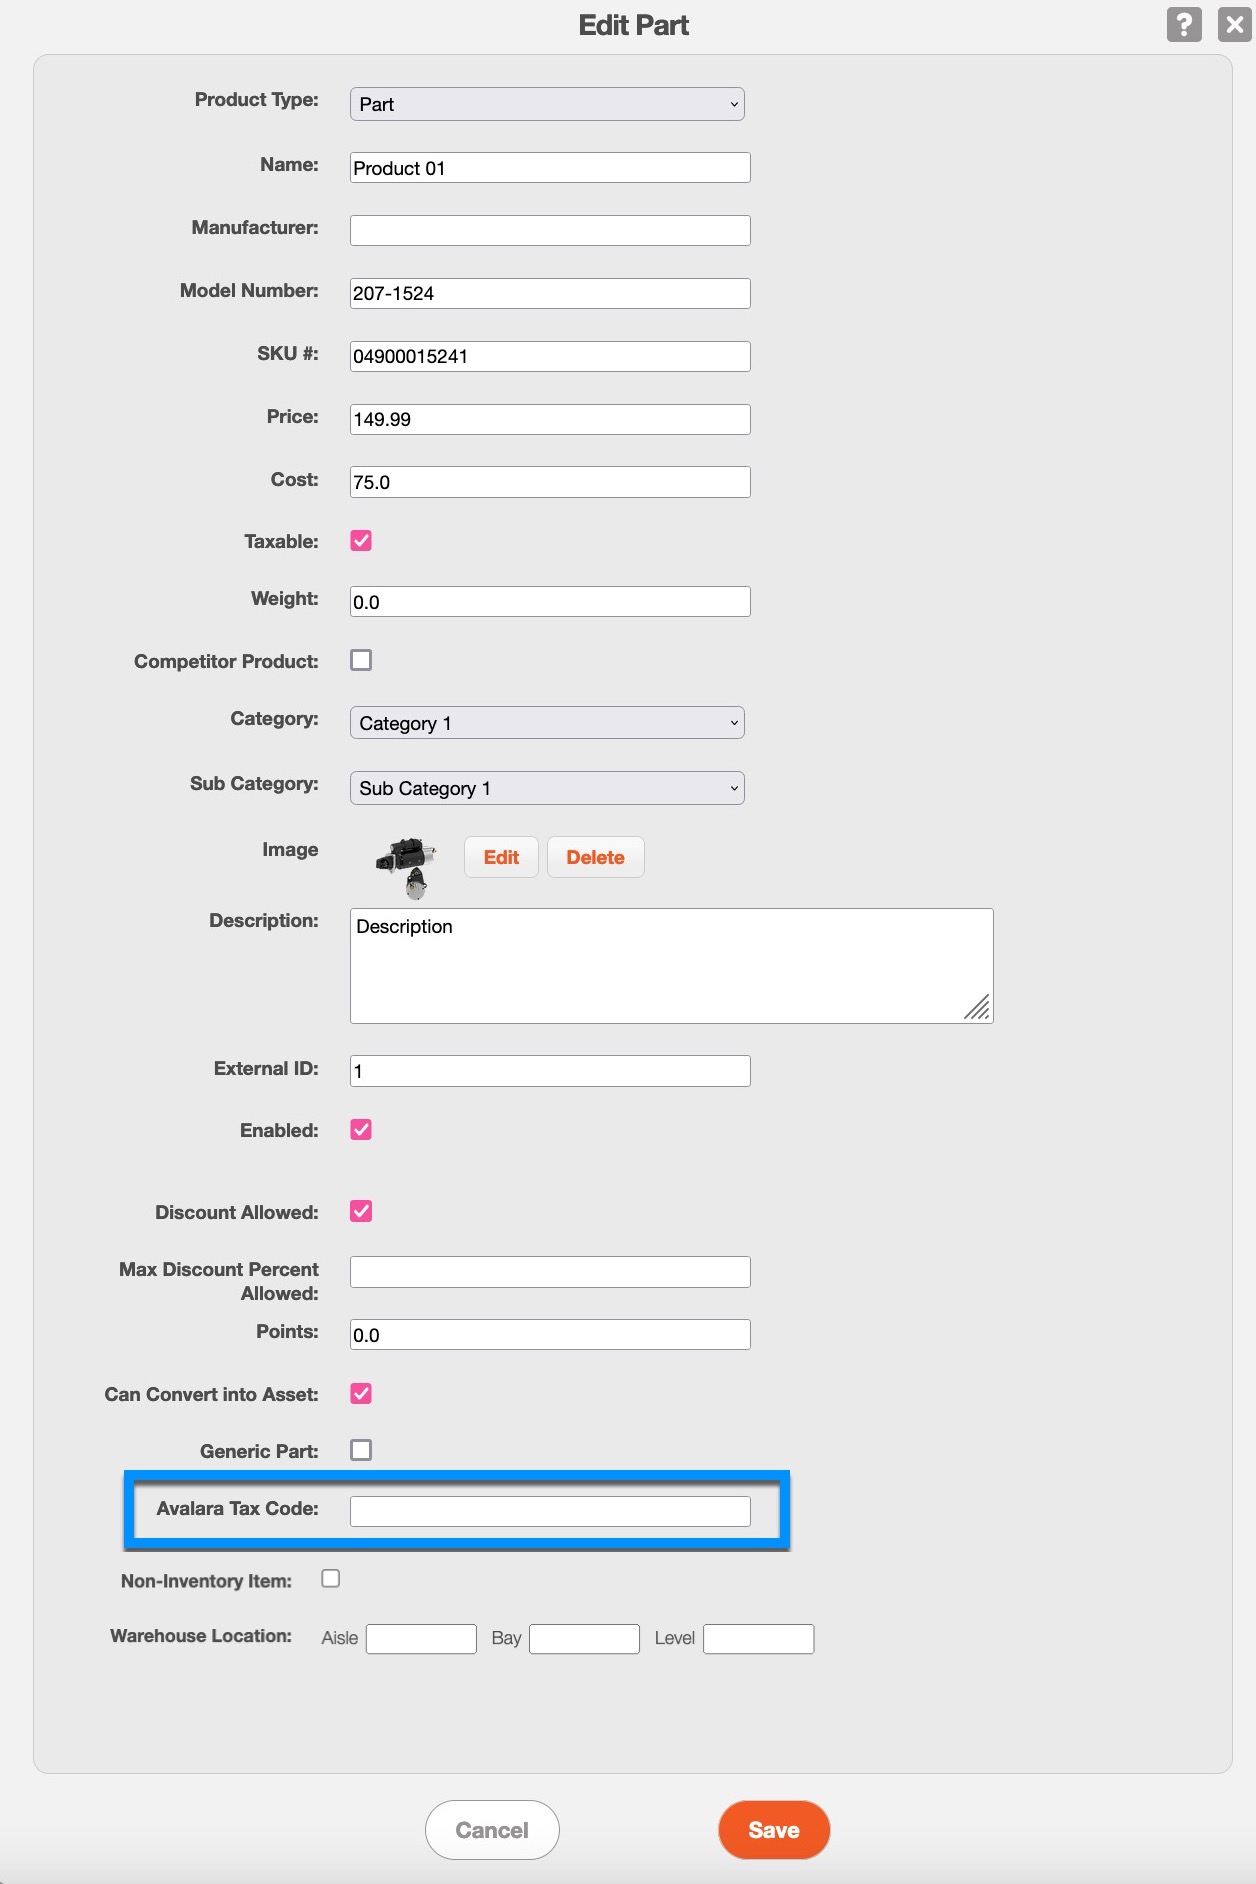
| Name: | Description: |
|---|---|
| Avalara Tax Code | Found within your Avalara account, used as the association of an item to a tax code to describe the taxability. |
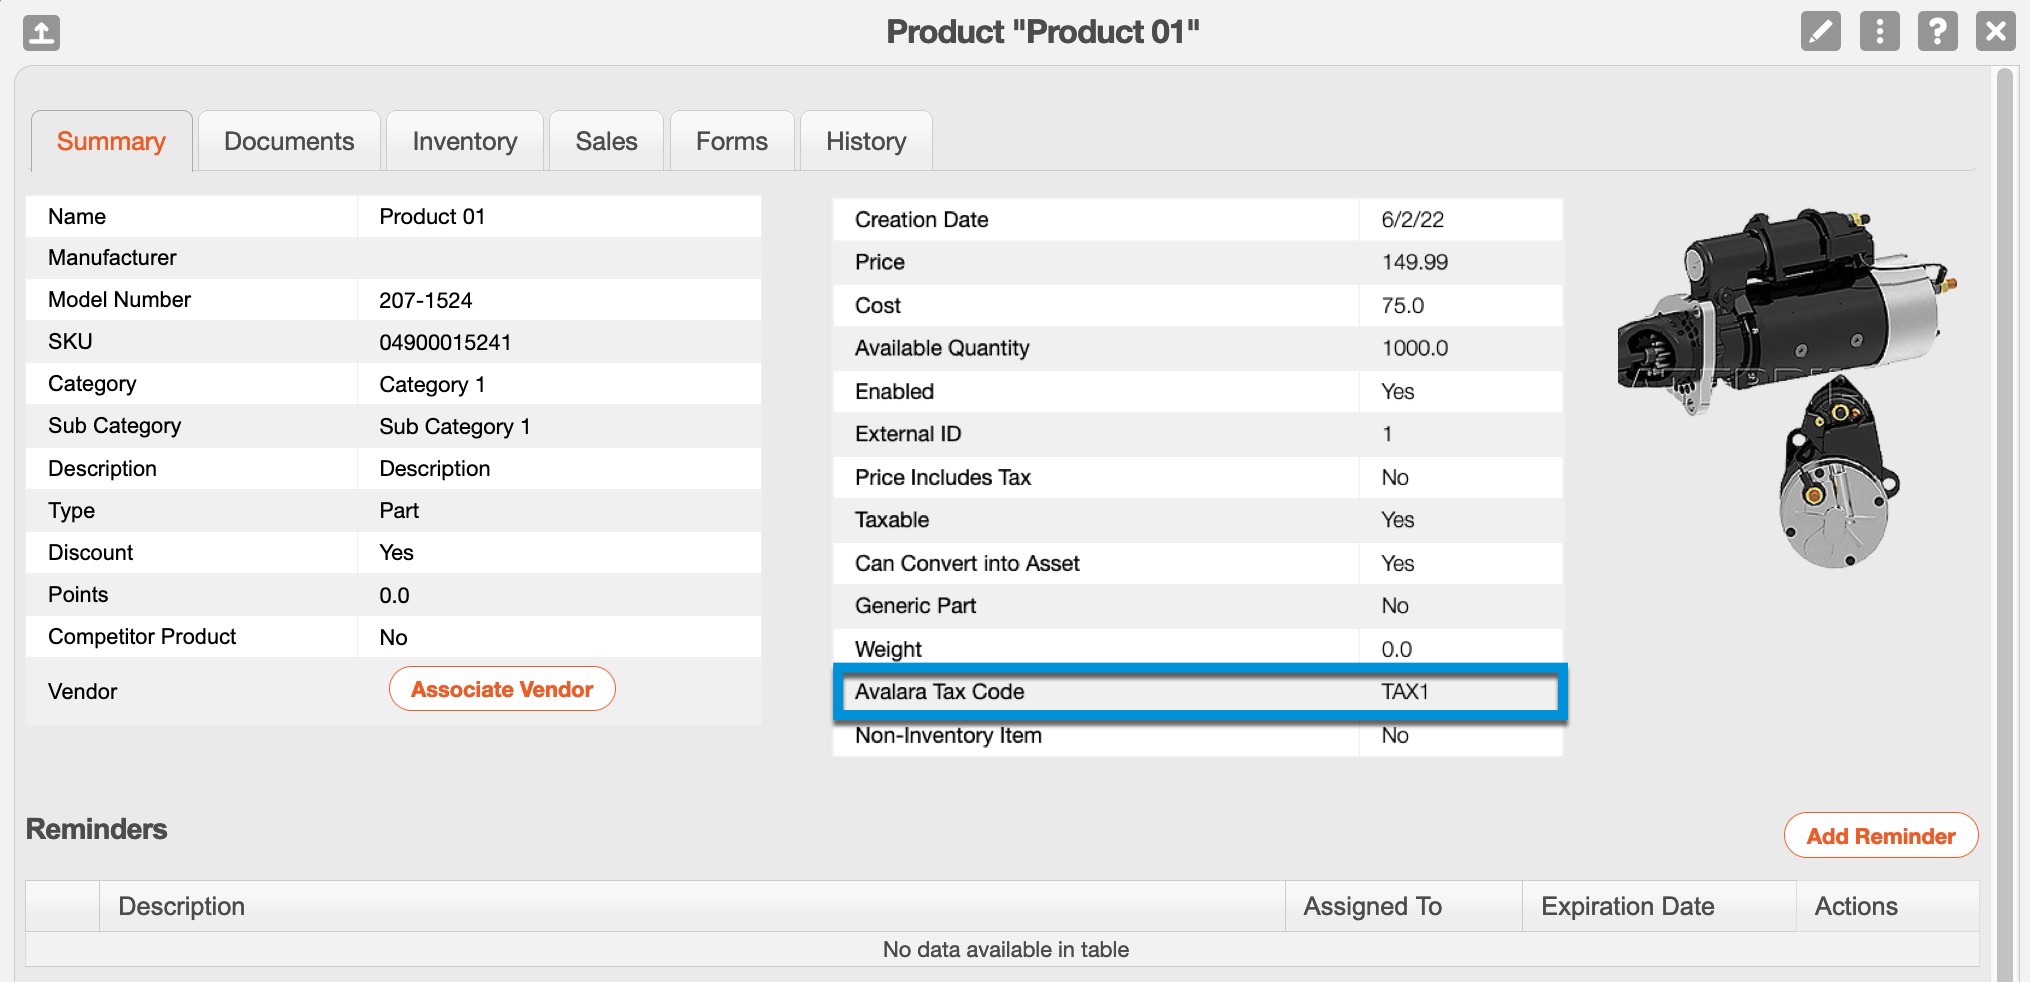
Example Part/Service View
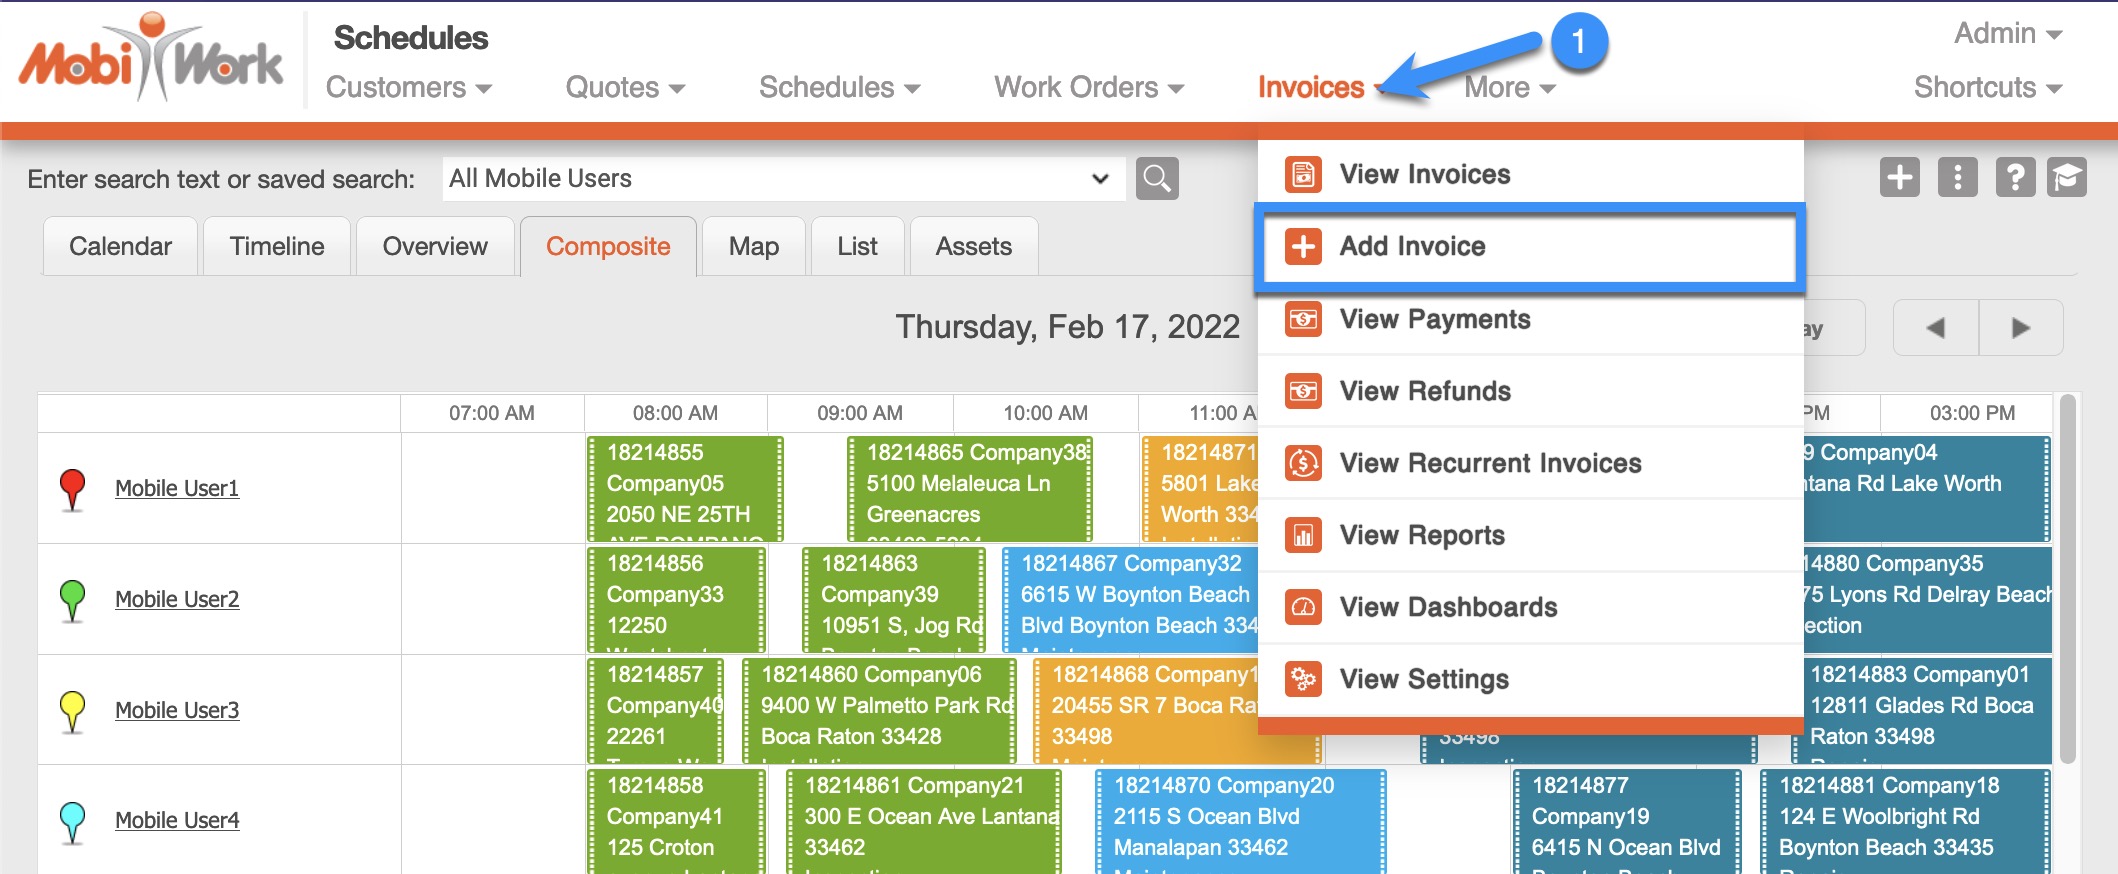
Within MobiWork, navigate to Invoices > Add Invoice:
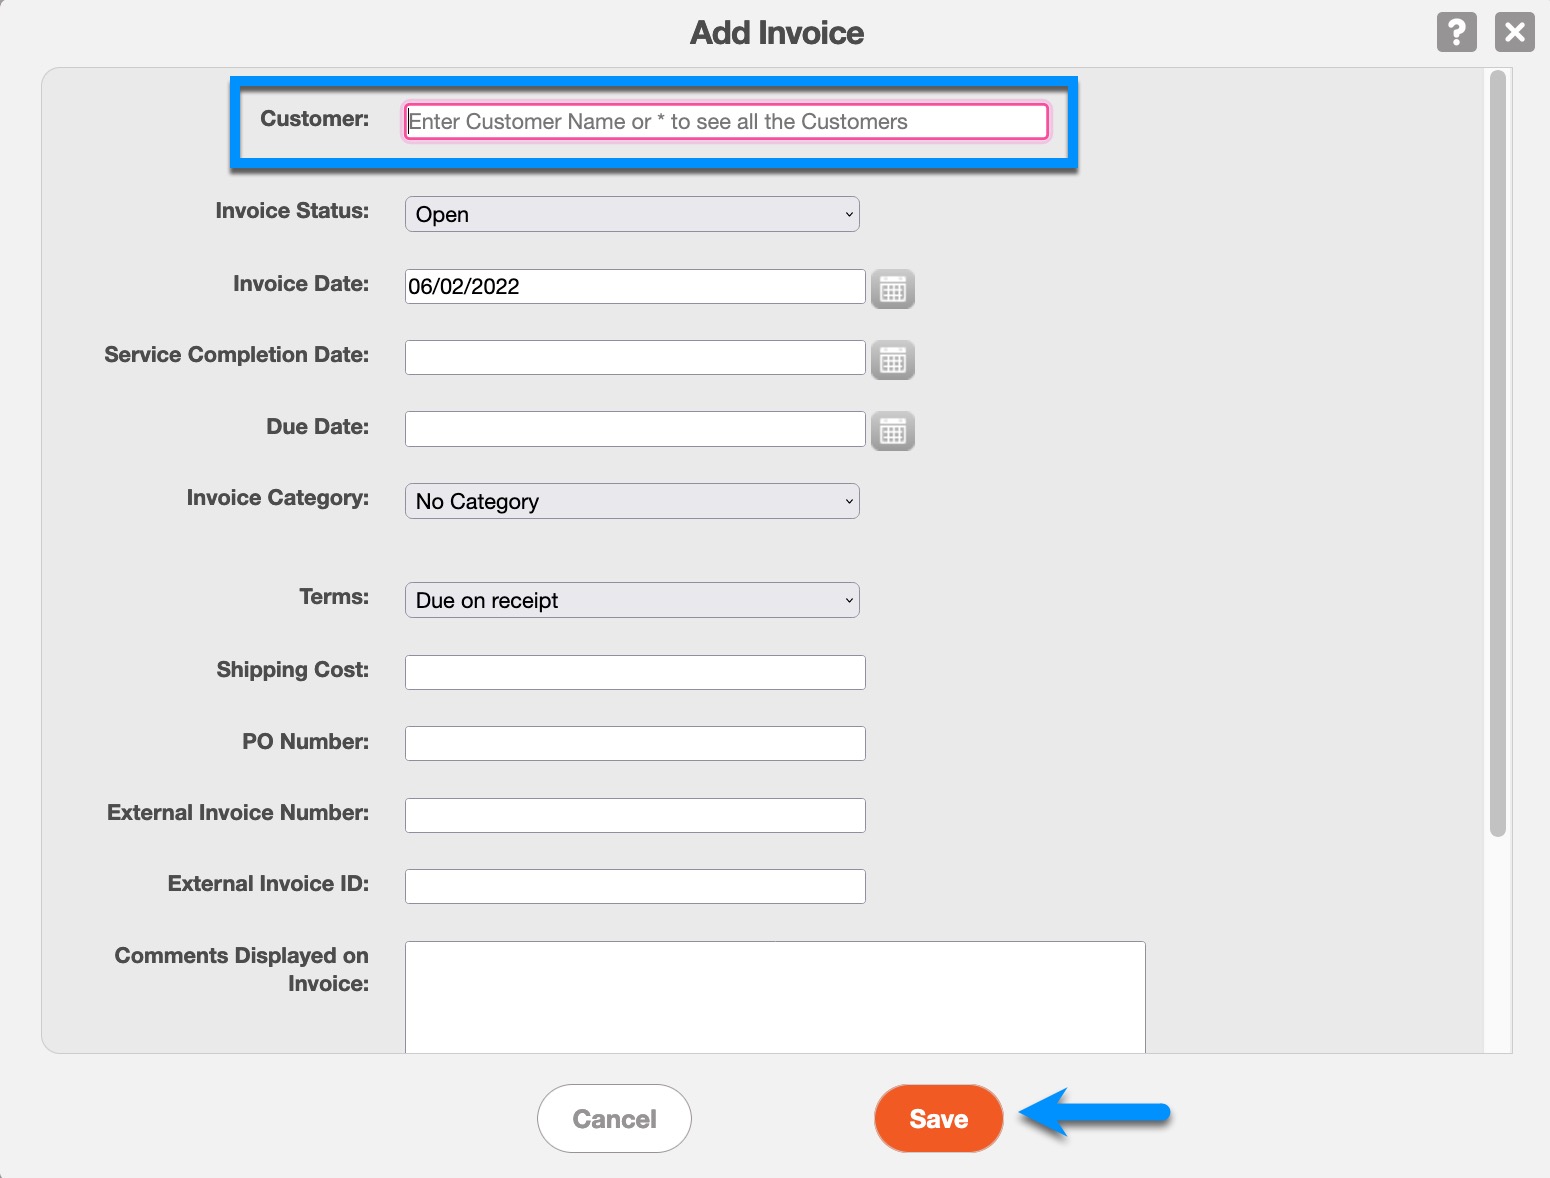
Fill in the necessary information on the Add Invoice screen; Choose a customer who has their Avalara Tax Exemption Number and Exemption Category already set up (as discussed in Using the Avalara Connector – Setting Up Your Customers):
Click Save when finished.
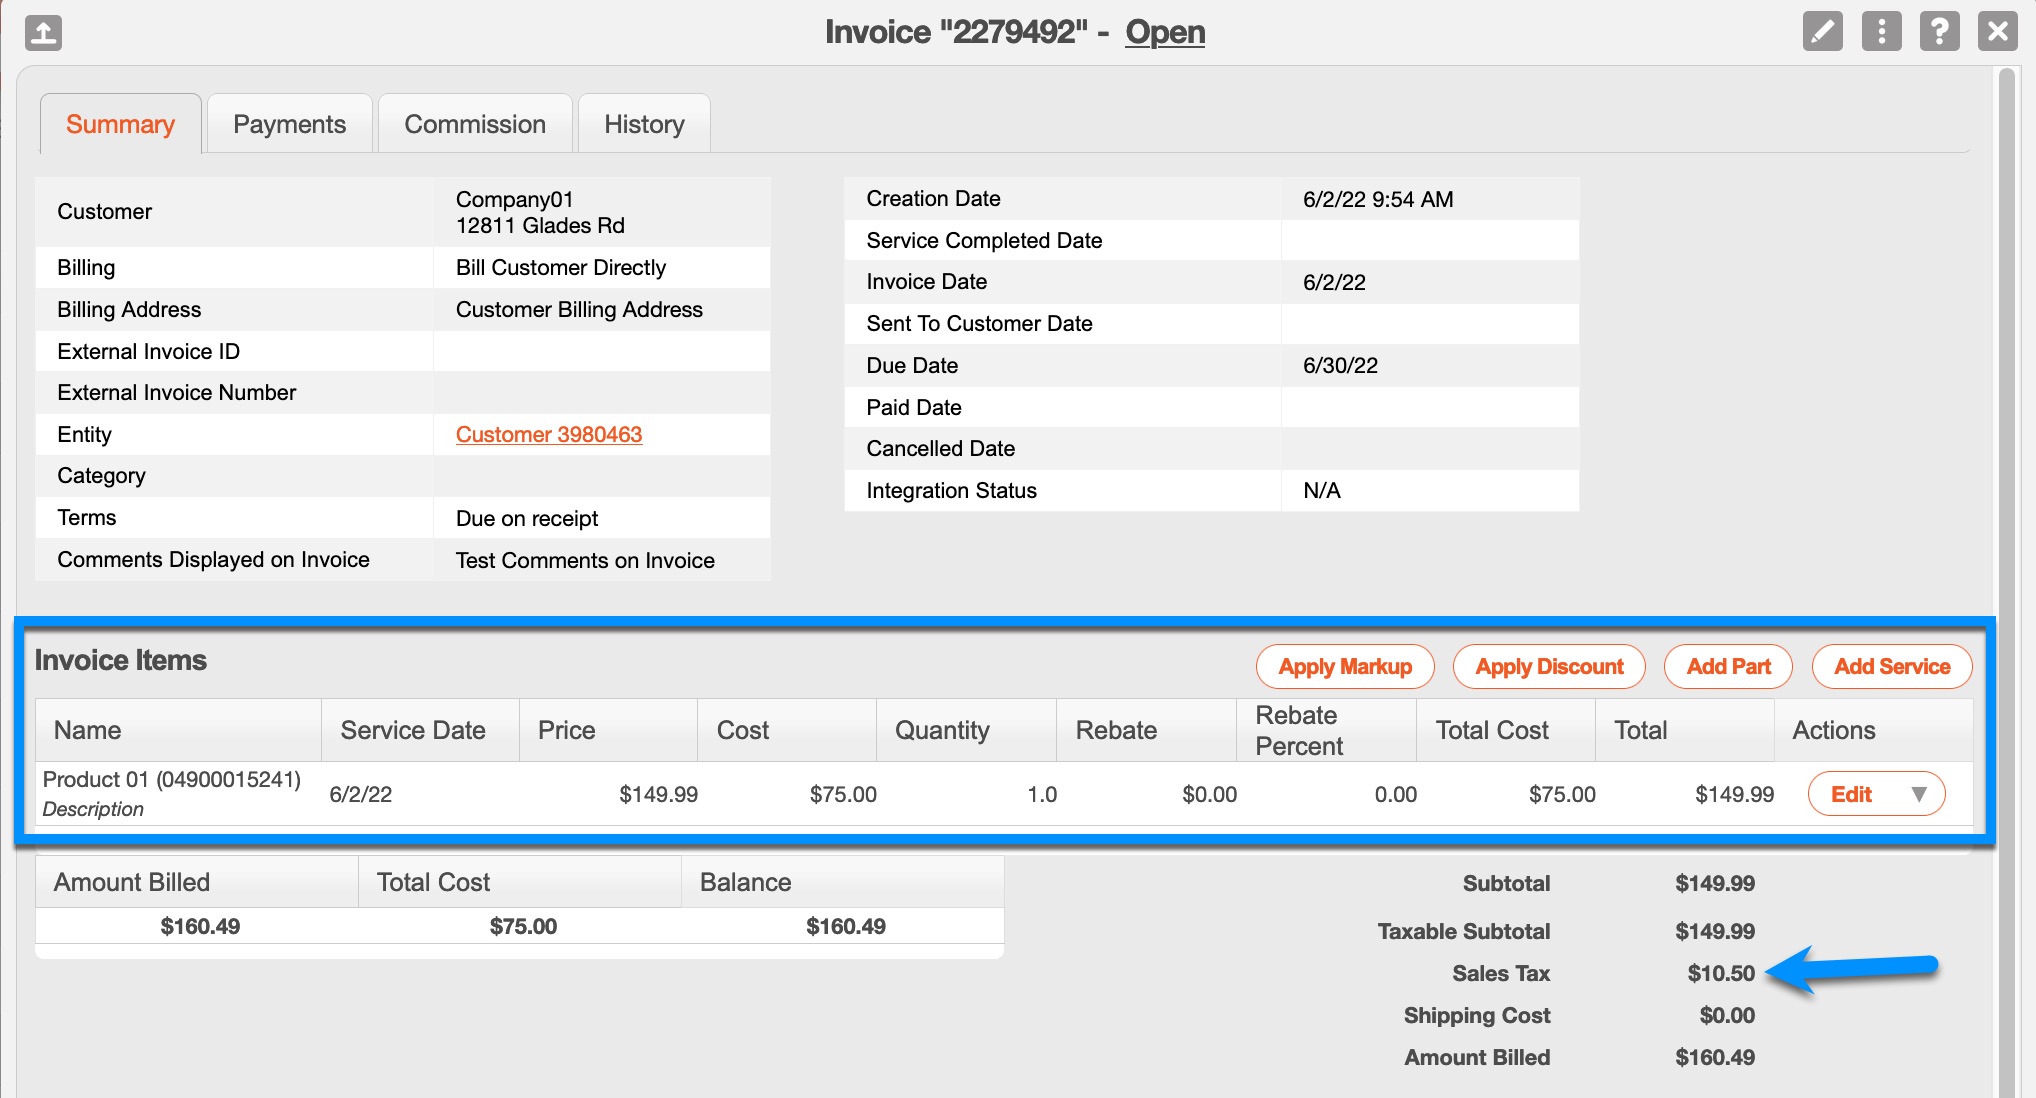
Begin adding Parts/Services to the invoice that have both their Avalara Tax Code and Tax Category setup (as discussed in Using the Avalara Connector – Setting Up Your Parts/Services):
Note how the Sales Tax field on the Invoice is being calculated automatically.
If you have any questions or need further assistance, please let us know. We'd be happy to help!
