You can access the Locations page by clicking on the "Locations" drop-down from the Account feature in the customer portal menu:

The Locations page will immediately display the all the registered locations for the customer and will allow the customer to add a new location:

The Search function and Magnifying Glass will allow the customer to search through registered locations
The Add New Location button will allow the customer to immediately add a new location
The Locations Columns are structured to display specific data related to each individual location
The customer can use the search bar to locate a specific location:

By entering the name or address location and pressing Enter (Windows Keyboard), Return (Mac Keyboard), or clicking the Magnifying Glass, the customer will be able to locate the specified location.
The columns found in Locations page are structured to display specific data related to each individual location:
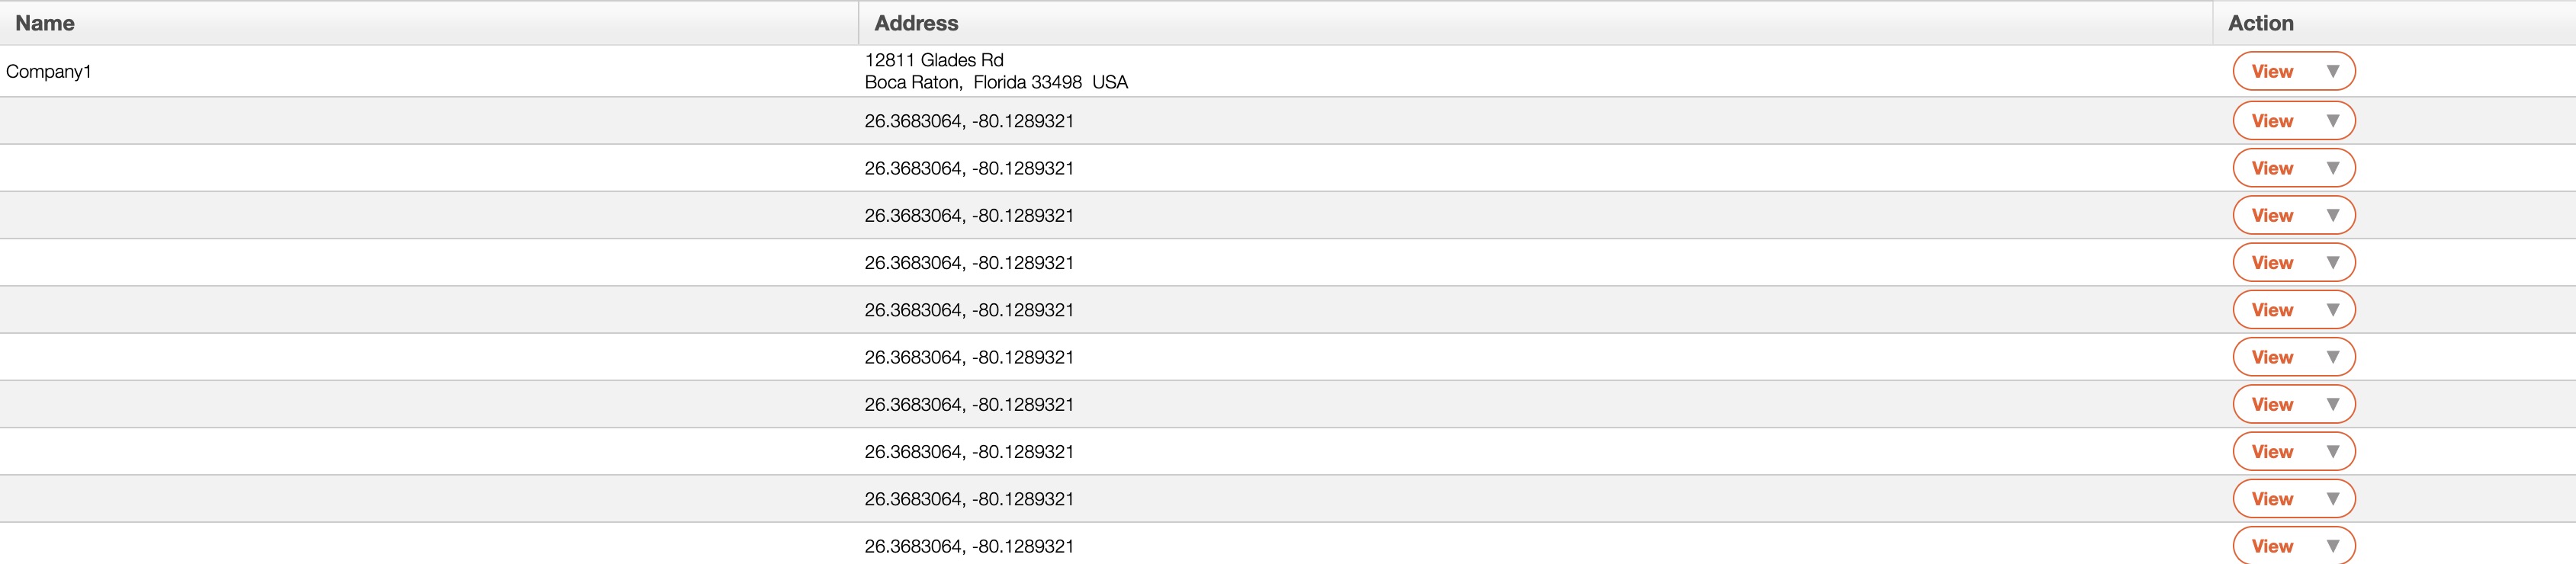
These columns are organized as: "Name," "Address," and "Actions." The columns from the Locations page are further defined below:
| Name: | Description: |
|---|---|
| "Name" | The given name of the location |
| "Address" | The physical address of the specified location |
| "Actions" | Allows the customer to access the View Location page, edit the location details, or delete a location |
Once the customer clicks the Add New Location button, they will be redirected to the Add Location page. On this page, the customer should input the name, city, country, etc. of the new location:
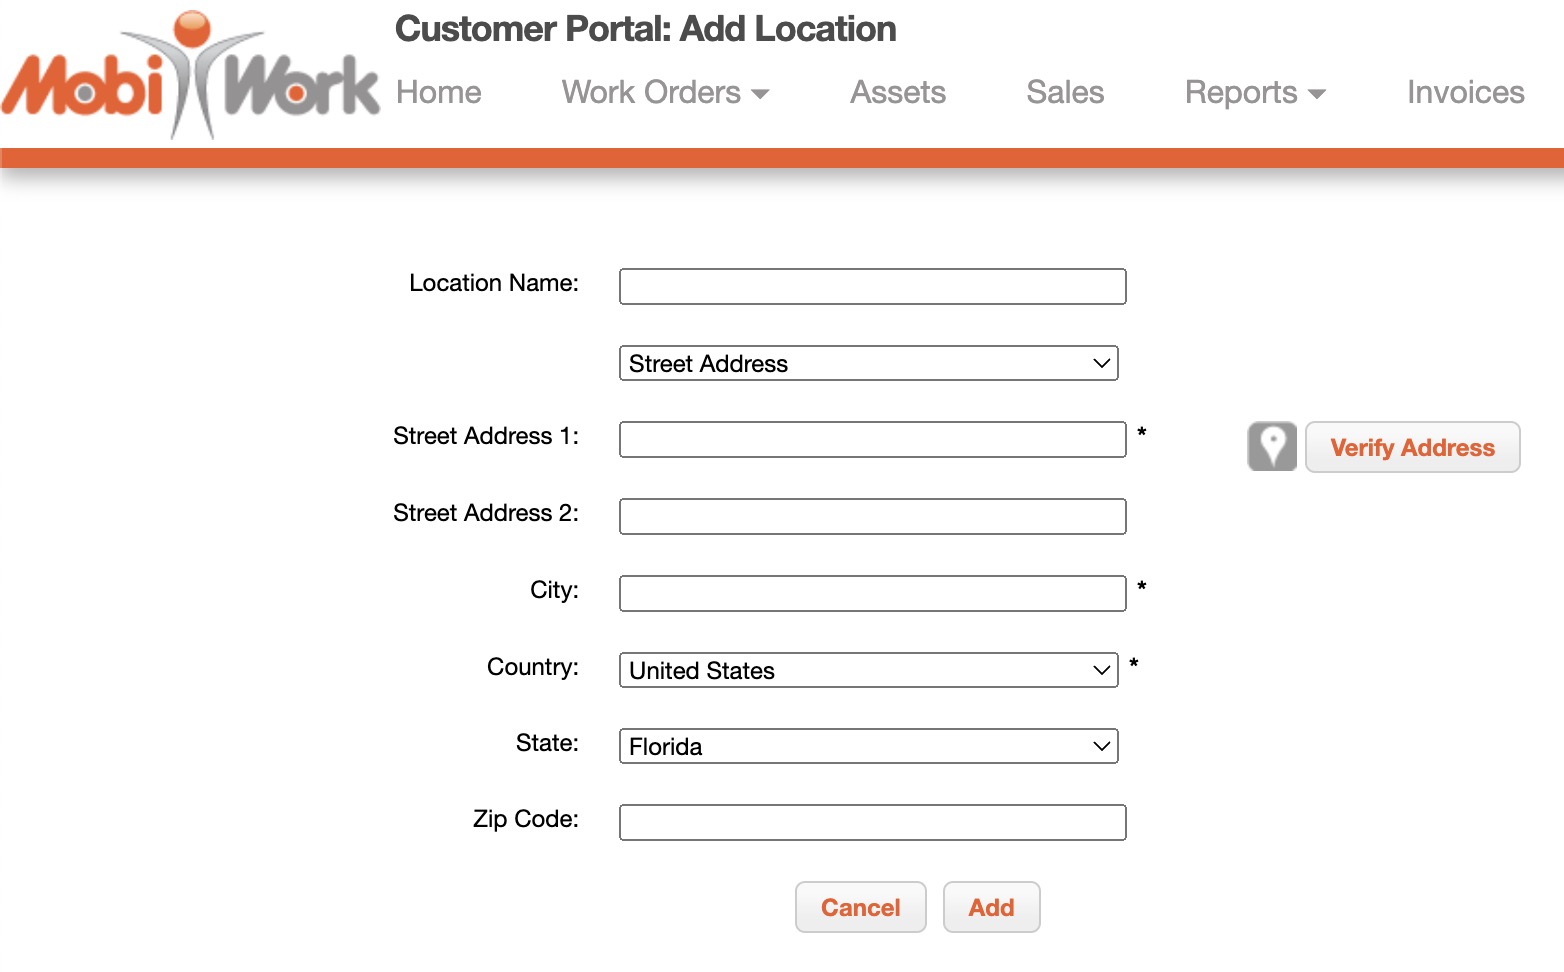
When the customer is satisfied with the new location information, they can click the Add button to save the location.
A customer can edit a location by selecting the "Edit" option from the drop-down:

Once the customer clicks on the "Edit" option they will be redirected to the Edit Location page. On this page, the customer will be able to update the location information:

When the customer is satisfied with the updated location information, they can click the Save button to update the location information.
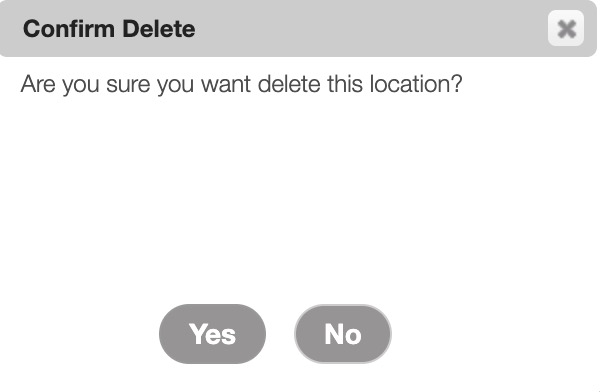
A customer can delete a location by selecting the "Delete" option from the drop-down:

Once the customer clicks on the "Delete" option, the Confirm Delete pop-up window will appear. If the customer is positive that they would like to delete the location, they should click the Yes button to confirm deletion: