- Overview
- Account Settings
- Assets
- Connectors Framework
- Overview
- QuickBooks Online
- QuickBooks Desktop Web Connector
- Azure AD
- Salesforce Integration
- FleetNet Connector
- Avalara Connector
- Inbound REST API
- Outbound REST API
- Mailchimp Connector
- Text Messaging Connector
- Clearent Connector
- Stripe Connector
- HubSpot Connector
- UKG Connector
- Paylocity Connector
- UKG Connector
- Gusto Connector
- iSolved Payroll Connector
- Customer Portal
- Customers
- Dashboards
- Devices
- Dispatching
- Forms
- Inventory
- Invoices & Billing
- Locations
- Payments
- Parts
- Projects
- Quotes
- Recurrent Routes
- Recurrent Services
- Reports
- Sales Orders
- Schedule
- Services
- Tasks
- Text Messaging
- Time Tracking
- Users
- Work Orders
With MobiWork you can easily add a new recurrent service; this section will highlight the different ways you can add a new recurrent service.
There are a couple of different ways that you can add a new recurrent service into MobiWork, including directly from the Recurrent Services feature from your MobiWork menu.
From the Recurrent Services Drop-Down
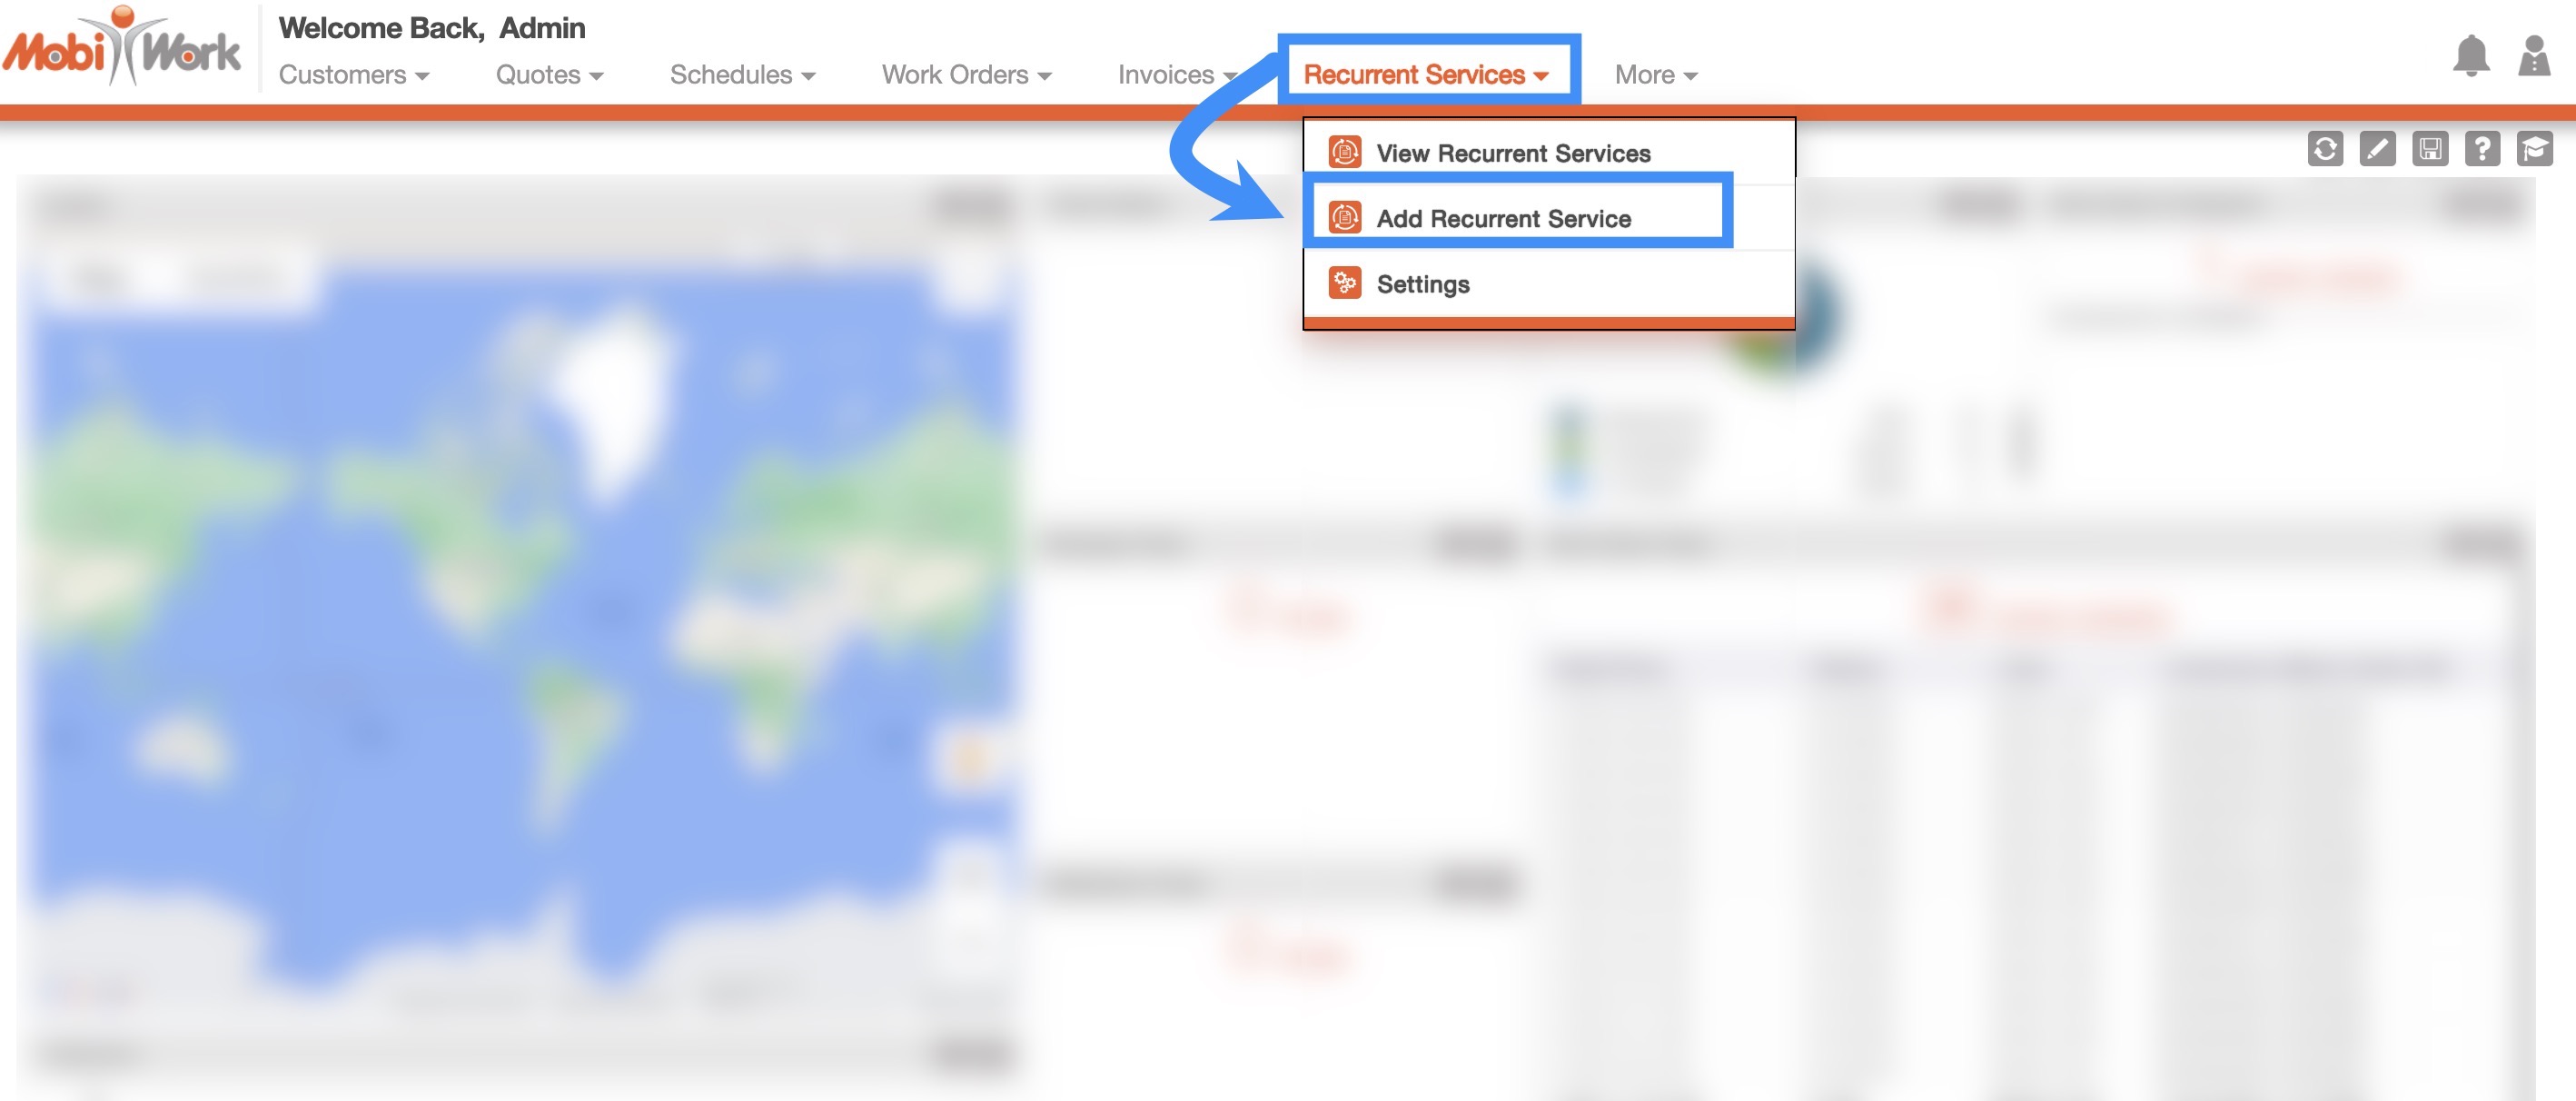
- The fastest and easiest way to add a recurrent service is by accessing the drop-down menu from the Recurrent Services feature, located in your MobiWork menu:
Select the "Add Recurrent Service" option from the drop-down.
The Add Recurrent Service pop-up window will then appear.

From the Recurrent Services' More Actions
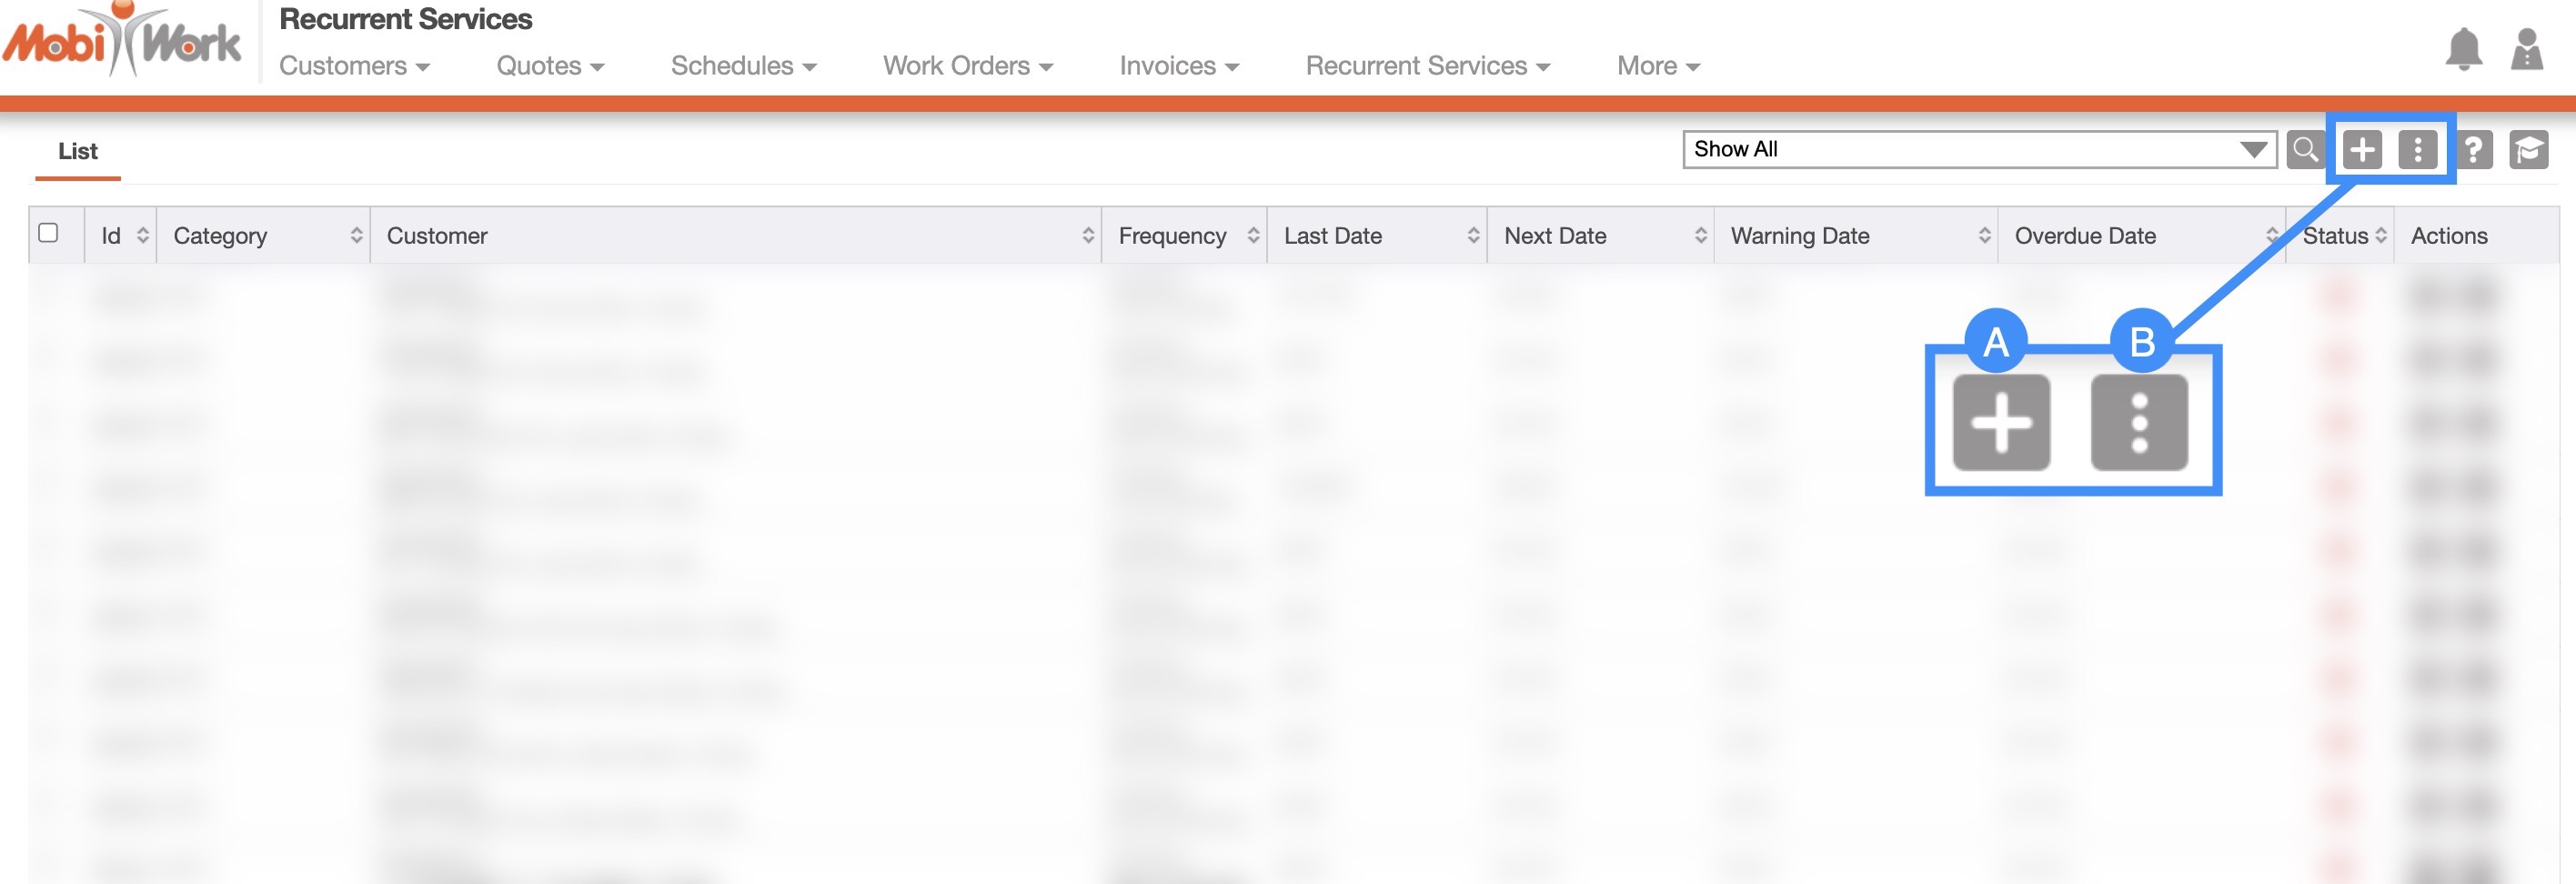
On the Recurrent Services feature page, you will also be able to add a new recurrent service or import your recurrent services from Excel, QuickBooks Online, and QuickBooks Desktop:

Plus Sign- Adds a new recurrent service.
More Actions- Allows you to access the import drop-down actions.
Another convenient way to add a new recurrent service is through the More Actions. For more information on how to access this page, please see the Recurrent Services List section.
To add a new recurrent service from the Recurrent Services feature page, please see the steps below:
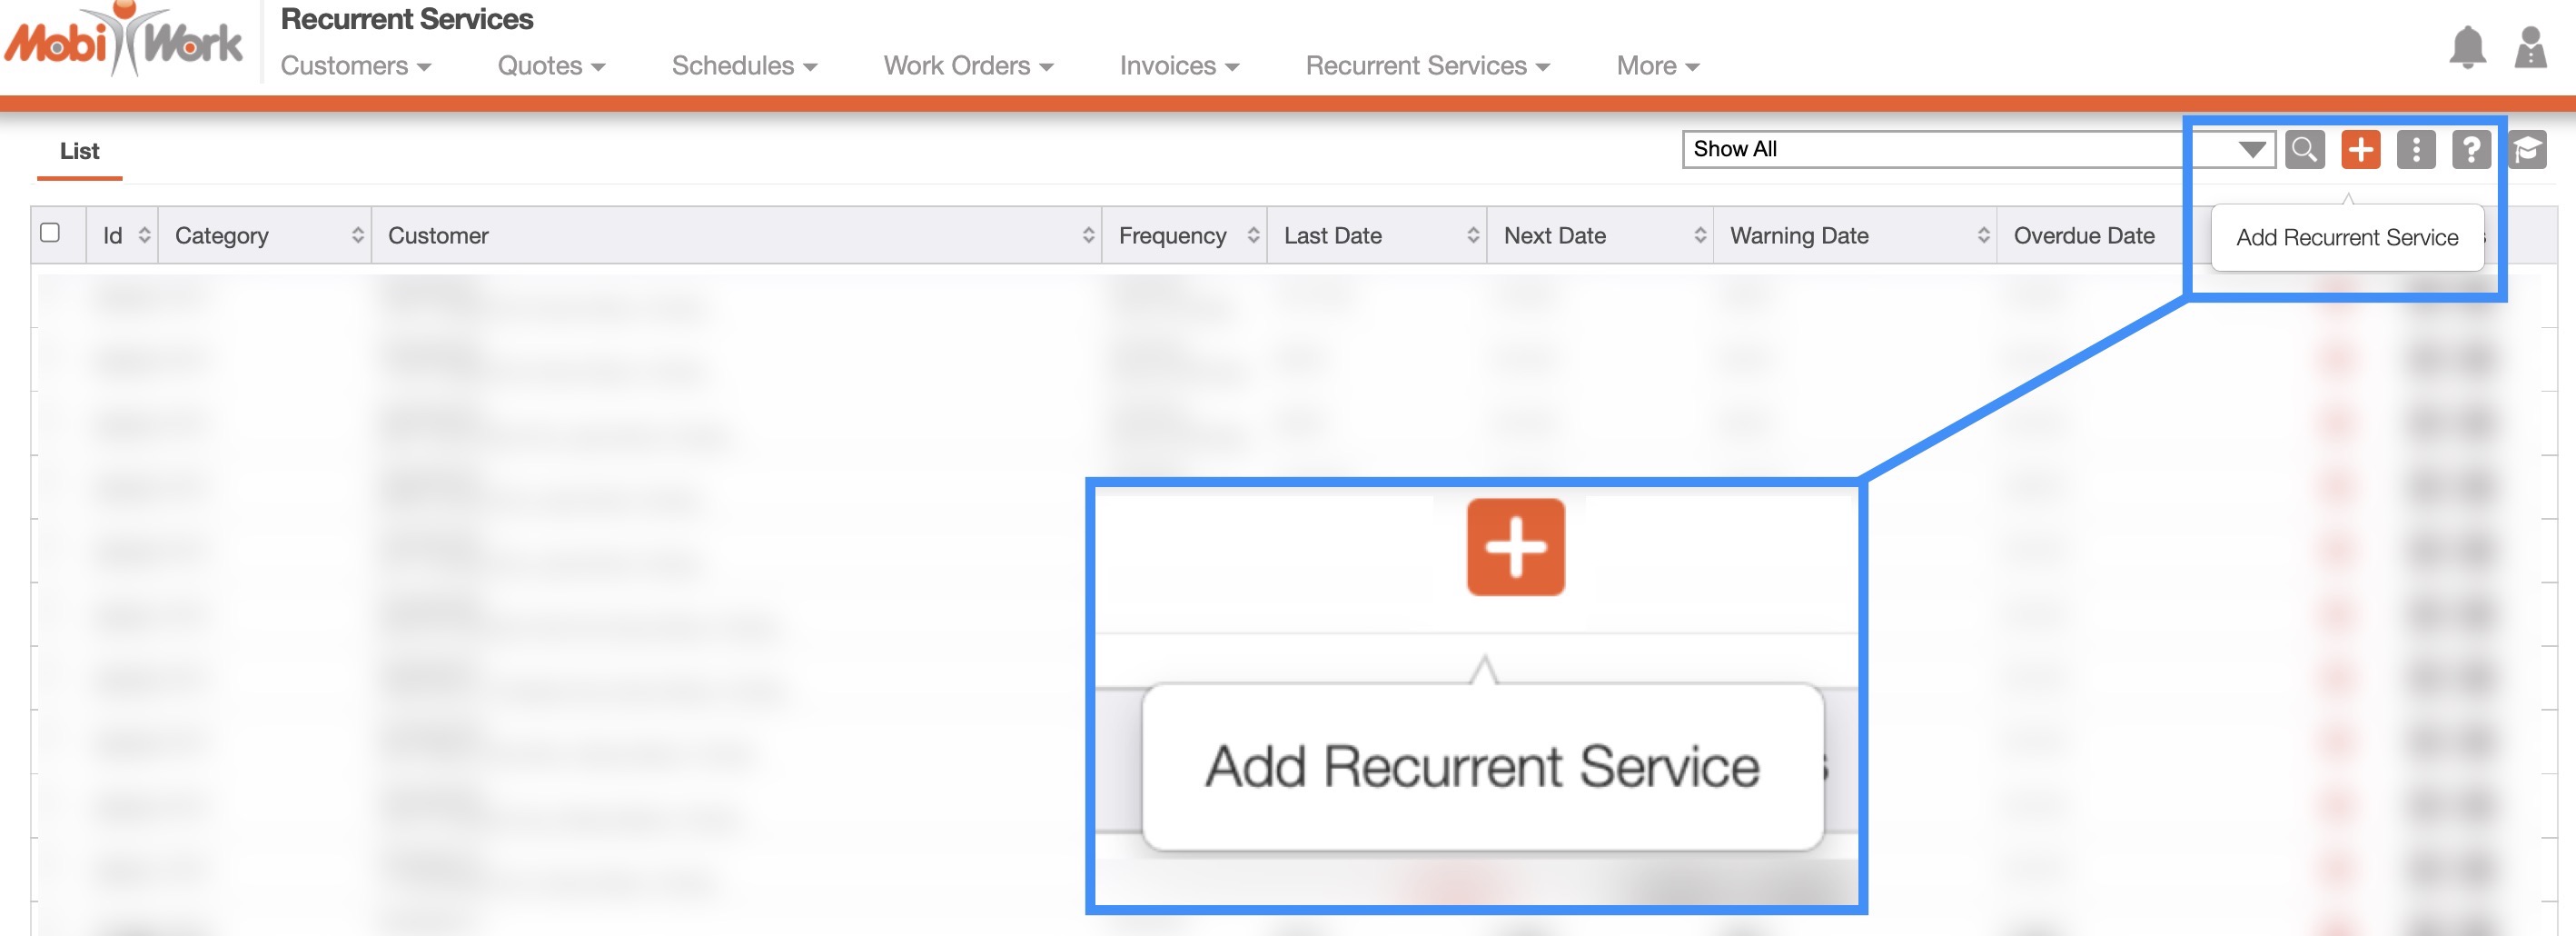
Once you are on the Recurrent Services feature page, click on the Plus Sign to add a new recurrent service:
The Add Recurrent Service pop-up window will then appear.

Customers
To see how to access the View Customer pop-up window, please see the View Customer page:
Once you open the View Customer pop-up window select the "R. Services" tab, and click the Plus Sign button:

The Add Recurrent Service pop-up window will then appear.
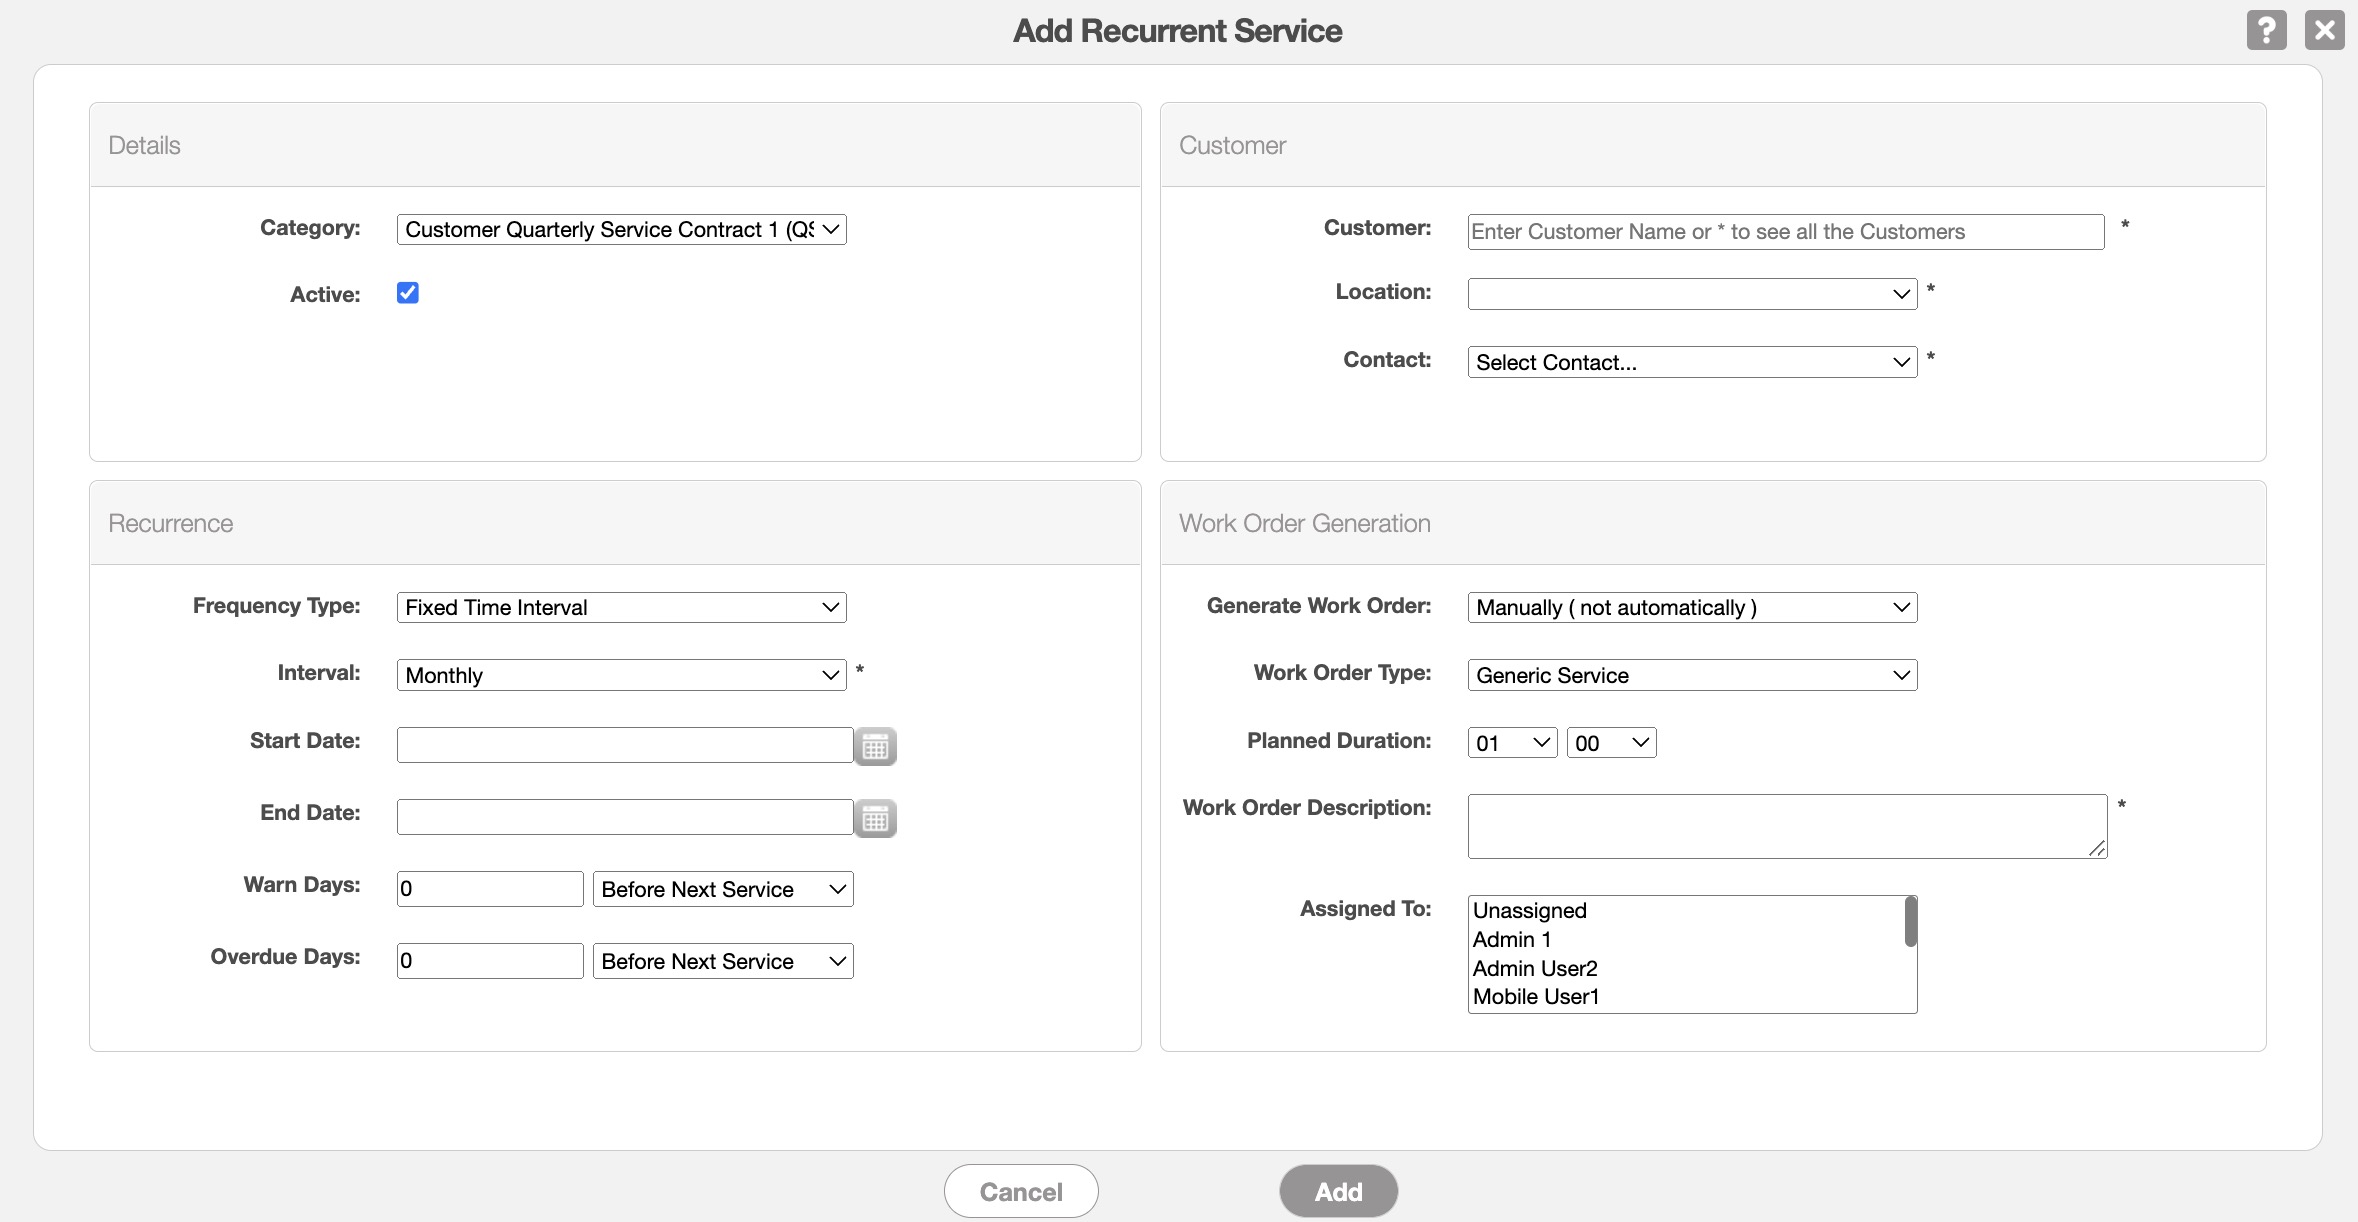
Regardless of the method that you choose to add a recurrent service, the Add Recurrent Service pop-up window will appear. From this window you will be able to input the work order description, the service type, how often the recurrent service should be performed and more:

The terms listed in the Add Recurrent Service pop-up window are defined below:
| Name: | Description: |
|---|---|
| "Category" | The type of service type that the recurrent service is listed under (e.g., Quarterly, Yearly, etc.). |
| "Active" | Check to indicate if the recurrent service is active; if active, the recurrent service will create work orders scheduled for a future date. If not active, all future work orders will be deleted, and the recurrent service will cease to generate more work orders. |
| "Customer" | The customer associated with the recurrent service. |
| "Location" | The location or address of the customer. |
| "Contact" | The customer contact for the work order. |
| "Frequency Type" | |
| "Interval" | The frequency interval of how often the recurrent service should be repeated. |
| "Start Date" | The start date of the recurrent service. |
| "End Date" | The end date of the recurrent service. |
| "Warn Days" | How many days after the last service date should the warning date occur (as a notification for the overdue date). |
| "Overdue Days" | How many days after the last service date should the overdue date occur (as a notification that after the specified date, the recurrent service is considered behind schedule). |
| "Generate Work Order" | How the work order should be generated (e.g., manually, automatically, etc.). |
| "Work Order Type" | The type of work order being performed (e.g., Generic Service, Repair, etc.). |
| "Planned Duration" | How long the work order for the recurrent service should last (e.g., one hour, three hours, etc.) |
| "Work Order Description" | A description of the recurrent service. This field has a limit of 255 characters. |
| "Assigned To" | The user in charge of the performing the job for the recurrent service. |
If you have any questions or need further assistance, please let us know. We'd be happy to help!
