Set Up Your Business Information
Business Name, Email, Phone Number, & Address
Overview Video
Step by Step
- Begin by opening the MobiWork Onboarding Assistant:
- During your free trial, this can be accomplished by selecting the Graduation Cap icon located in the top right corner of all your MobiWork pages:
- Or by selecting the Onboarding Assistant option located in the Help menu of your User Actions:
- Note: If you're no longer in your trial of MobiWork, the Onboarding Assistant will still be found within the Help menu.
- The Onboarding Assistant pop-up window will appear with the "Discover MobiWork!" tab opened by default:
- From here, select the "Ready to MobiWork?" tab and choose the Set Up Your Business Information option:
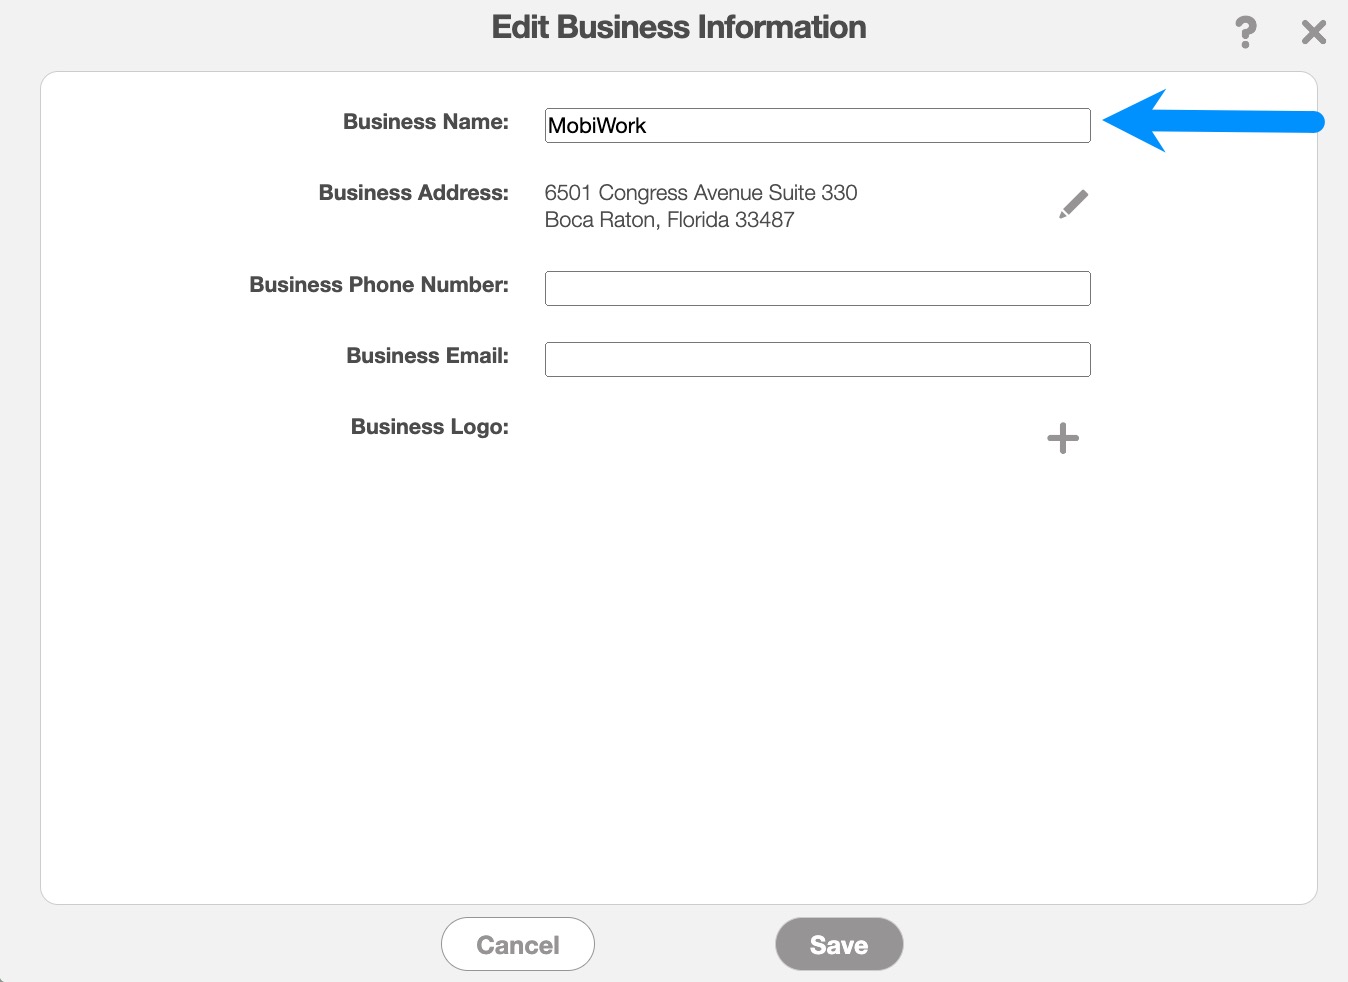
- We will start with the Business Name. Just type the name of your business into the Business Name field.
- Note: The business name that you enter here, will be used for customer-facing purposes (e.g., invoices, quotes, the customer portal, generic forms, the display name for emails, etc.):
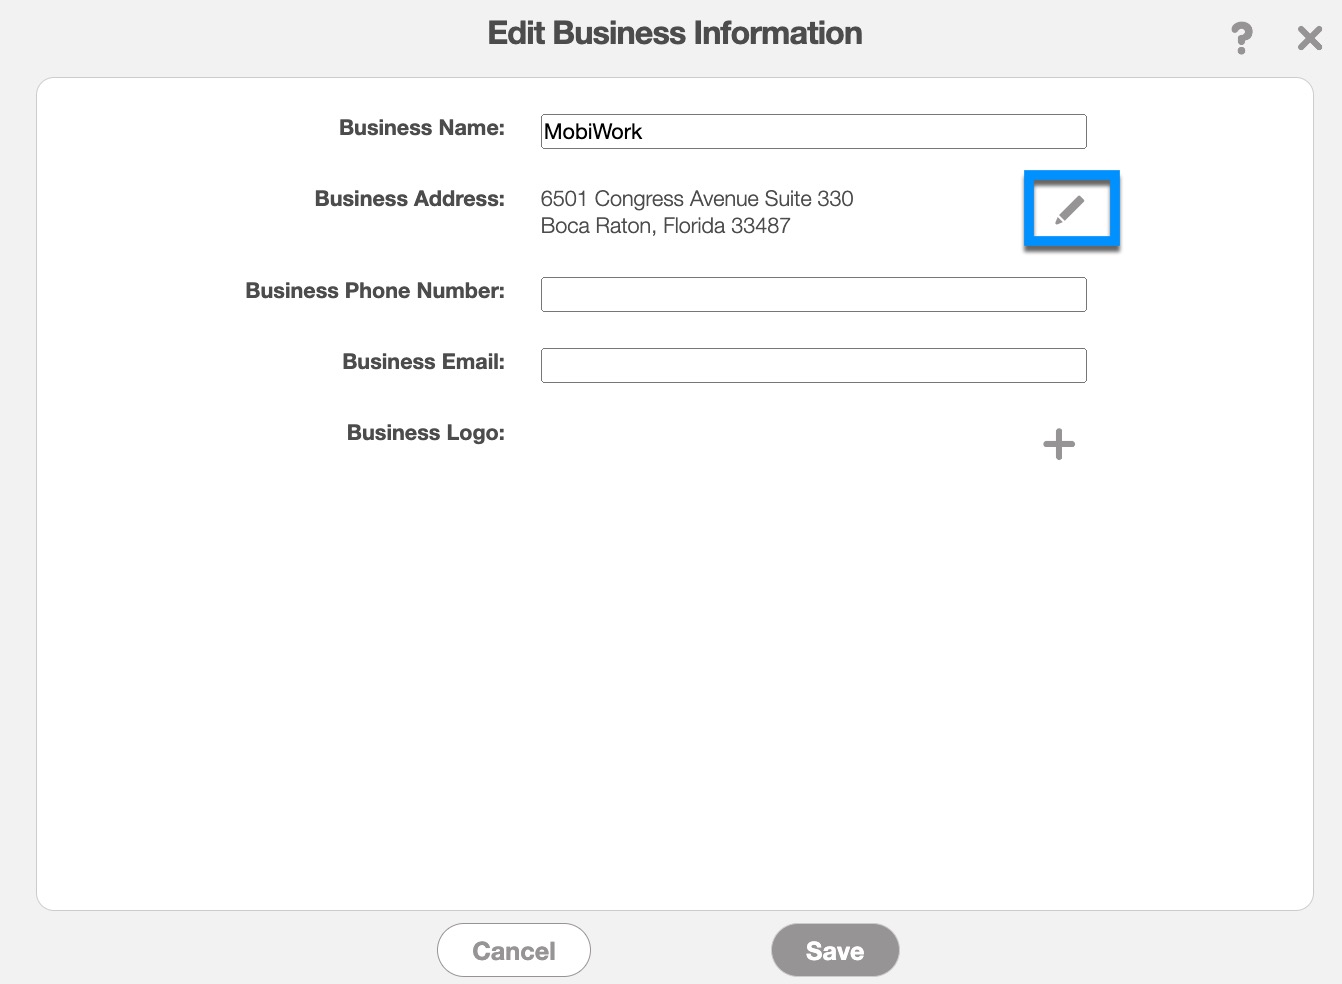
- Next, click on the Pencil button for the Business Address field.
- Note: This address will be the main business or office address for your company; thus it will need to be a physical location (i.e., no P.O boxes):
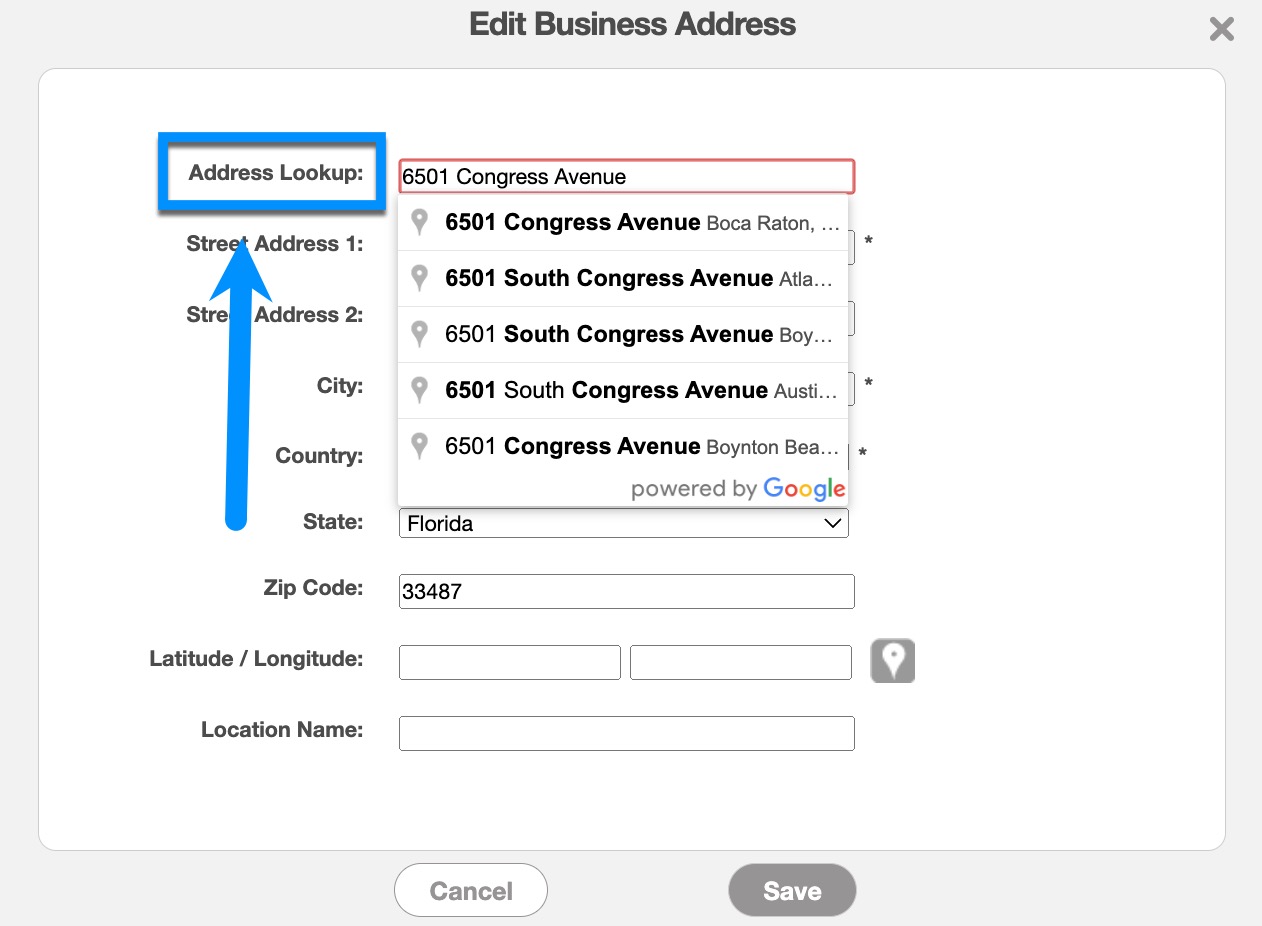
- You can enter your new Business Address in the fields provided. You can also use the Address Lookup field to search for your new address; as you type in this field, different address results will appear. Please click on the desired address listing from the drop-down. Once you are done, click on the Save button:
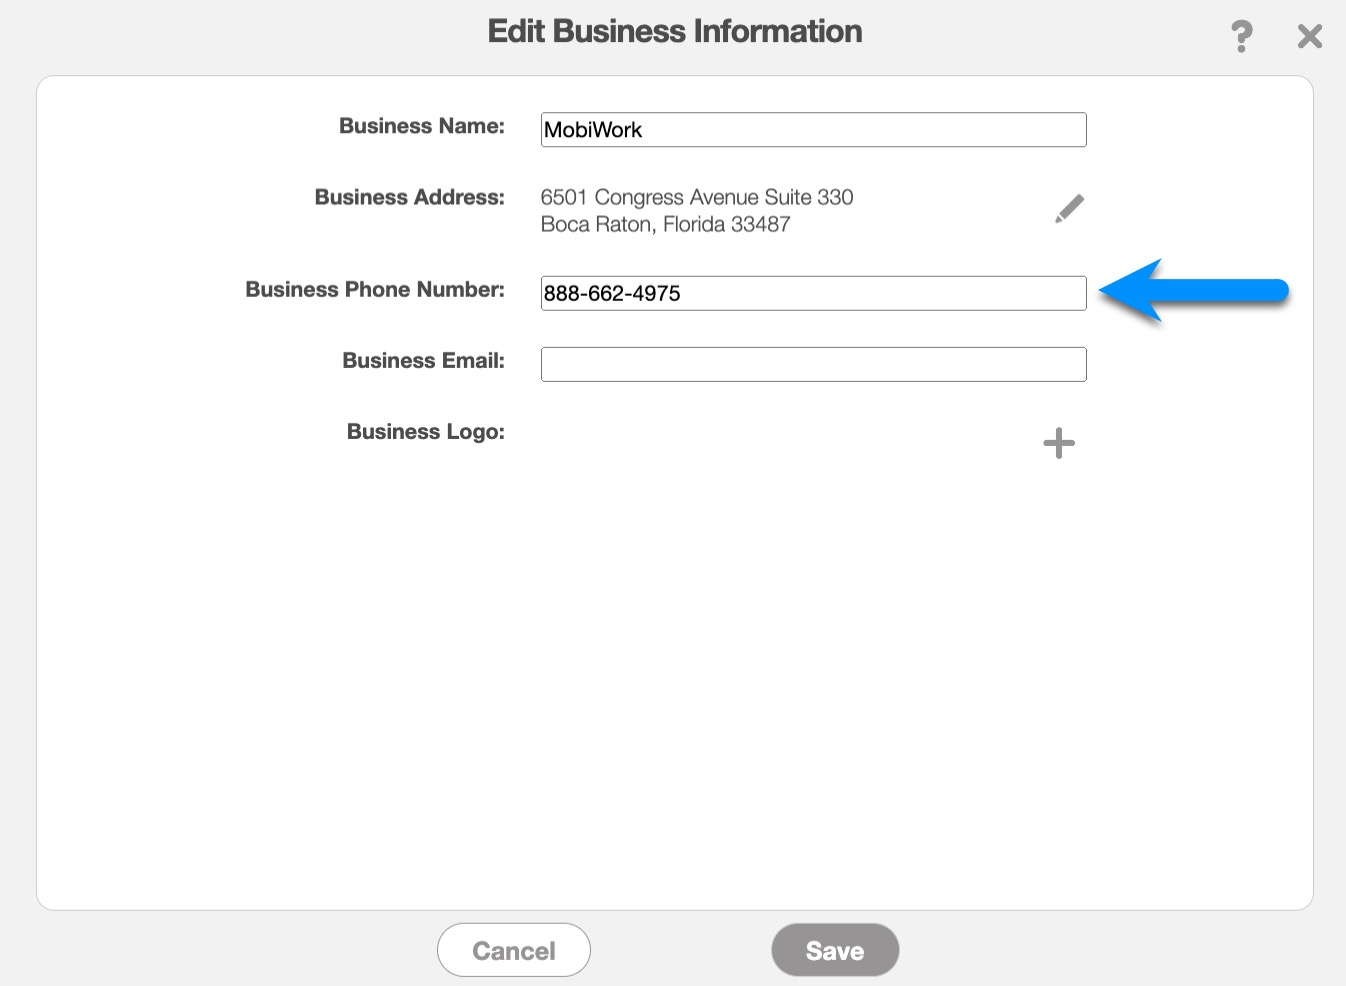
- Type the customer-facing phone number for your business in the Business Phone Number field.
- The business phone number that you enter here, will be used in email notifications to the customer and when sending appointment updates (text or email), invoices, or quotes to the customer:
- Now, enter your customer-facing email address for the Business Email field.
- The customer-facing email address that you enter here, will be the main contact email for your customers (e.g., where you send and receive emails from your customers). It will also be used when sending appointment updates (text or email), invoices, or quotes to the customer:
- When you are finished making all the necessary changes, make sure to click the Save button at the bottom of the Edit Business Information window.


Business Logo
Overview Video
Step by Step
- Begin by opening the MobiWork Onboarding Assistant:
- During your free trial, this can be accomplished by selecting the Graduation Cap icon located in the top right corner of all your MobiWork pages:
- Or by selecting the Onboarding Assistant option located in the Help menu of your User Actions:
- Note: If you're no longer in your trial of MobiWork, the Onboarding Assistant will still be found within the Help menu.
- The Onboarding Assistant pop-up window will appear with the "Discover MobiWork!" tab opened by default:
- From here, select the "Ready to MobiWork?" tab and choose the Set Up Your Business Information option:
- Click the Plus Sign button for the Business Logo field:
- Please keep in mind, there is a recommended size of 250 pixels (W) x 75 pixels (H) for your company logo:
- You can drag & drop your image file, or browse your computer for the new Business Logo image:
- Once you are satisfied with the image, click the Save button:
- Your new company logo will now appear on things like:
- Emails:
- Invoices on both the web...:
- ... and mobile device:
- Quotes:
- When you are finished making all the necessary changes, make sure to click the Save button at the bottom of the Edit Business Information window.
![]()
![]()
![]()
![]()
![]()
![]()
![]()