Start Time Tracking (Single User)
To access the start time tracking for a single user, you will need to access the Time Tracking feature for the single user. For more information on how to access this page, please see the Time Tracking Device Layout page.
![]()
Start Time Tracking (Multiple Users)
To access the start time tracking for multiple users, you will need to access the Time Tracking feature for multiple users. For more information on how to access this page, please see the Time Tracking Device Layout page.
Once you are on this page, press the Start button to begin the time tracking:
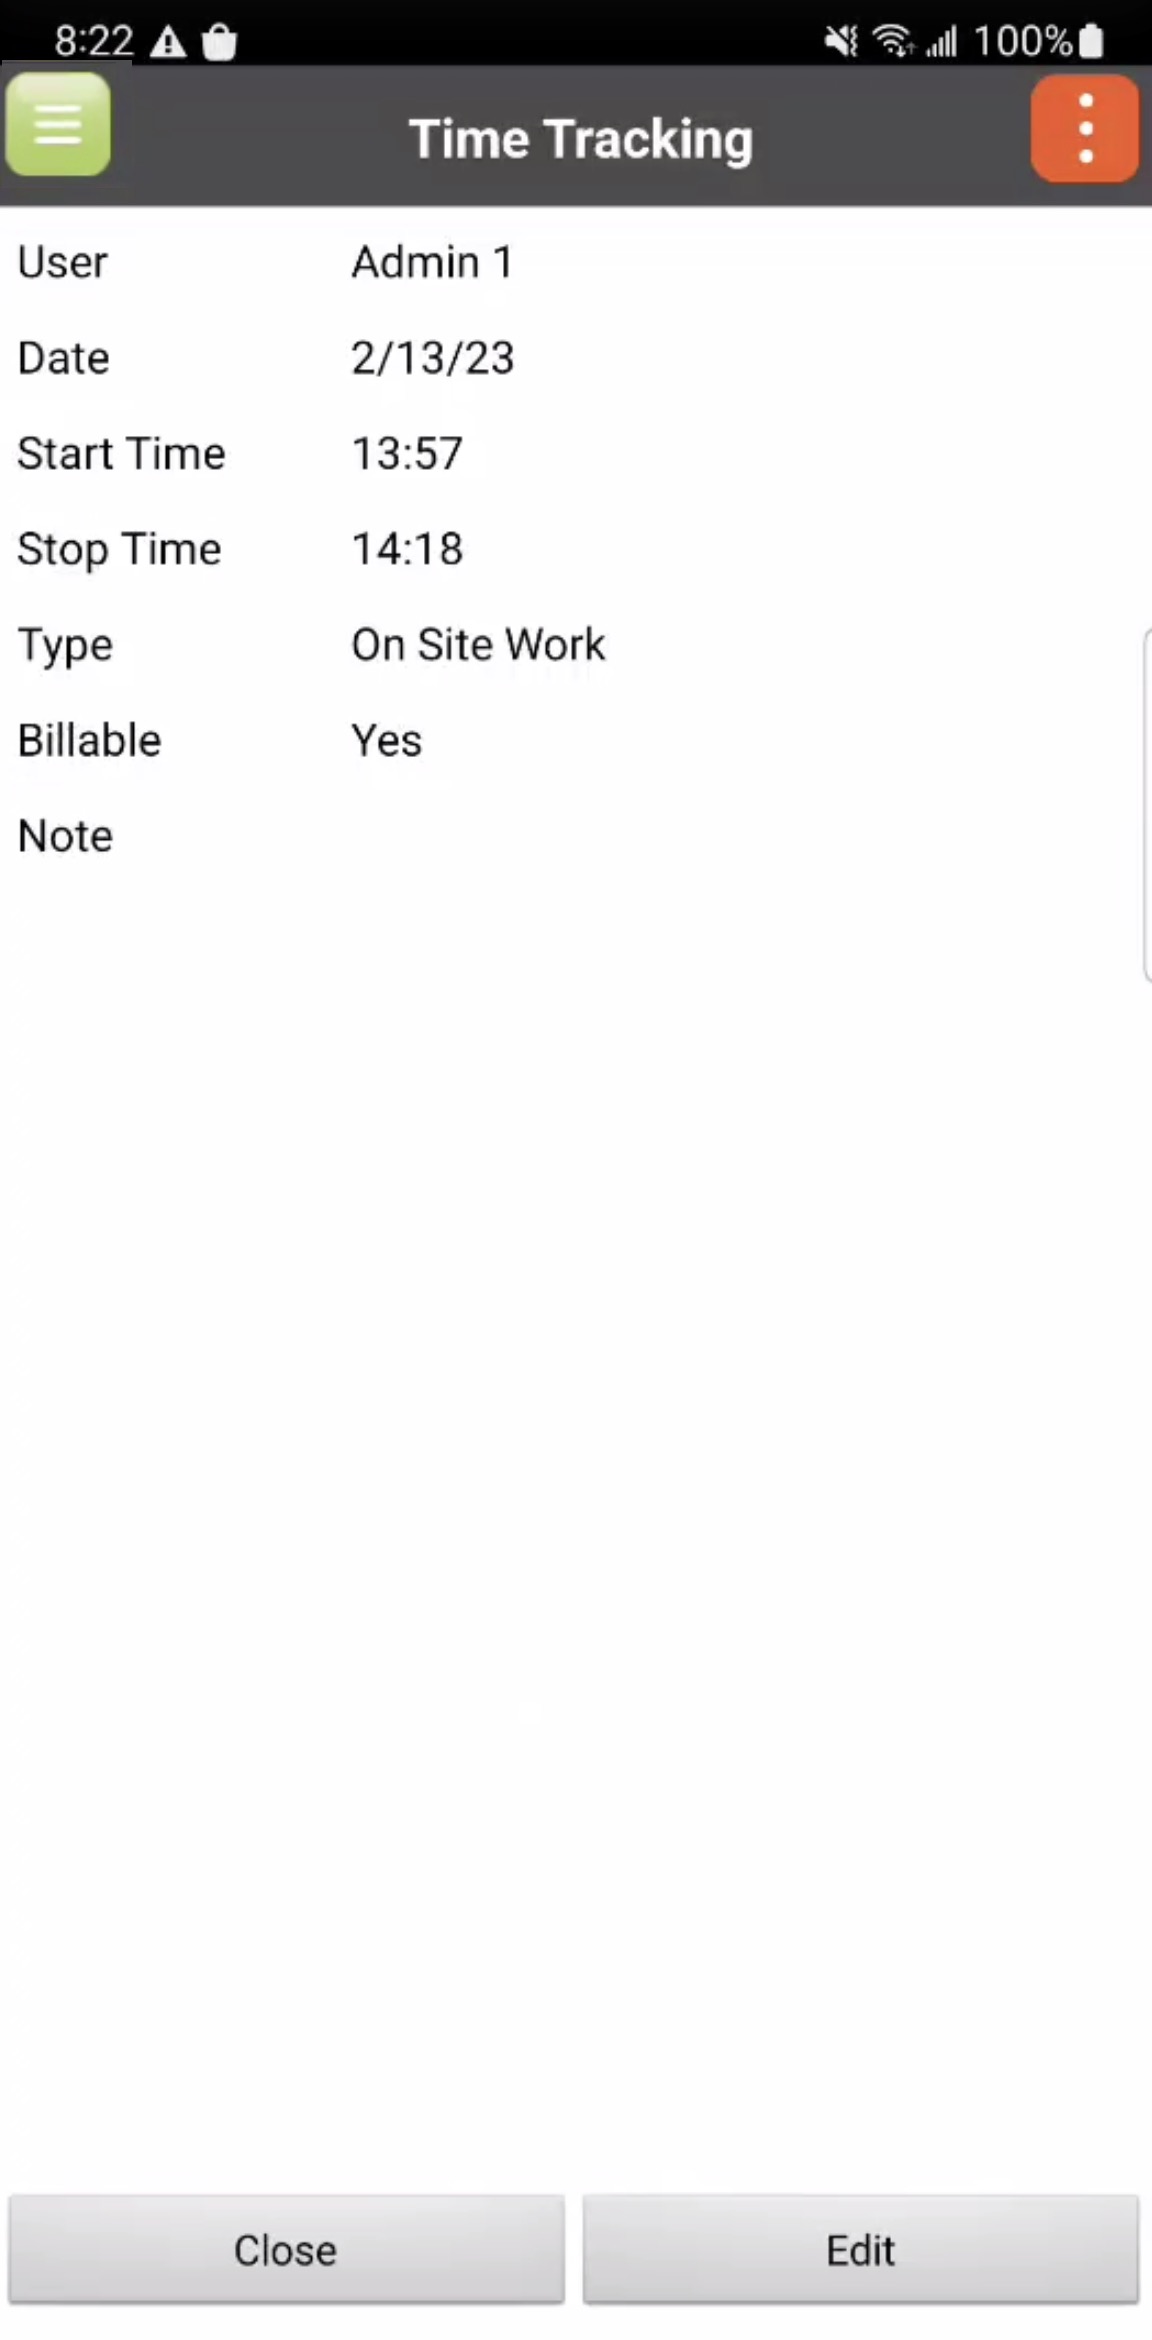
Once you press the Add button for an individual user's time tracking, you will be brought to the Time Tracking page:
![]()
On this page you can:
Use the drop-down to indicate the work order type (i.e., On Site Work, Work, In Transit, Admin, and Lunch)
Indicate the start date that the time tracking was supposed to take place.
Indicate the start time that the time tracking was supposed to start.
Indicate the stop time that the time tracking was supposed to stop.
And any applicable notes related to the time tracking.
Once you are satisfied with the data entered, press the Add button to confirm the updated time tracking.
Note: Please note that when accessing the Time Tracking page from the search function, you will have the Edit button instead of the Add button. The Edit button will function the same way as the Add button.
Once you press the Add button for the crew's time tracking, you will be brought to the Time Tracking page:
![]()
On this page you can:
Use the drop-down to indicate the work order type (i.e., On Site Work, Work, In Transit, Admin, and Lunch)
Indicate the start date that the time tracking was supposed to take place.
Indicate the start time that the time tracking was supposed to start.
Indicate the stop time that the time tracking was supposed to stop.
Indicate the users that the updated time tracking will impact.
And any applicable notes related to the time tracking.
Once you are satisfied with the data entered, press the Add button to confirm the updated time tracking.