Through your mobile application there are several different ways you can access the Time Tracking feature. The subsections below will highlight how to navigate to the Time Tracking feature through the listed MobiWork mobile features.
Home Panel
You can access the Time Tracking feature directly through the Home Panel by pressing on the Time Tracking button:
![]()
Menu Panel
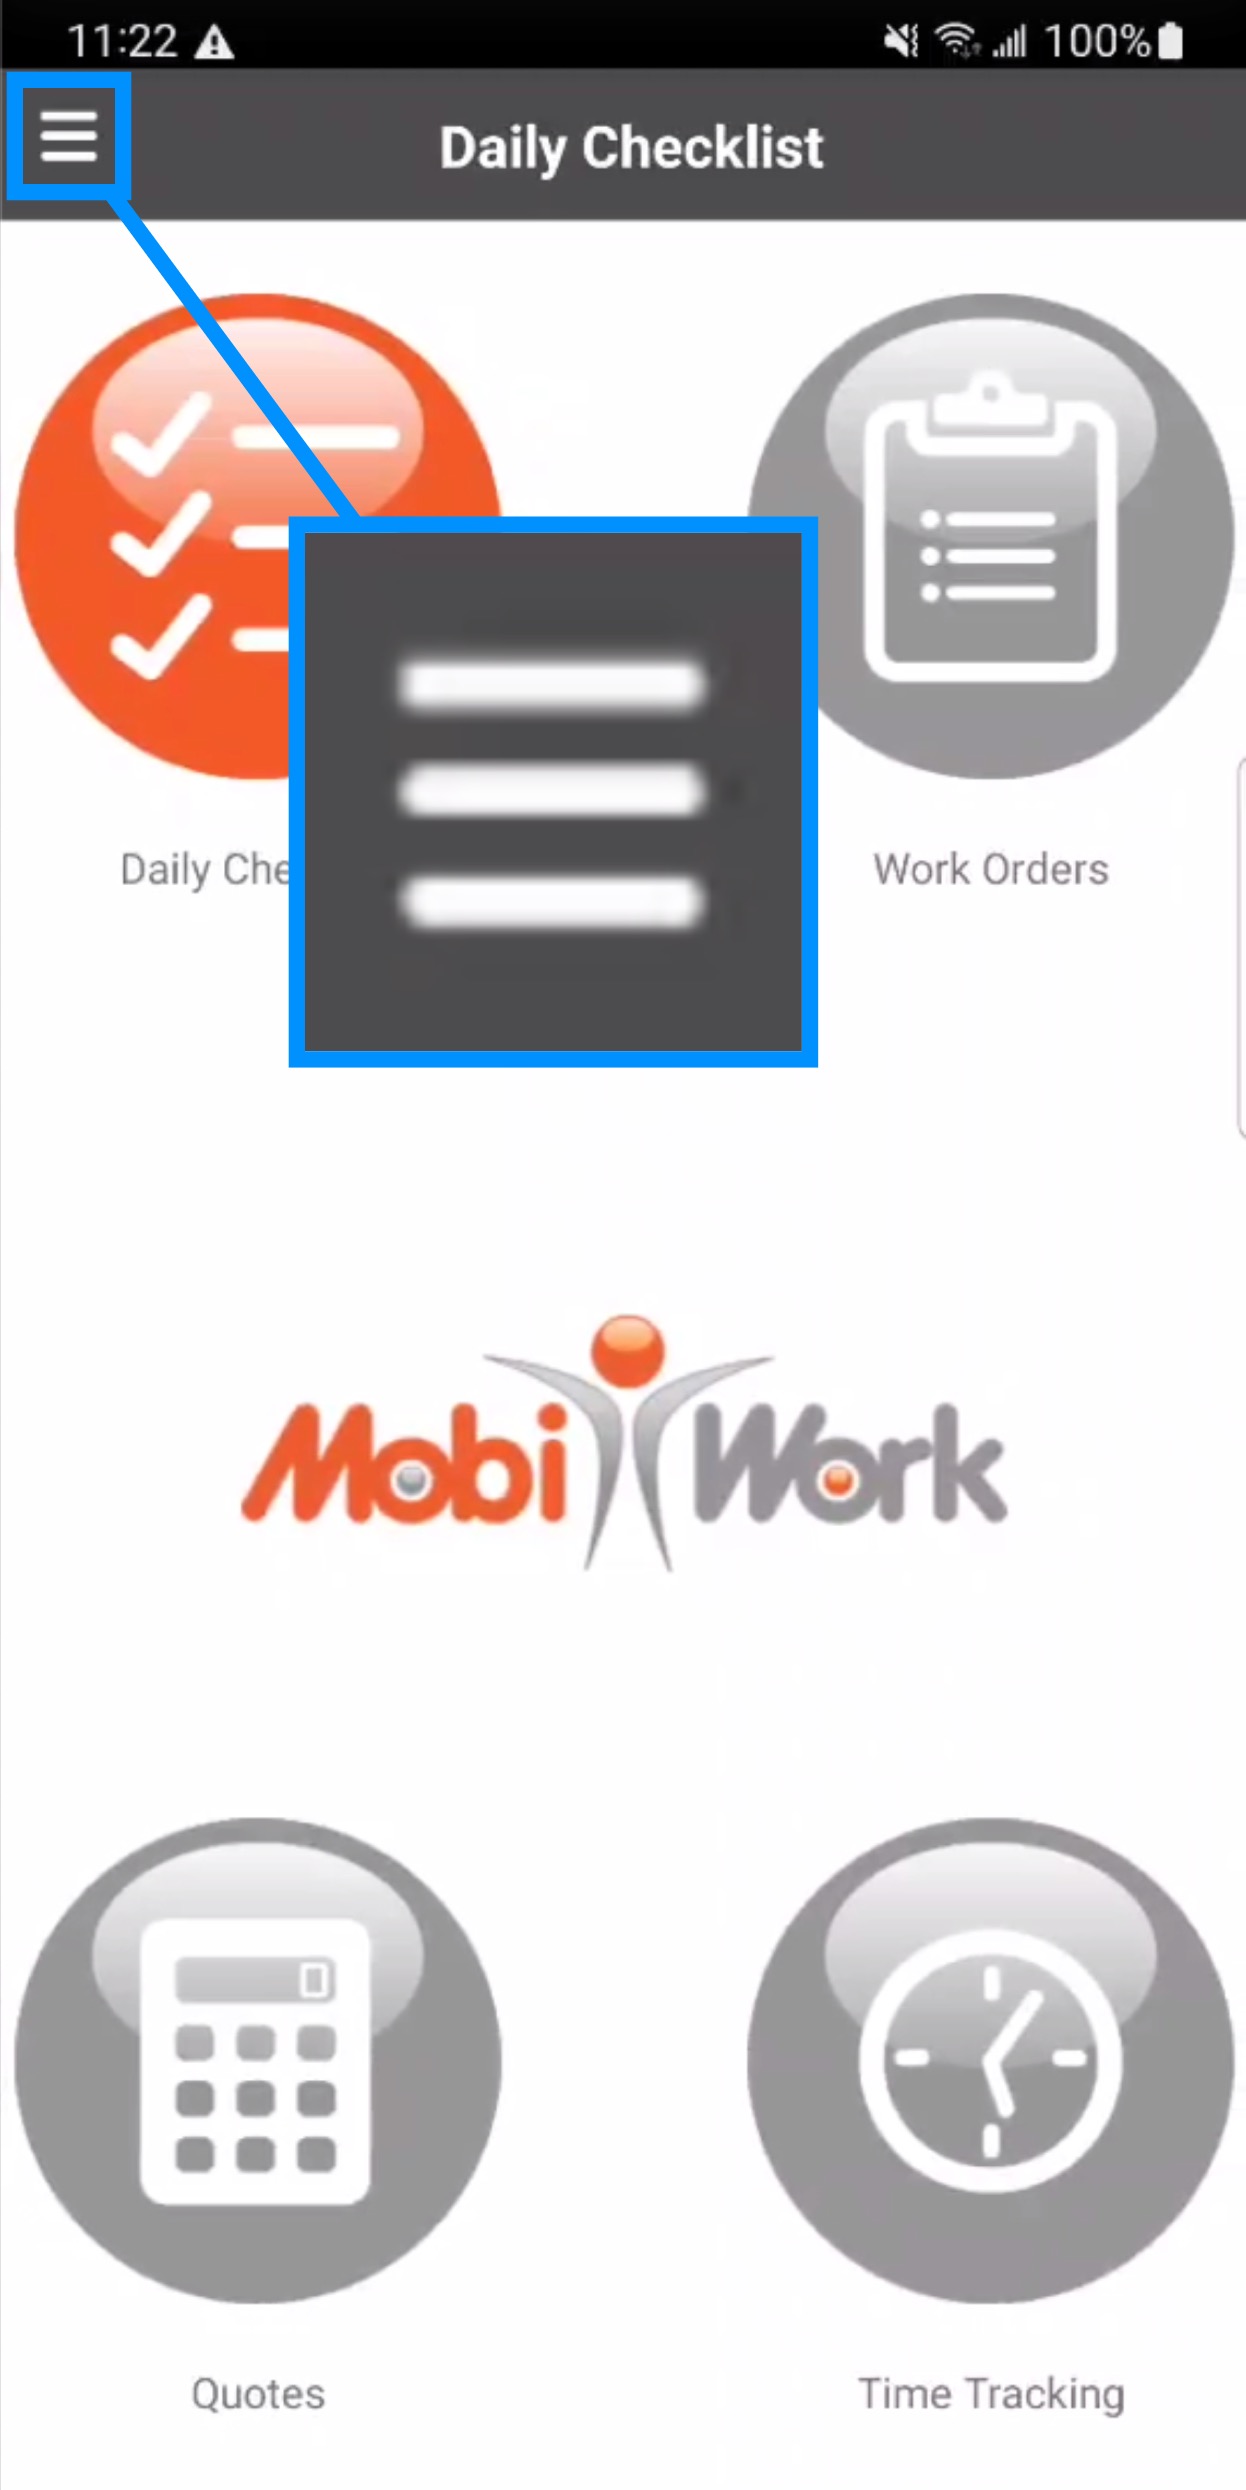
You can also access the Time Tracking feature through the Menu Panel. You can access the Menu Panel, by clicking the button in the top left corner:
From the Menu Panel, locate the Time Tracking button and then press it:
![]()
You can also scroll down and select the "Crew Time Tracking" option to view the time tracking of multiple users:
![]()
Work Orders
You can also access the Time Tracking feature through a selected work order. For more information on how to access this feature, please see the View Work Order on Device page.
Once you have accessed the desired work order, you can access the Time Tracking feature or functions through the "Secondary Action Items:"
![]()
Through the "Secondary Actions Items" you can access the Time Tracking for a single user (the "Update Time Tracking" option) or multiple users (the "Update Crew Time Tracking" option):
![]()
Projects
You can also access the Time Tracking feature through a selected project. For more information on how to access this feature, please see the Projects page.
Once you have accessed the desired project, you can access the Time Tracking feature through the Actions Panel:
![]()
Once you access the Time Tracking feature from the mobile application, you will be redirected to the main Time Tracking feature page for a single user:
![]()
The Actions Panel which will allow you to access the additional functions (i.e., Refresh and Search.).
The "Time Tracking Data" will display data associated with the time tracking (e.g., the date, the type of activity being measured, the start time, etc.).
The total billable hours and total hours will display towards the bottom of the "Time Tracking Data" section.
The Start button will start the time tracking for the selected work order type (You can see if a time tracking has started and is continuing if there is a Clock icon in the "Stop Time" column).
The Stop button will stop the time tracking for the selected work order type.
The Add button will allow you to add the start and end times for the time tracking.
And the Refresh button will refresh the data displayed on the Time Tracking feature.
You can access the Time Tracking feature for multiple users through the Work Order feature's "Secondary Action Items." For more information on how to access this view, please see the View Work Order on Device section:
![]()
The "Crew Time Tracking Data" will display data associated with the time tracking (e.g., the date, the user, the start time, etc.).
The Start button will start the time tracking for the selected work order type (You can see if a time tracking has started and is continuing if there is a Clock icon in the "Stop Time" column).
The Stop button will stop the time tracking for the selected work order type.
The Add button will allow you to add the start and end times for the time tracking.
And the Refresh button will refresh the data displayed on the Time Tracking feature.
Please note that if you press on a specific user, you will be redirected to the Time Tracking feature of the selected user.
To refresh the data that appears on the Time Tracking feature, you can press the Refresh button. Regardless, if you are viewing the single Time Tracking feature or the multiple Time Tracking feature, the Refresh button will be positioned at the bottom right of your device:
![]()