There are various ways you can add an invoice into MobiWork. You can add an invoice through the Invoice List View, through the "Billing" tab, or even by converting a quote or generating an invoice from a sales order. The subsections below will go into further detail about the different ways you can add a new invoice.
From the Invoice Drop-Down
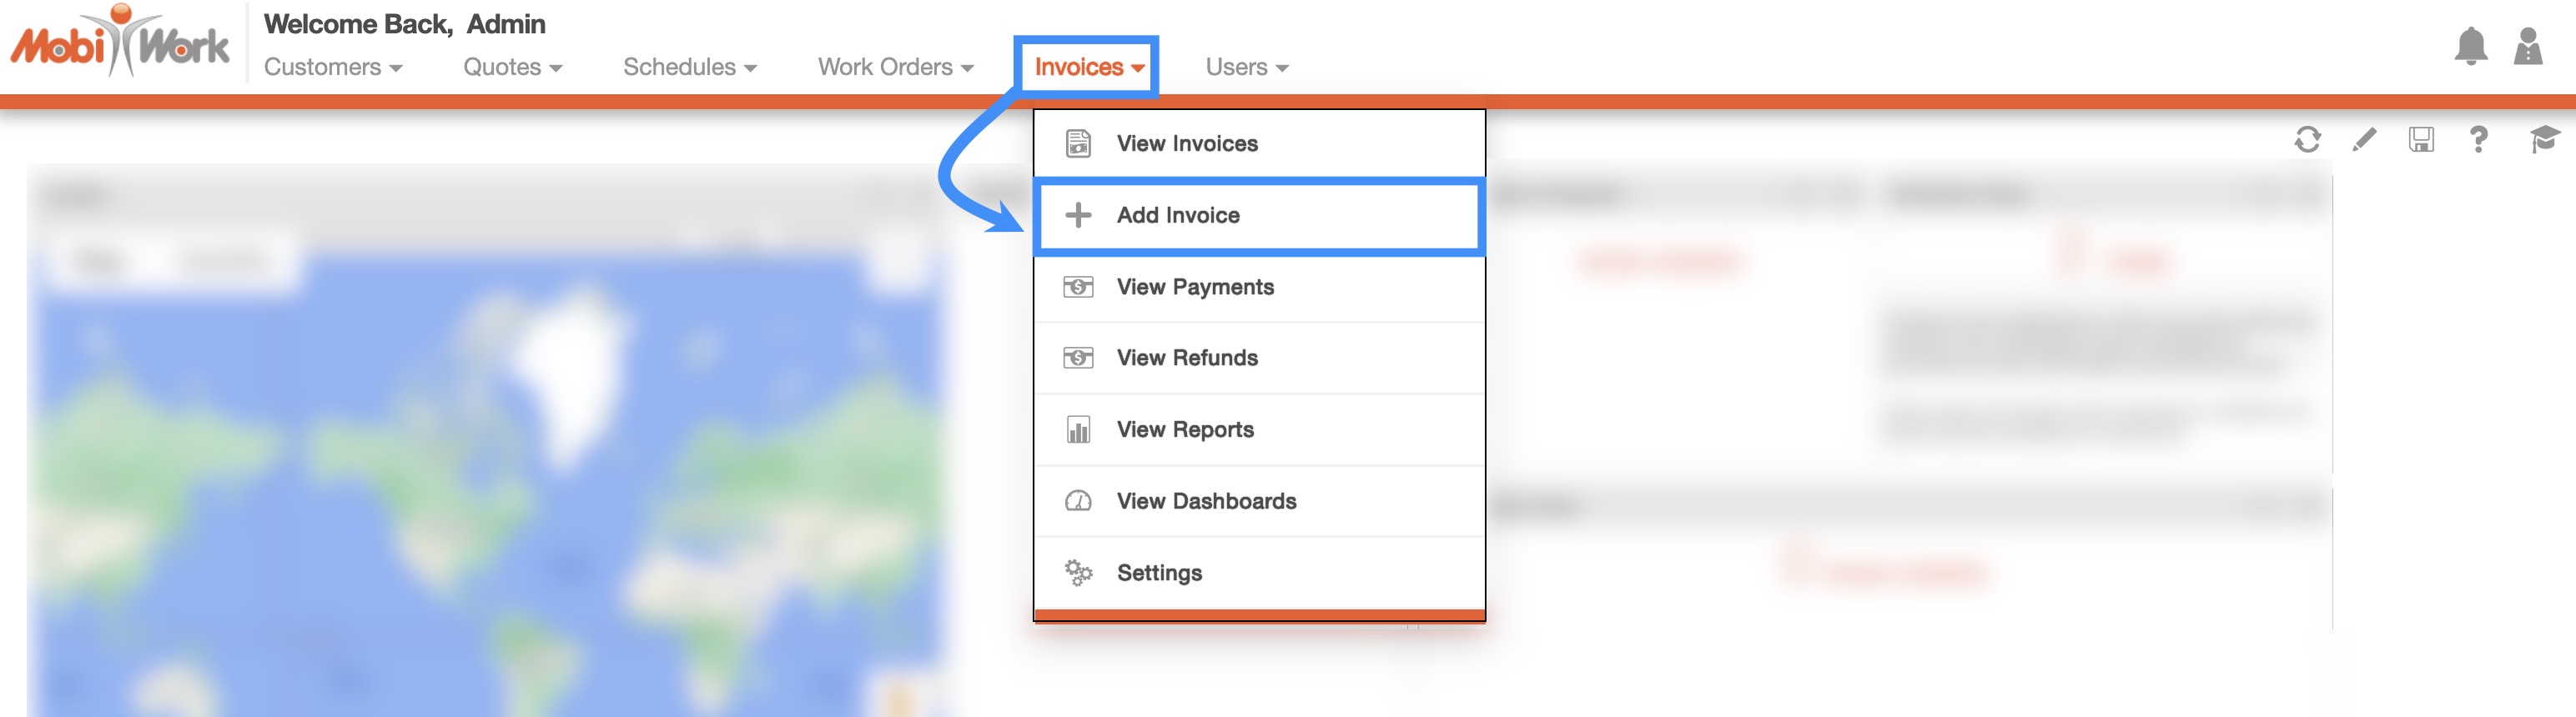
The fastest and easiest way to add an invoice is by accessing the drop-down menu from the Invoice feature from your MobiWork menu:
- Hover over the Invoice feature from your MobiWork menu:
- Select the "Add Invoice" option from the drop-down.
- The Add Invoice pop-up window will then appear.
From the Invoice List
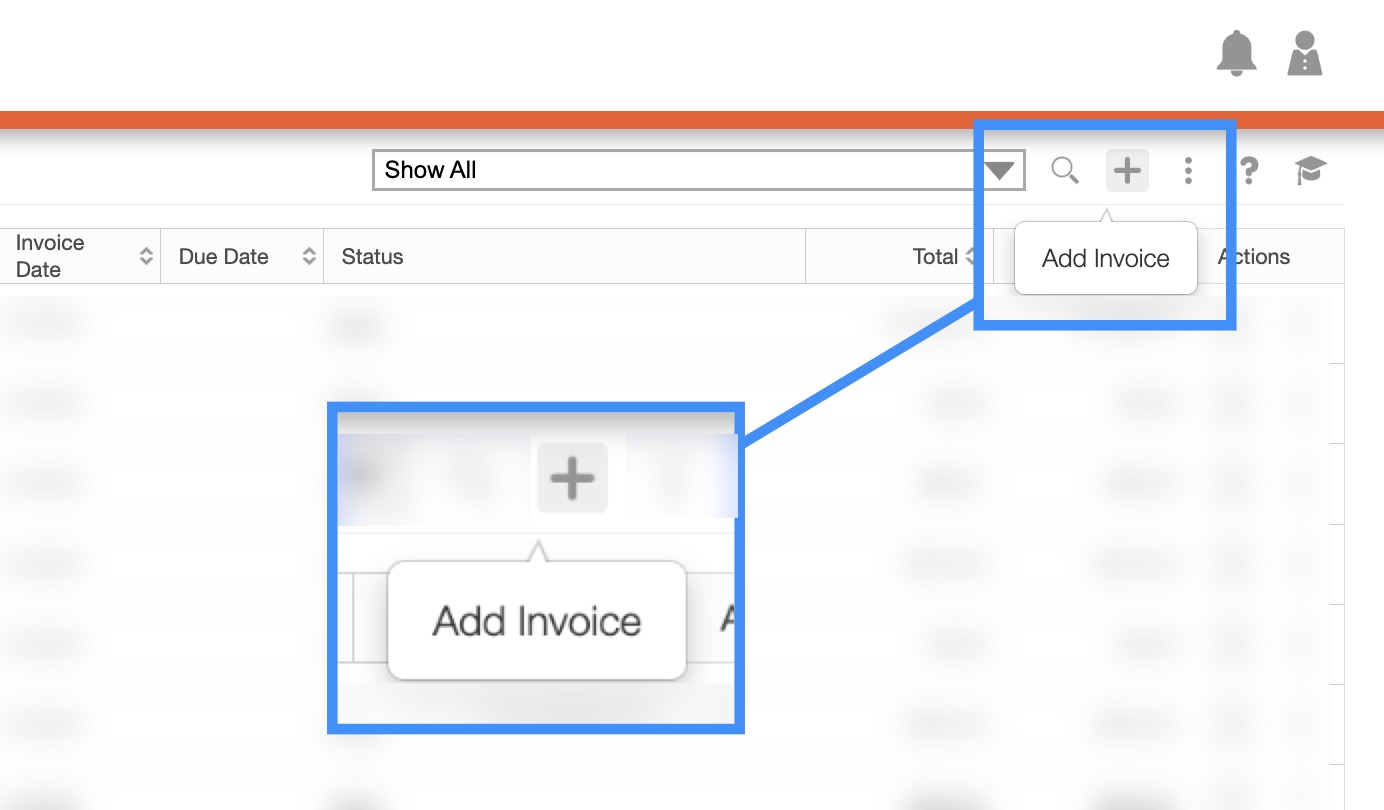
Another convenient way to add an invoice is by accessing the "List" tab. Please see Invoice List for more information on how to access this page.
On the "List" tab, you will also be able to import multiple invoices into Excel or sync your invoices to QuickBooks:

Plus Sign- Adds an invoice.
More Actions- Allows you to access the import drop-down actions (which will allow you to add multiple invoices at once)
For more information on how to import multiple invoices, please see the Import Invoices section.
To add an invoice from the "List" tab, please see the steps below:
- Once you are on the "List" tab click on the Plus Sign or select "Add Invoice" from the Individual Actions drop-down menu to add a new invoice:
- The Add Invoice pop-up window will then appear.
From a Work Order
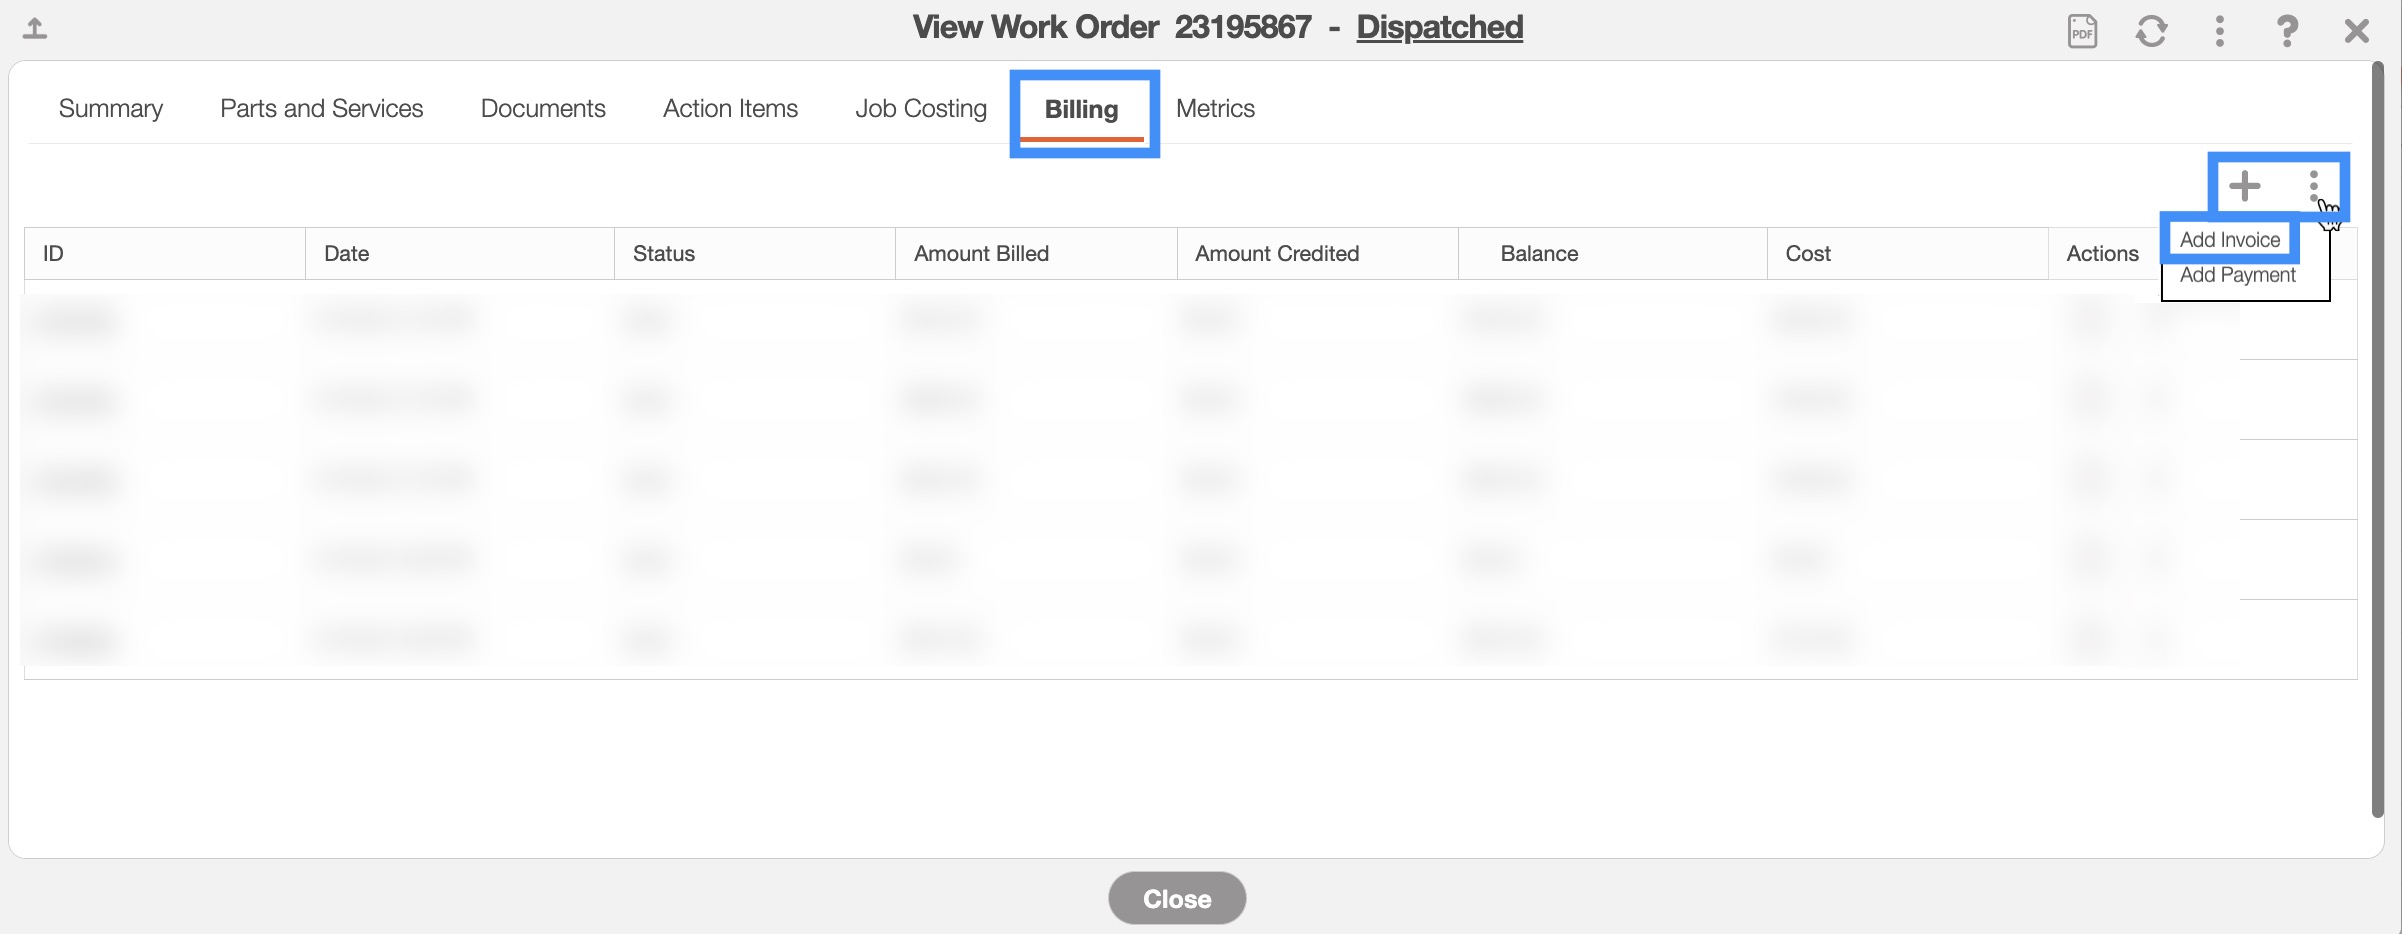
You can add an invoice through the View Work Order pop-up window. For more information on how to access the View Work Order pop-up window, please see the View Work Order page.
Once you are on the View Work Order pop-up window, select the "Billing" tab:
When you are on the "Billing" tab, select the Plus Sign or select the "Add Invoice" option from the Individual Actions drop-down menu.
The Add Invoice pop-up window will then appear.
By Converting a Quote
You can add an invoice through the View Quote pop-up window. For more information on how to access the View Quote pop-up window, please see the View Quote page.
Once you open the View Quote pop-up window, click on the More Actions button, and from the drop-down select the "Create Invoice" option:
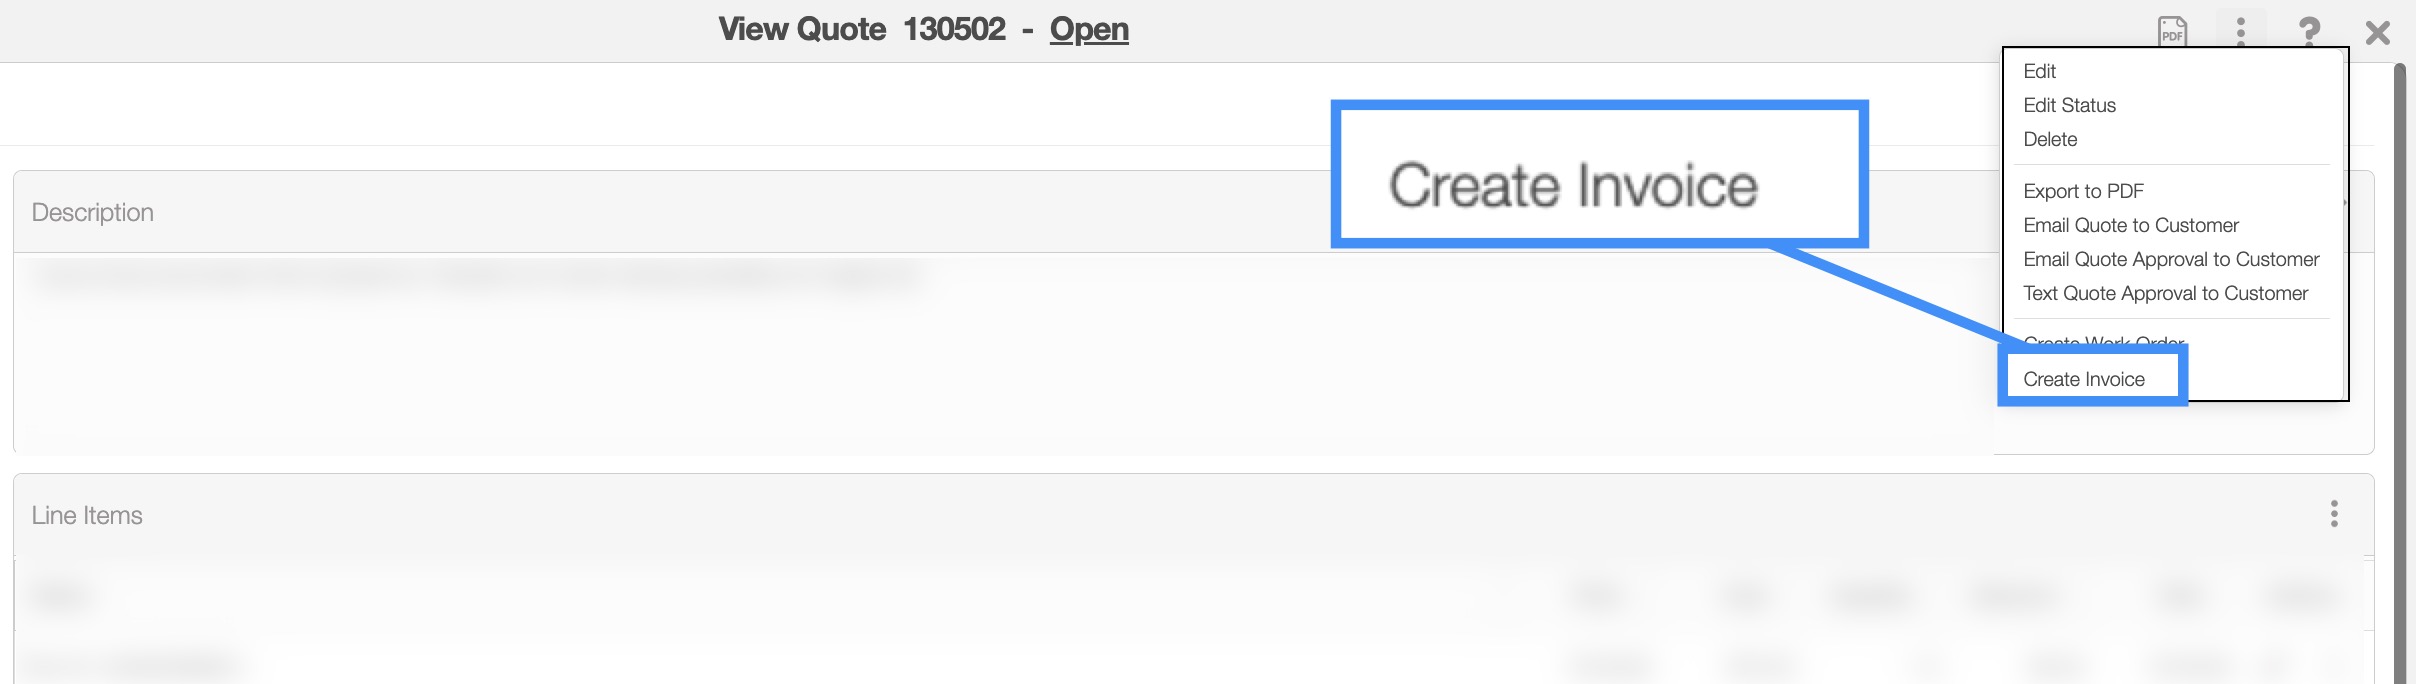
Please note that once you convert a quote to an invoice, the quote status will then be changed to "Approved."
From the Customer Profile
You can add an invoice through the View Customer pop-up window. For more information on how to access the View Customer pop-up window, please see View Customer for more information.
- There are two different ways you can add an invoice from the View Customer pop-up window:
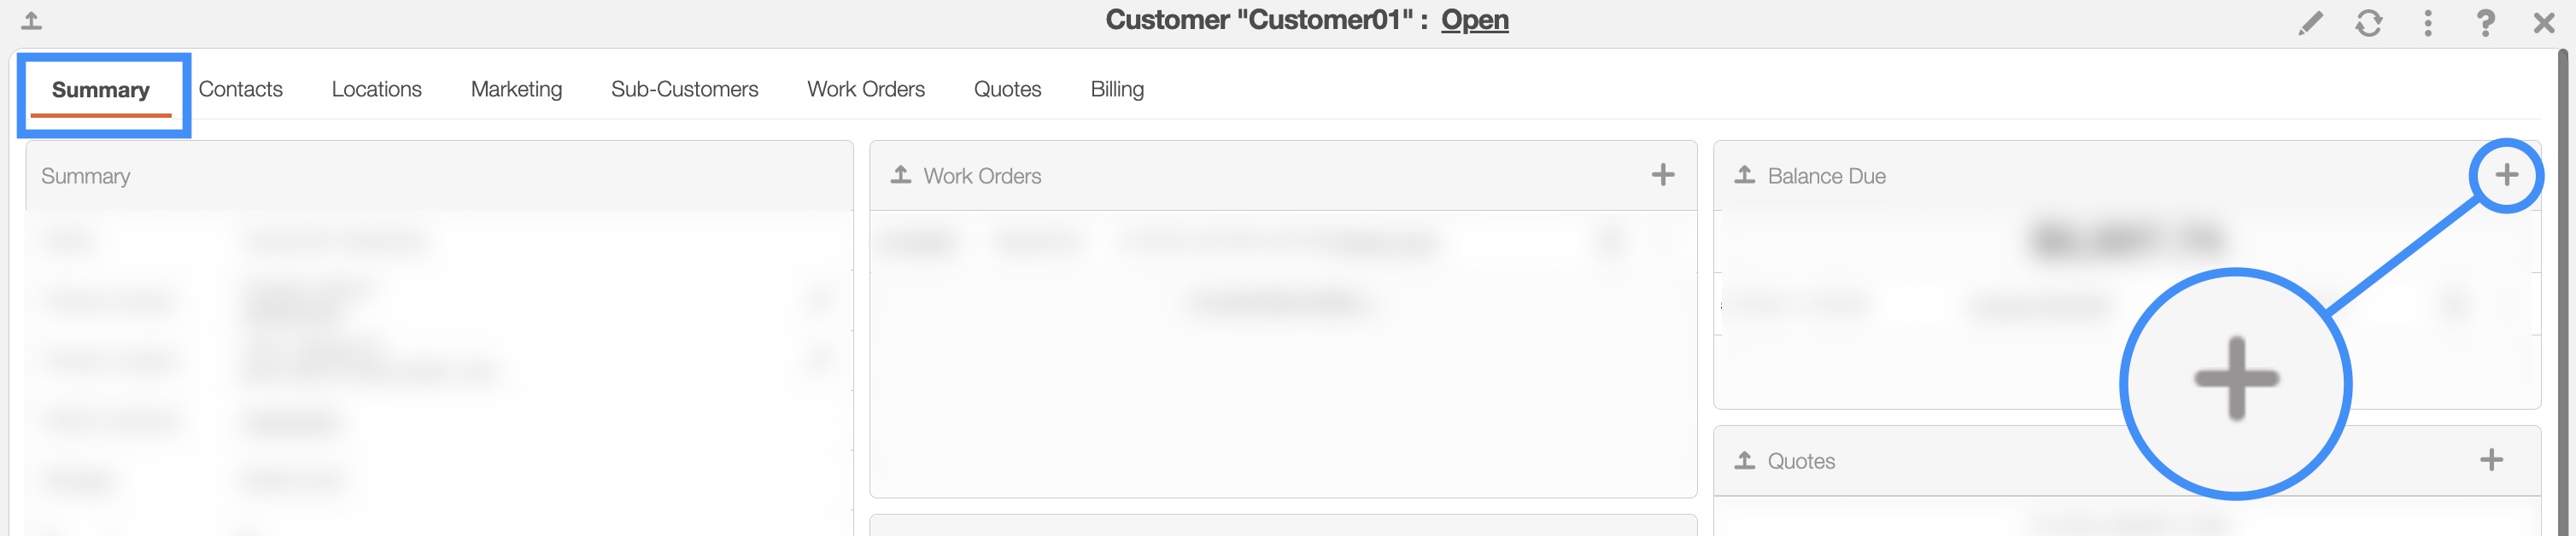
You can add an invoice from the "Summary" tab's "Balance Due" section:
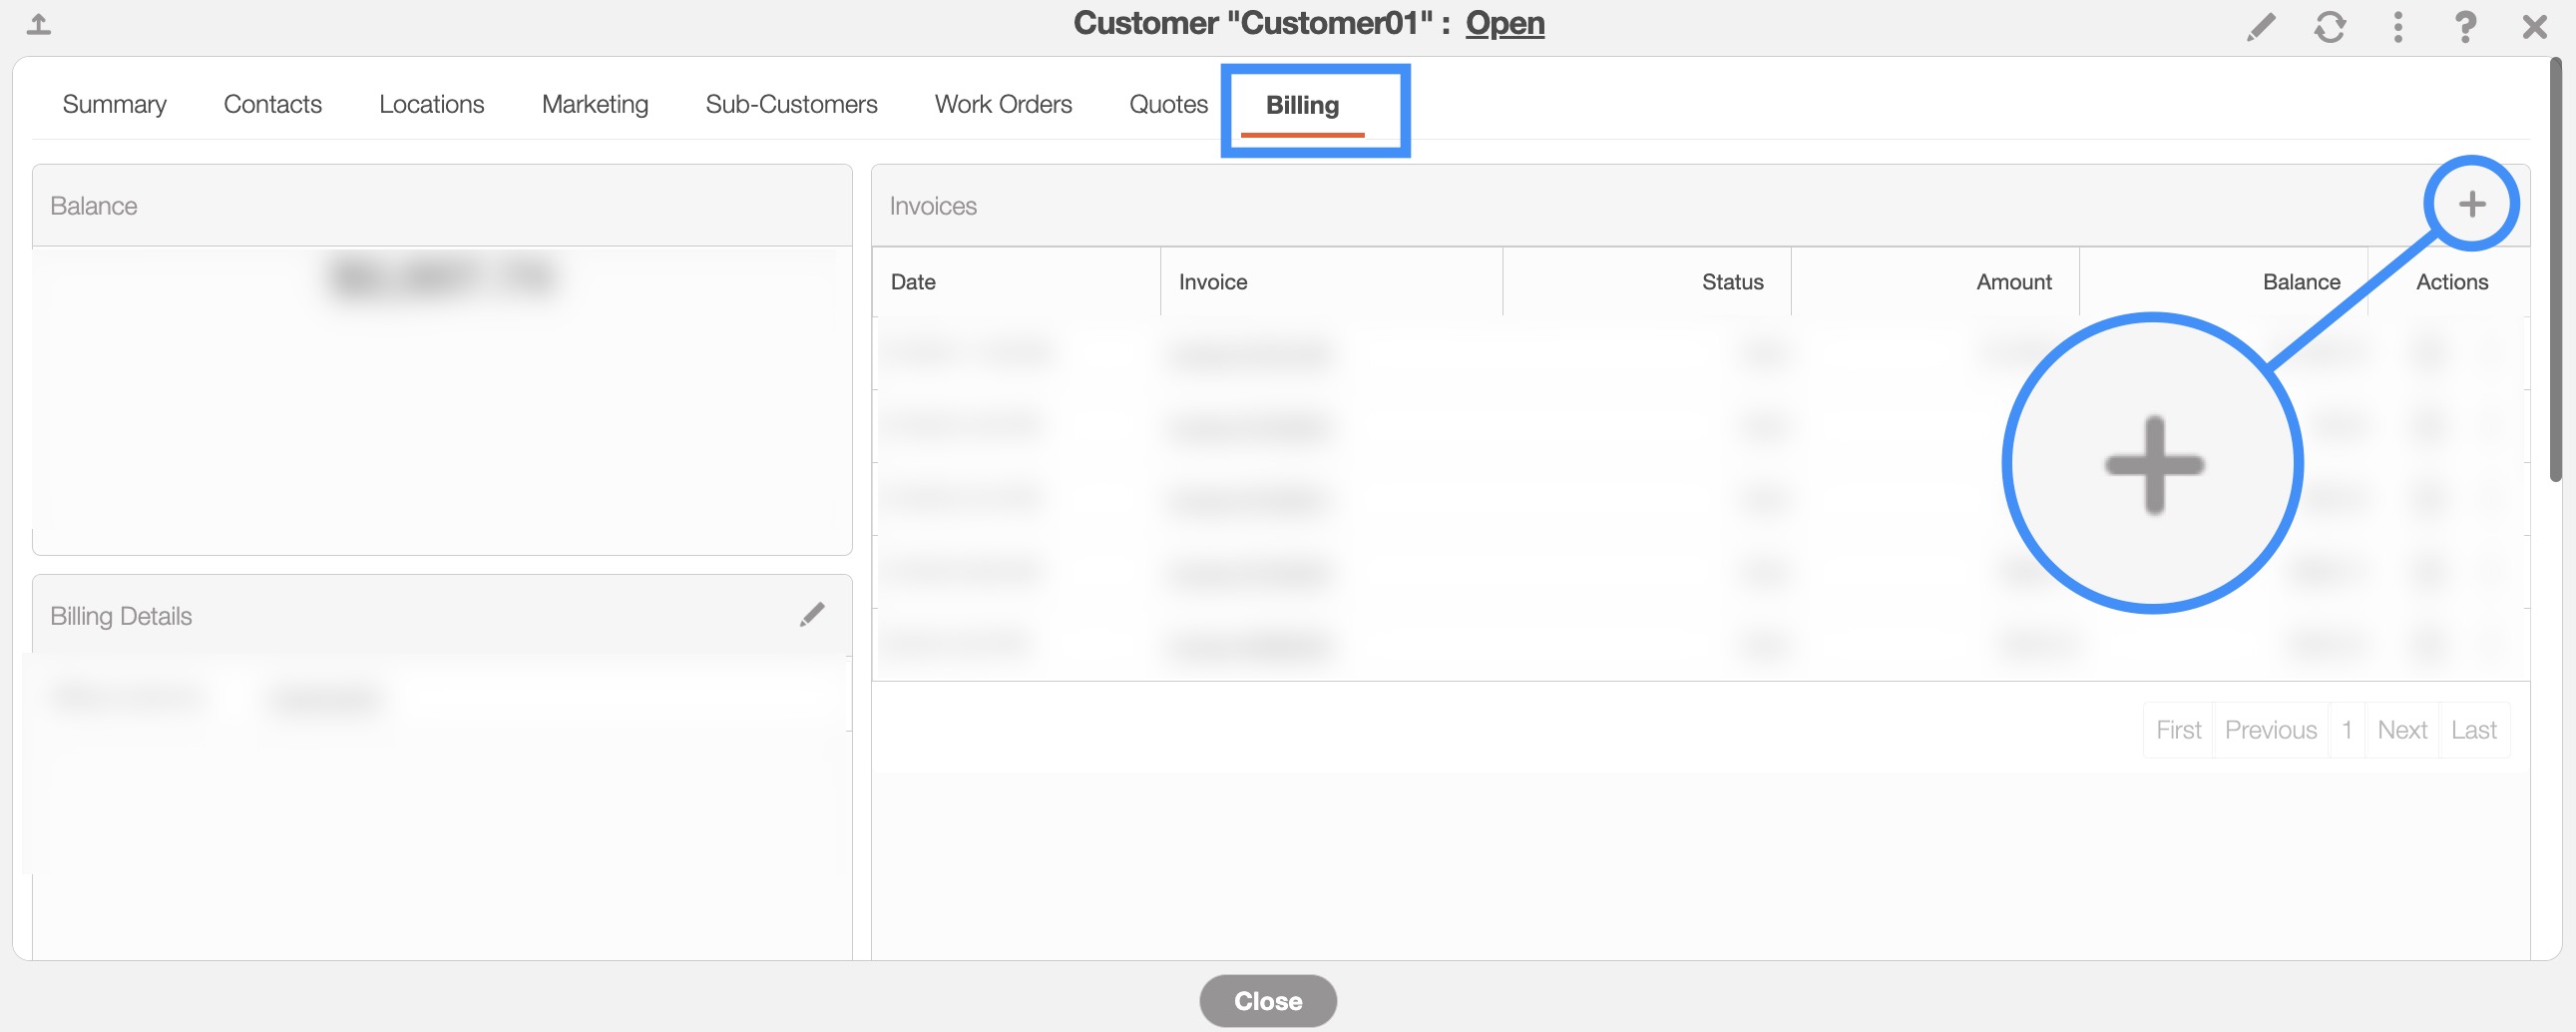
Or you can navigate to the "Billing" tab's "Invoices" section:
Once you are either tab, press the designated Plus Sign to add a new invoice.
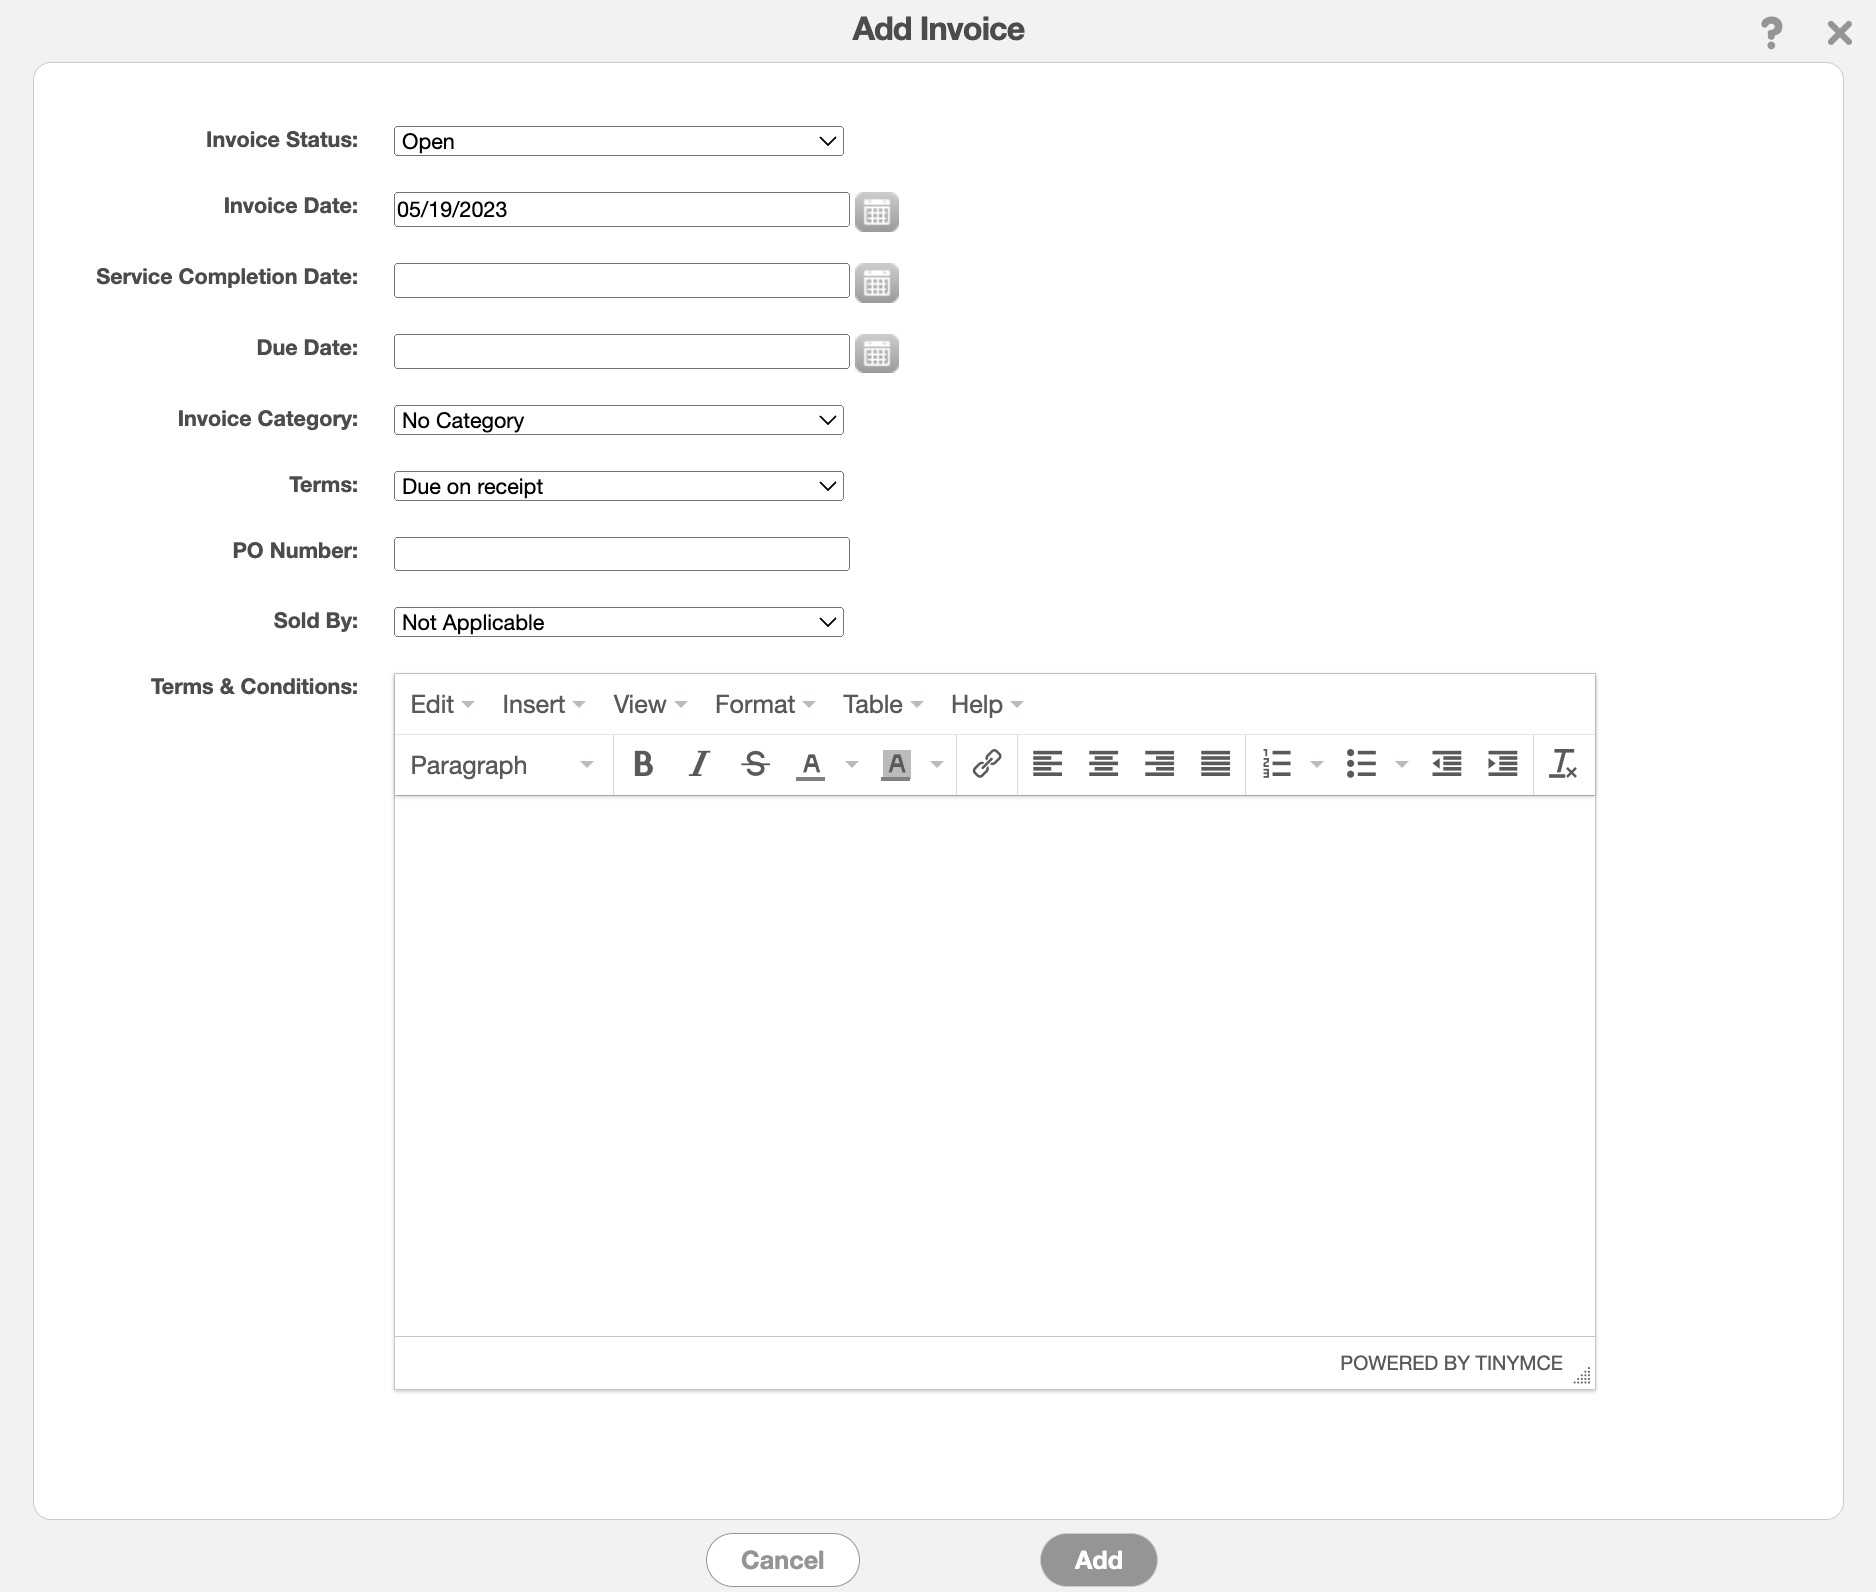
If you choose to add an invoice through the Invoice feature drop-down, the "List" tab, the View Work Order, or View Customer pop-up windows the Add Invoice pop-up window will then appear.
In this pop-up window, enter the appropriate information in the specified fields. Once all the information is completed to your satisfaction click the Save button:
Please note that if you would like to easily close this pop-up window, you can click on the esc button from your keyboard.
The terms listed in the Add Invoice pop-up window are defined below:
| Name: | Description: |
|---|---|
| "Customer" | Input your customer's name. You can use the asterisk symbol (*) to view all customers in your records. |
| online-help.platform.features.invoices.starter_subscription.InvoiceStatus1 | online-help.platform.features.invoices.starter_subscription.InvoiceStatus2 |
| "Invoice Date" | The date the invoice is generated. The calendar icon to the right of this field can be clicked on to choose a different date. |
| "Service Completion Date" | Enter the expected completion date of the service or appointment. The calendar icon to the right of this field can be clicked on to select a specific date. |
| "Due Date" | Enter the payment due date for the invoice. The calendar icon to the right of this field can be clicked on to select a specific date. |
| "Invoice Category" | How the invoice will be categorized in your system (e.g., repair invoice, service invoice, etc.). |
| "Terms" | Select the Terms of your invoice. The terms and conditions of how the invoice should be paid, (e.g. due on receipt, net 15, net 20, etc.). If there are "net" terms and no due date MobiWork will automatically be able to calculate the due date based on the "net" selected. |
| "Shipping Cost" | Enter the shipping cost of the product. |
| "PO Number" | Enter the purchase number for the invoice. |
| "External Invoice Number" | Input the external number (outside of MobiWork) of the invoice; this number can be from QuickBooks or another third-party accounting software. |
| "External Invoice ID" | Input the external ID (outside of MobiWork) of the invoice; this number can be from QuickBooks or another third-party accounting software. |
| "Comments" | Input any comments related to the invoice that you would like displayed on the invoice. This field has a limit of 255 characters. |