- Overview
- Account Settings
- Assets
- Connectors Framework
- Overview
- QuickBooks Online
- QuickBooks Desktop Web Connector
- Azure AD
- Salesforce Integration
- FleetNet Connector
- Avalara Connector
- Inbound REST API
- Outbound REST API
- Mailchimp Connector
- Text Messaging Connector
- Clearent Connector
- Stripe Connector
- HubSpot Connector
- UKG Connector
- Paylocity Connector
- UKG Connector
- Gusto Connector
- iSolved Payroll Connector
- Customer Portal
- Customers
- Dashboards
- Devices
- Dispatching
- Forms
- Inventory
- Invoices & Billing
- Locations
- Payments
- Parts
- Projects
- Quotes
- Recurrent Routes
- Recurrent Services
- Reports
- Sales Orders
- Schedule
- Services
- Tasks
- Text Messaging
- Time Tracking
- Users
- Work Orders
The Invoice feature page is used to display the summary data (costs, customer information, due dates, etc.) of all your invoices. The Invoice feature page will also allow you to:
- View and Search Invoices
- Add Invoices
- Edit a Single Invoice or Multiple Invoices
- Send out Invoice and Payment Reminders
- Add Payments
- Export / Import Invoices
- Pull Reports
- How to Access the Page
- List Page Layout
- Search Area
- Free Text and Saved Search Selection
- Predefined Saved Searches
- New Saved Search
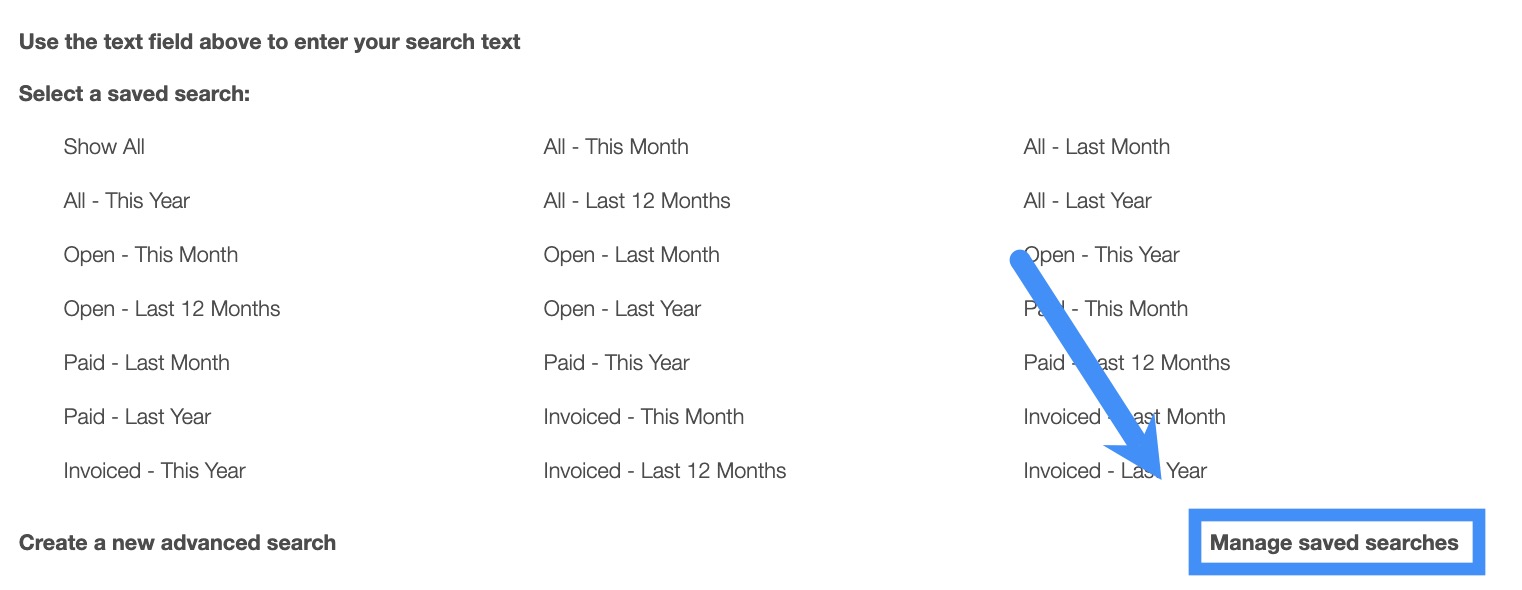
- Manage Saved Searches
- Tabs
- List Tab
- Kanban Tab
- Global Actions
- Add Invoice
- More Actions
- Export Selected to PDF
- Edit Selected Invoices
- Combine Selected Invoices
- Delete Selected Invoices
- Email Invoice to Customer
- Text Invoice to Customer
- Email Invoice and Payment Link to Customer
- Import Invoices Line Items From Excel
- Export Invoices to Excel
- Export Invoices Line Items to Excel
- Invoice Settings
- Question Mark
- Graduation Cap
You can access the Invoice feature page by hovering over the Invoices feature from your MobiWork menu, and clicking on the "View Invoices" option:


After navigating to the Invoices feature page from your MobiWork menu you will be brought to the "List" tab by default. All your invoices will be displayed on this page:
The "List" tab will not only display all your invoices, but it also allows you to perform actions such as "search," "view," "edit," and "add payment" to your invoices.
Some features (e.g., the Search Area, Global Actions, etc.) can be found in all the tabs. Below is a list of the main features that are located on the Invoice feature page:
Free-Text Search
You can type in the search bar (free-text search) to find your desired range of invoices; once you click in the search bar, the search drop-down menu will automatically appear. You can use the search drop-down menu or continue typing your own search parameters:
When typing in the search bar, the drop-down menu will provide some helpful search criteria. With free-text search you will also be able to search by:- External invoice ID or number (the number from QuickBooks or another third-party accounting software).
- MobiWork ID.
- Customer or company name.
- And any searchable custom fields for the invoice.

If the number of invoices surpasses the number range, the subsequent invoices will be found on the next page:
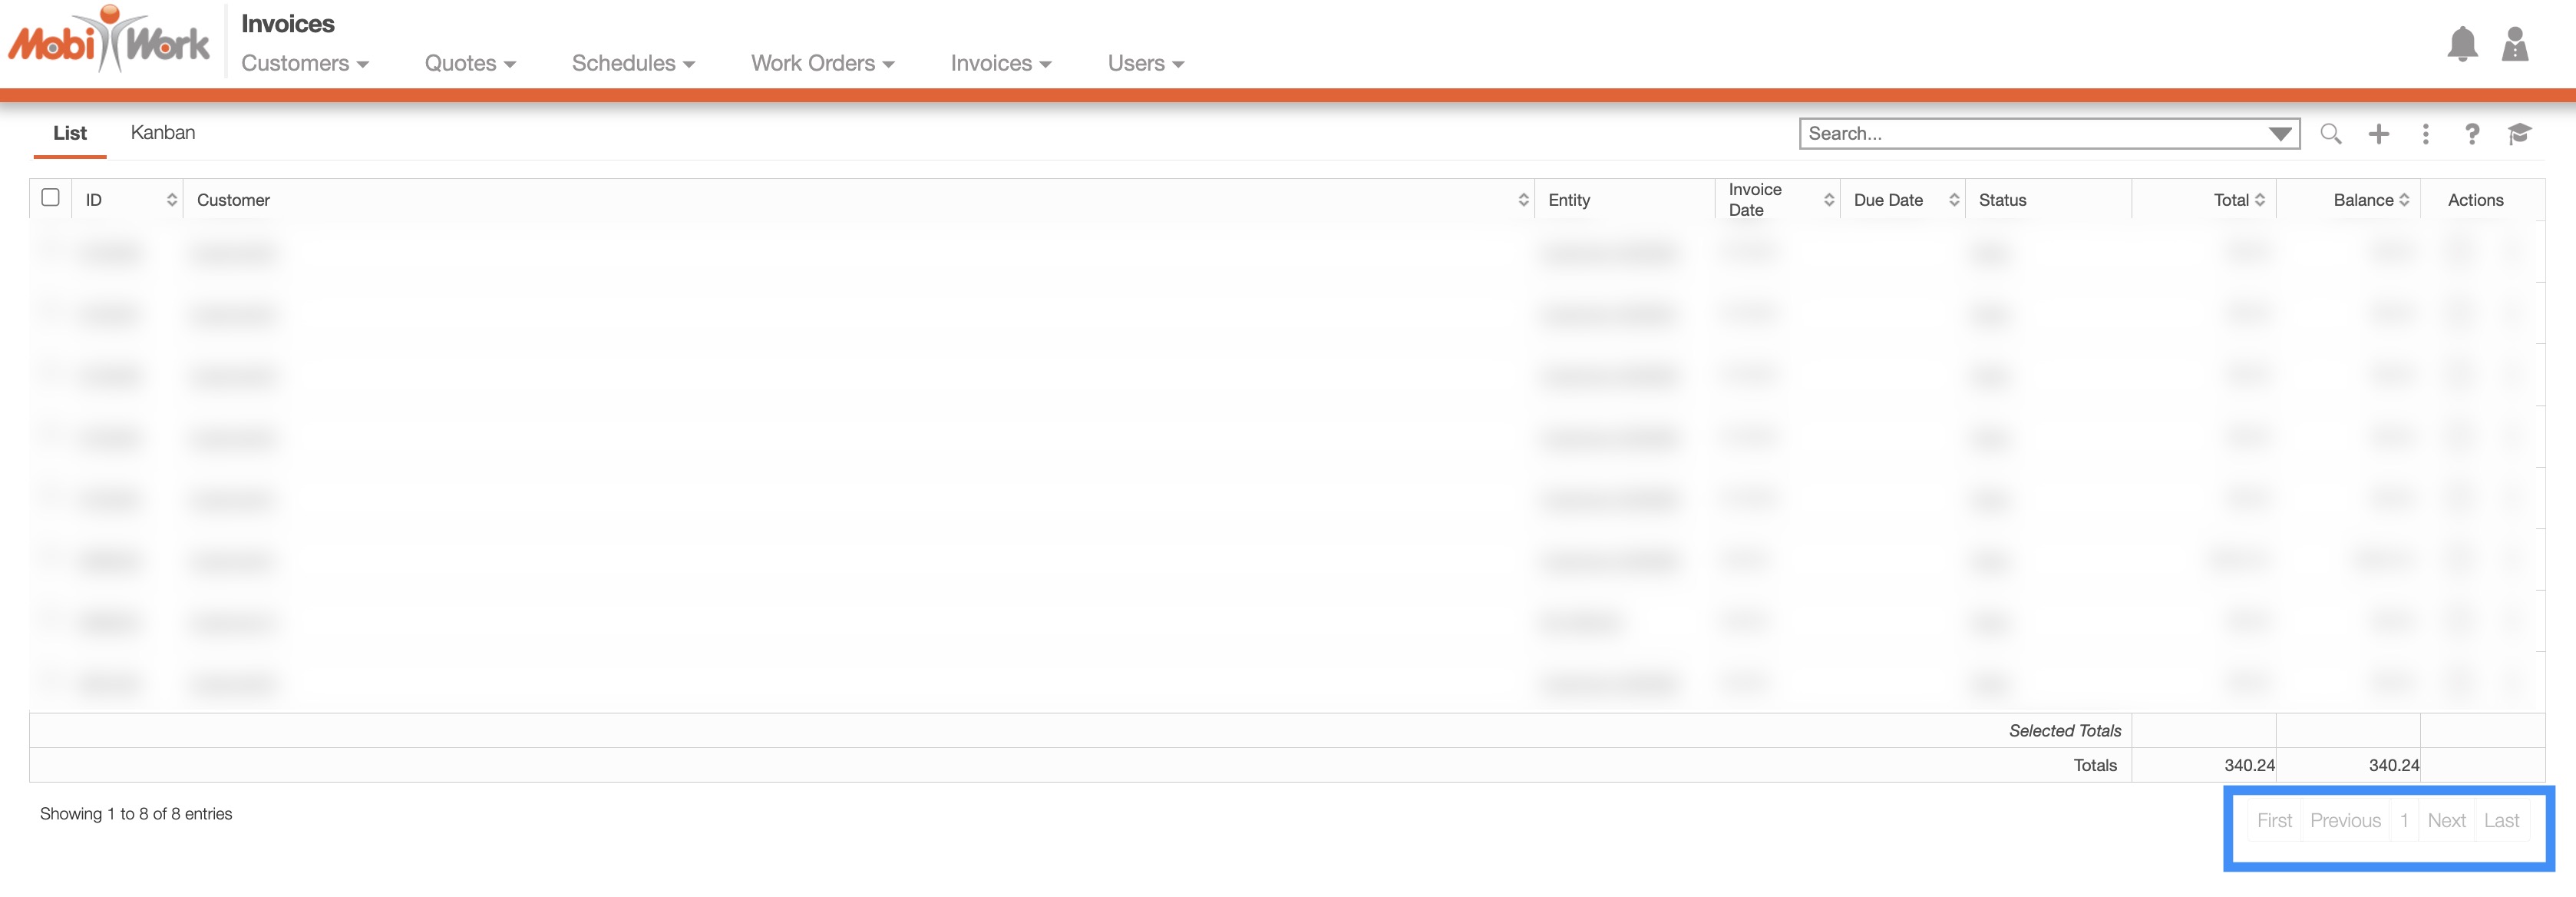
To navigate through these pages, use the First, Previous, Next, and Last buttons located towards the bottom of the Invoices List page.
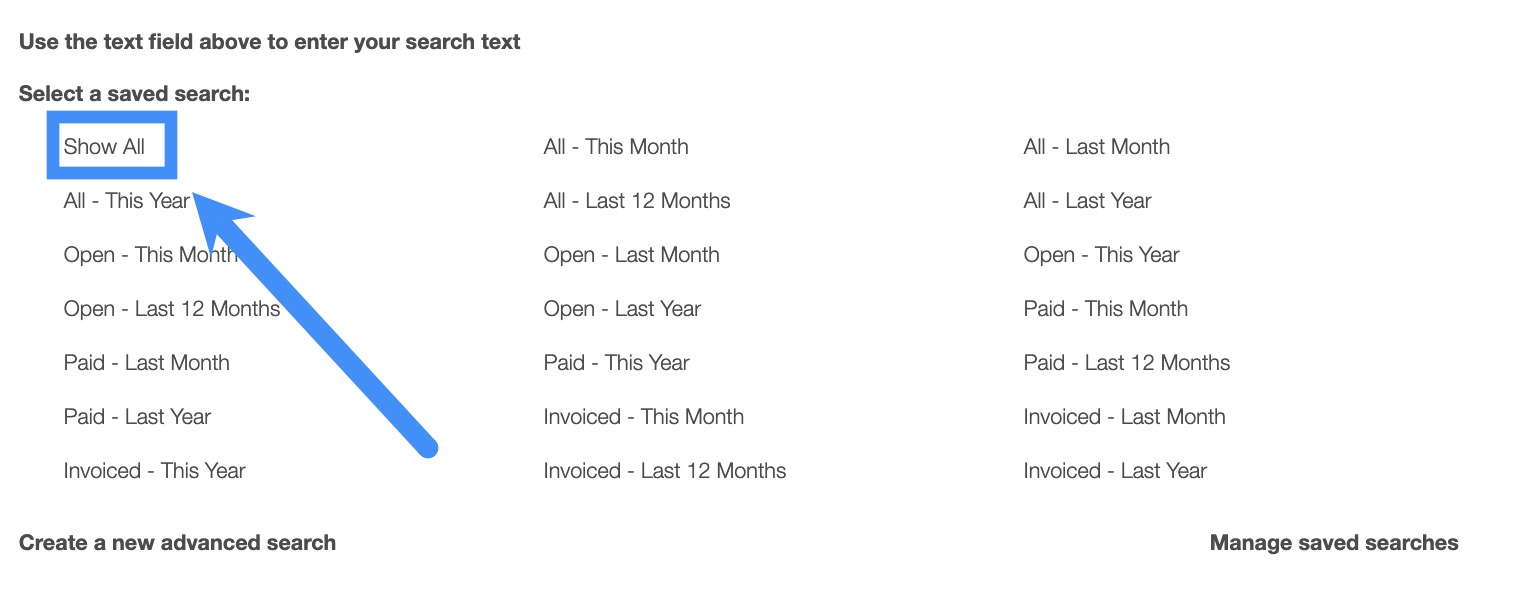
Predefined Saved Searches
Saved searches are a powerful search tool whose search-criteria has been saved for future use; to access the saved searches drop-down, click in the search bar.These saved searches will appear in the drop-down menu and can also be used for dashboards and reports.
By default, MobiWork provides several saved searches for you to use (e.g., Invoiced - This Month, Paid - Last Month, etc.):

The different invoice statuses for the predefined search are:
- "All" will display all the invoices within the specified date range.
- "Open" are invoices that have not yet been sent to the customer.
- "Paid" are the invoices that have been paid by the customer.
- "Invoiced" are the invoices that have been sent to the customer but haven't been paid yet.
You can access any of these saved searches by clicking on the "Search Area" and selecting your desired "Predefined Saved Search" from the drop-down menu.
If you would like to view all your invoices, click on the "Show All" option from the drop-down menu:
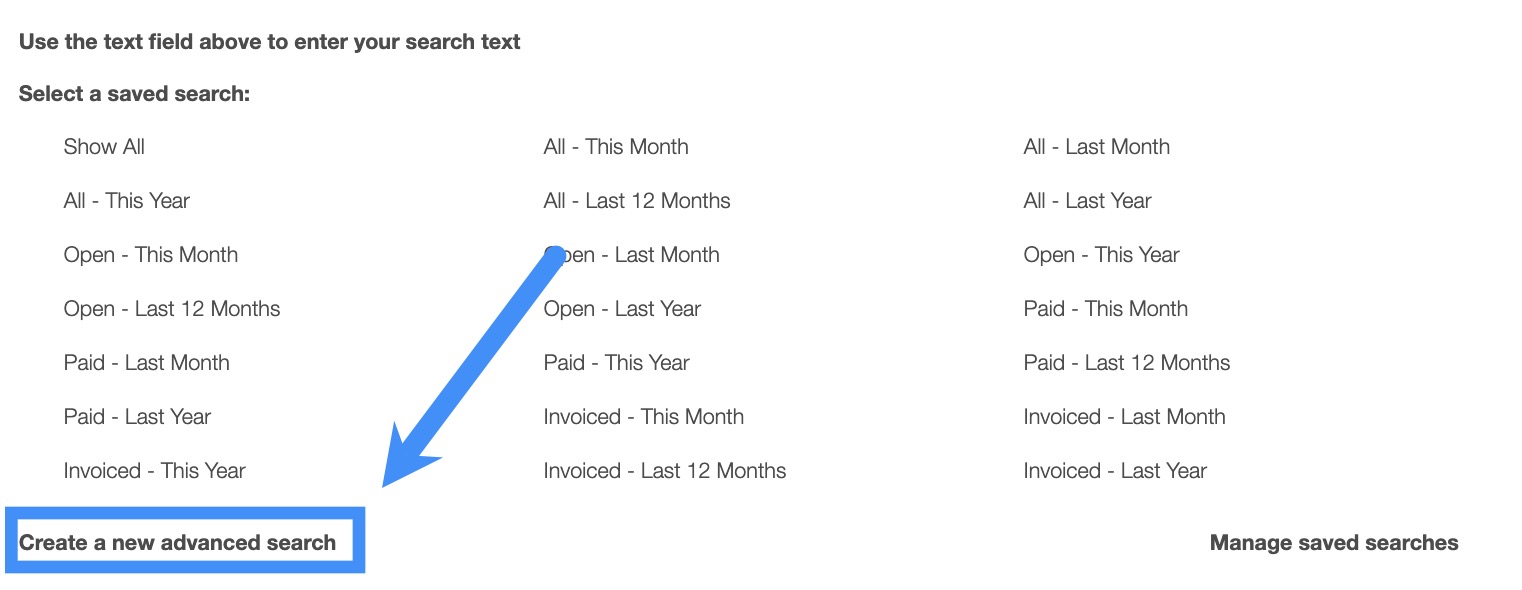
New Search
To create a new saved search, select the "Create a New Advanced Search" option from the drop-down menu:
- Customer (the one associated with the invoice) or/and the Billed to Customer (the customer the invoice was billed to) information.
- The desired status (e.g., open, checked out, paid etc.).
- The balance (remaining balance) or/and total amount (total of the invoice).
- The desired dates (e.g., invoice date, due date, payment date, etc.).
- The number of results you would like displayed per page (any number over this will display on subsequent pages).
- How you would like the results to be sorted.
- The name for your new saved search.
Once you have finished inputting the information, you can save the search, make it available to all users, or make it your default search.
Please note that once you name a new saved search, you will be unable to rename it (instead you would need to delete your saved search and create a new one).
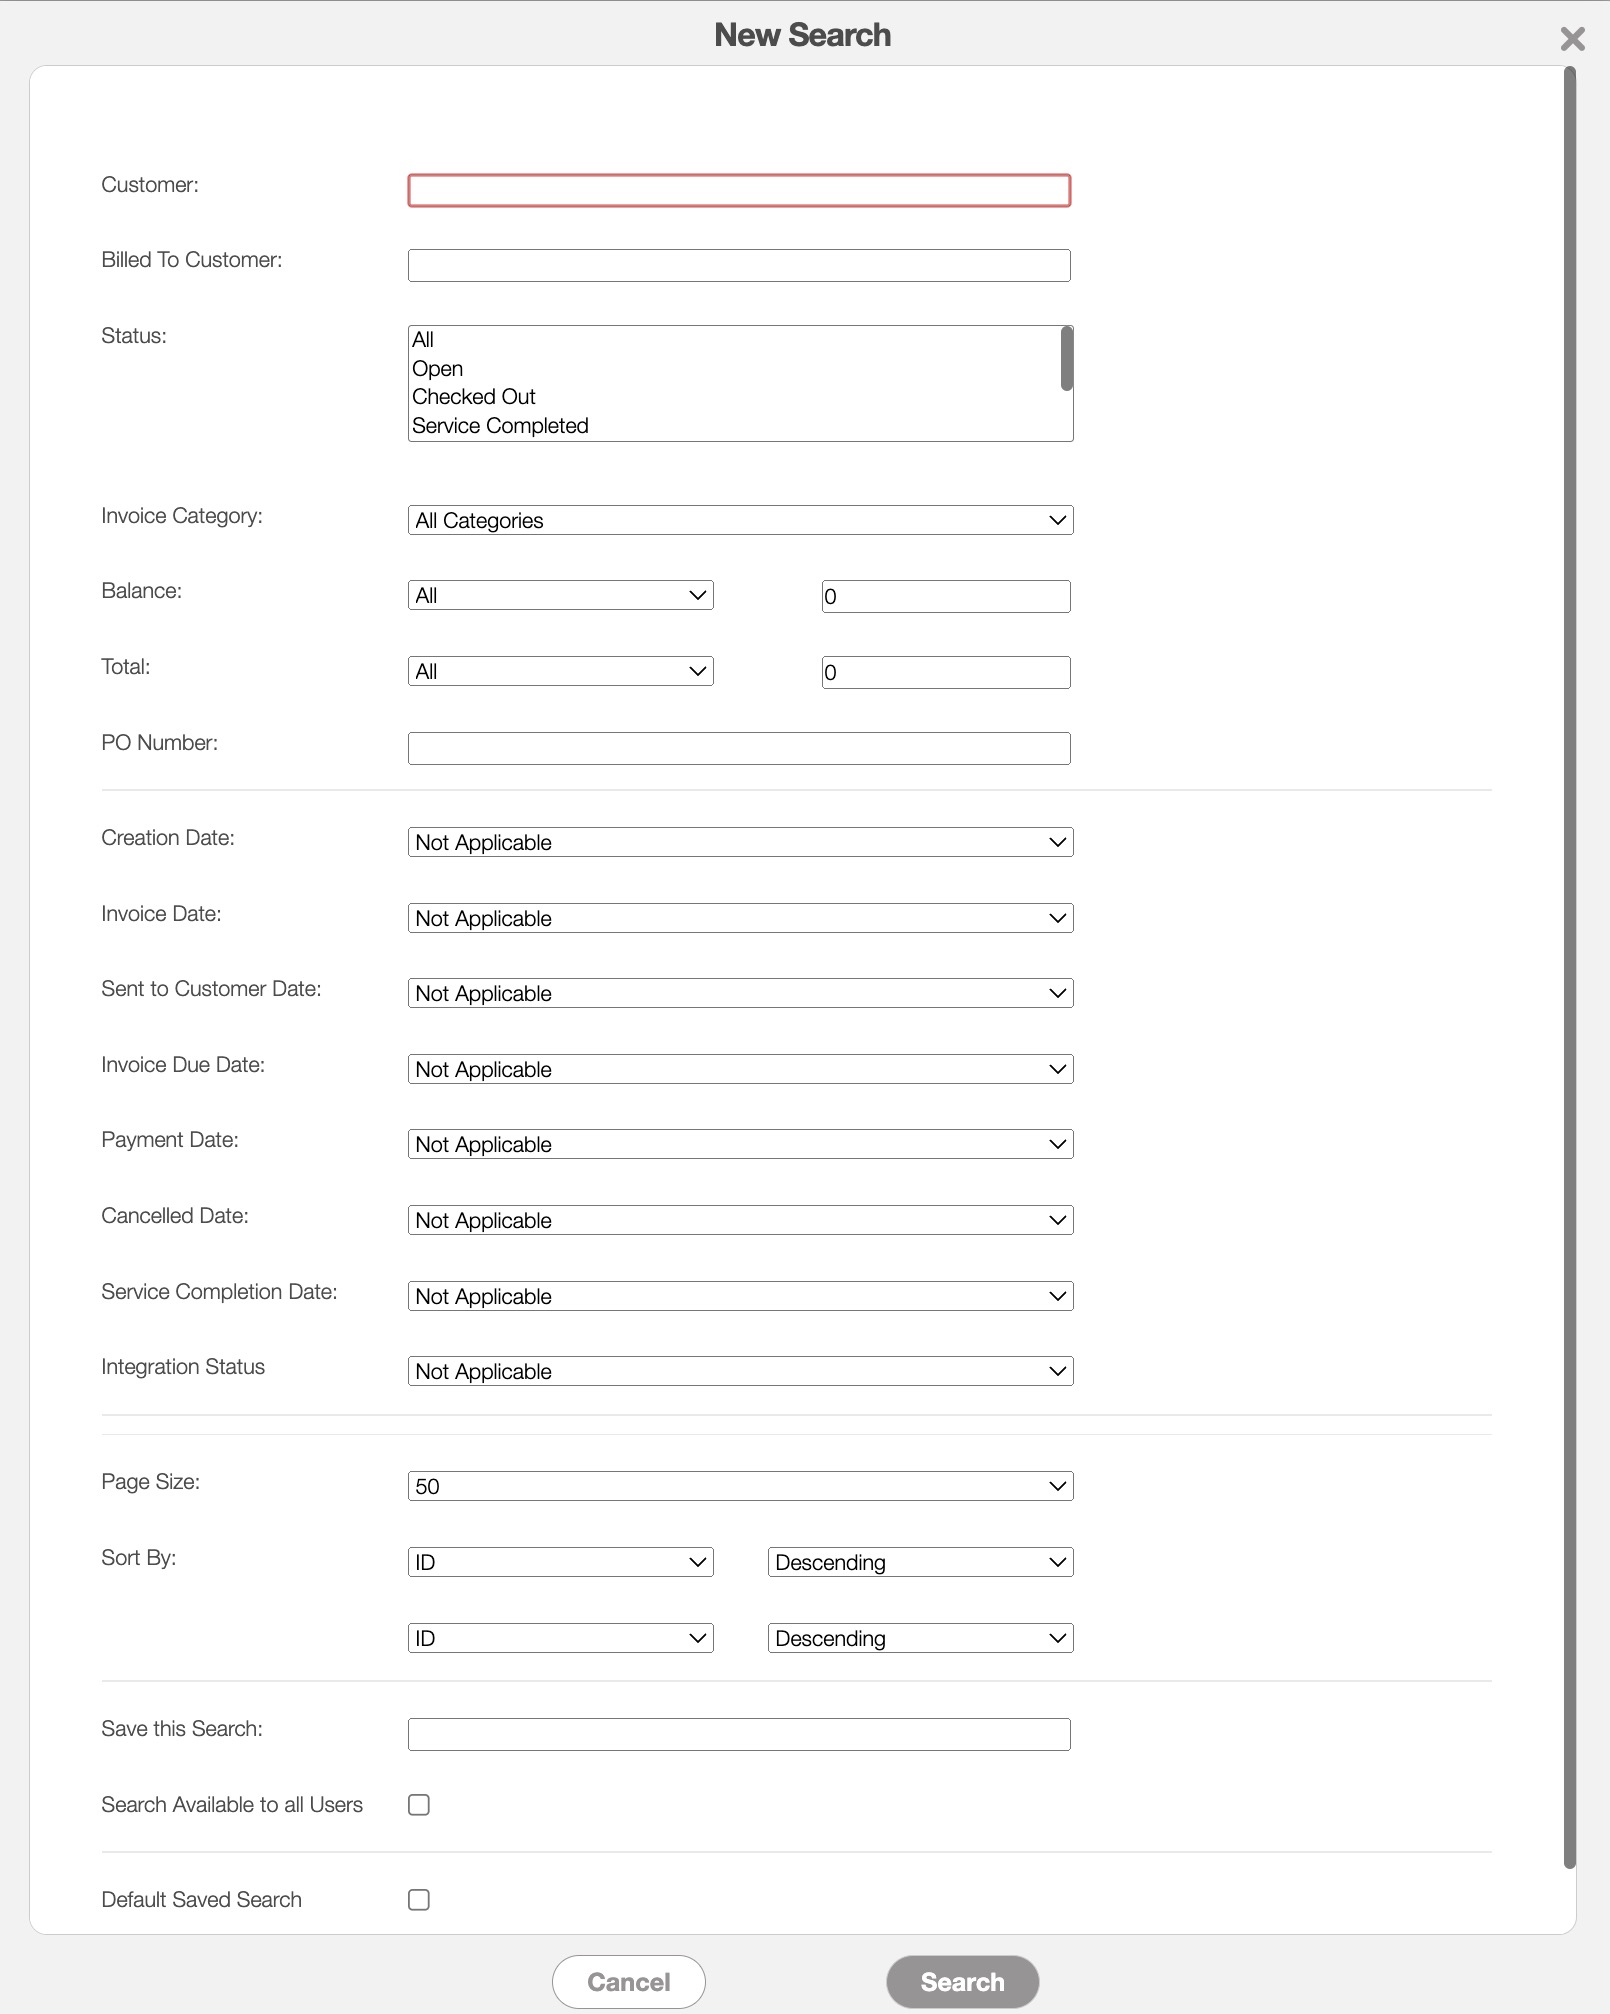
Further definitions for all the terms in the New Search pop-up can be found below:
| Name: | Description: |
|---|---|
| "Customer" | The customer associated with the invoice. |
| "Billed to Customer" | The customer that the invoice was billed to. |
| "Status" | The status of the invoice (i.e., open, order completed, customer invoiced, paid, and cancelled). For more information about the Invoice Status please see the View an Invoice page. |
| "Invoice Category" | How the invoice will be categorized in your system (e.g. repair invoice, service invoice, etc.). |
| "Balance" | The balance remaining on the invoice. Searches can be done by "All," "Equal," "Greater Than," and "Less Than." |
| "Total" | The total charged to the customer. |
| "Creation Date" | The date that the invoice was created. |
| "Invoice Date" | The date the customer was invoiced. |
| "Sent to Customer Date" | The date the invoice was sent to the customer. |
| "Invoice Due Date" | The due date of the invoice. |
| "Payment Date" | The date that the invoice was paid. |
| "Cancelled Date" | The date that the invoice was cancelled. |
| "Service Completion Date" | The expected completion date of the service or appointment. |
| "Integration Status" | The status of integrating with a third-party software solution such as QuickBooks. Includes the options: Not Applicable, Not Ready for Integration, Integrated, Ready for Integration, and Not Integrated. |
| "Page Size" | The number of results per page. |
| "Sort By" | Sorts your search in ascending or descending order by: "ID," "Created Date," "Invoice Date," "Sent to Customer Date," "Due Date," "Payment Date," "Cancelled Date," "Service Completed Date," "Invoice Total," "Customer," "External ID," and "Invoice Balance." |
| "Save this Search" | Allows the search parameters to be saved under a name to be reused in the future. |
| "Search Available to all Users" | Allows the search to be available to all users. |
| "Default Saved Search" | Sets the saved search as the default view when accessing the search feature in the future. |
Manage Saved Searches
Any new searches or existing searches can be managed or edited in the Manage Saved Searches pop-up window:
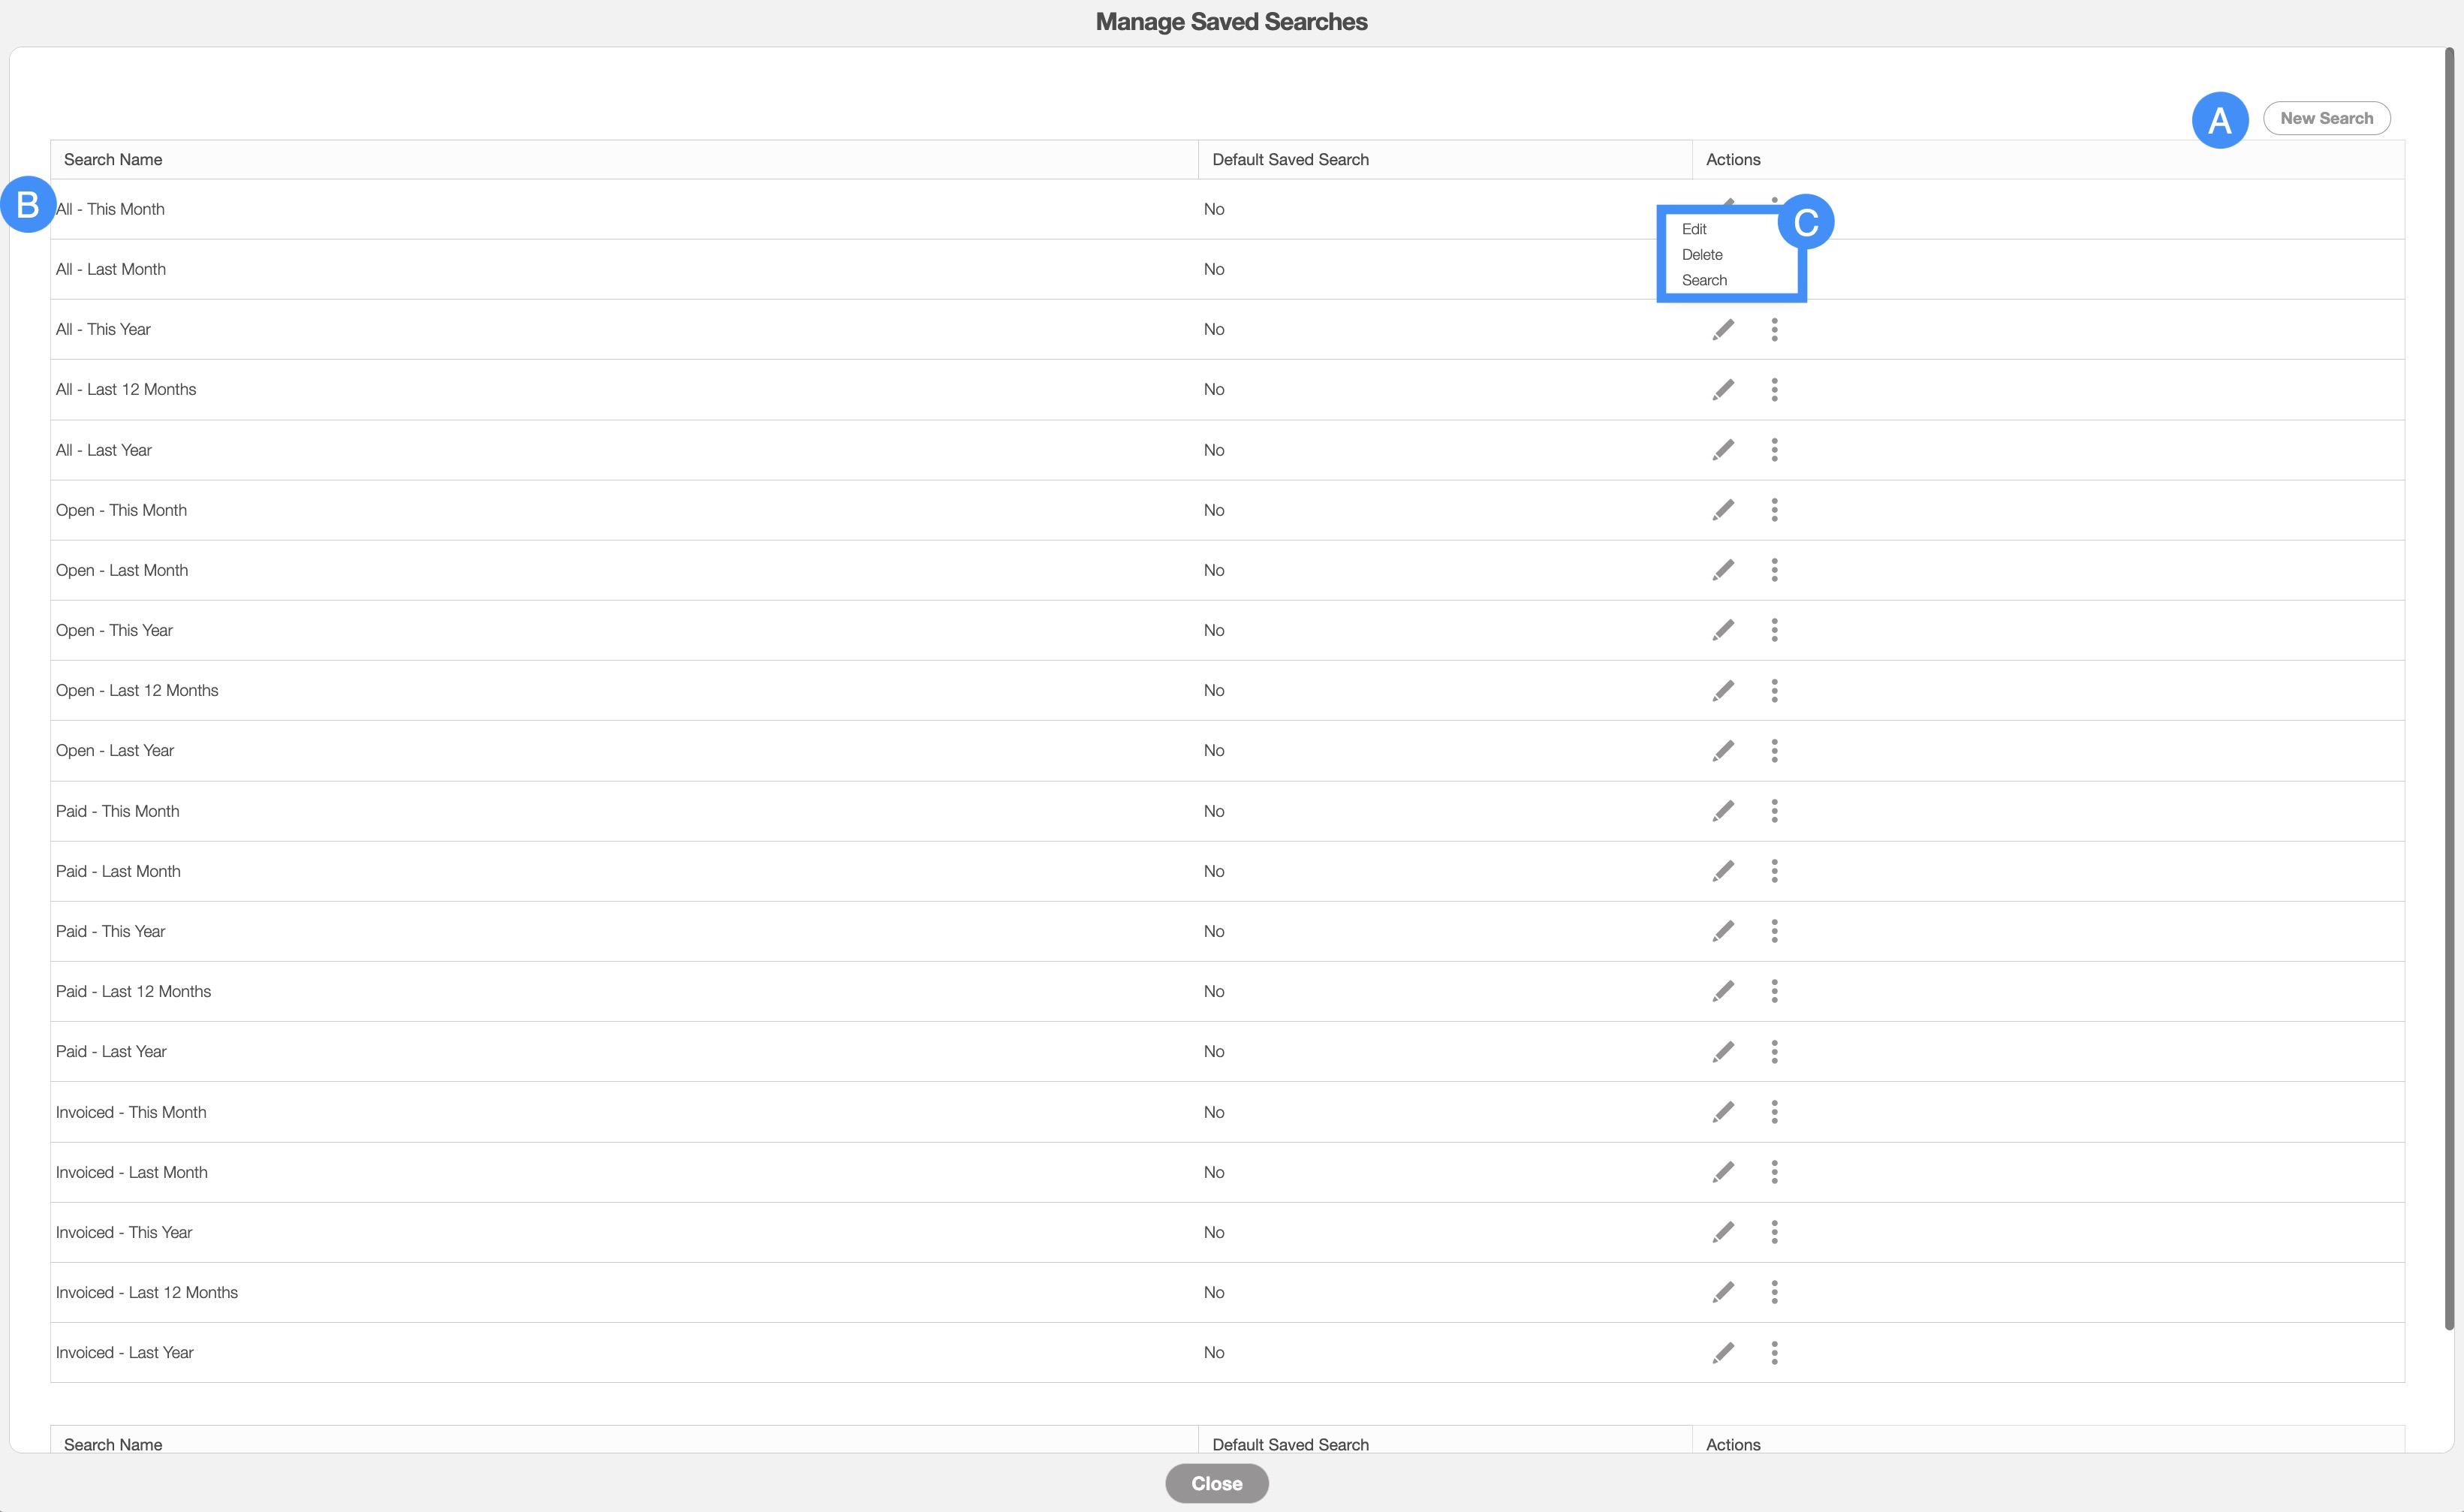
- You can add a new saved search by clicking the New Search button in the top right of the pop-up window.
- You can rearrange the order of the saved searches by clicking, dragging, and dropping the selected Search.
- You can edit or delete a selected saved search by using the drop-down menu under the "Actions" column.
Tabs are located under the MobiWork logo. You can toggle the information you see on the Invoices feature page by clicking on the desired tab:

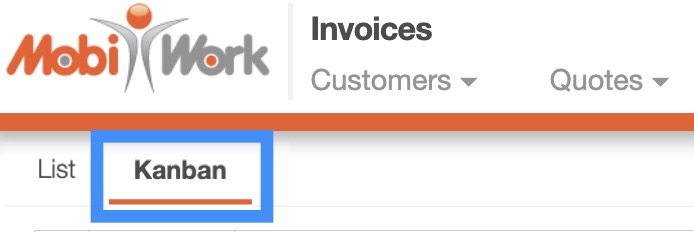
On your Invoices feature page, there are two tabs that you can toggle between: the "List" tab and the "Kanban" tab.
The "List" tab, is the default view for your invoices; the columns in this view will display the summary information for your company’s list of invoices, including customer's name, IDs, status and more:

List Tab Columns
In the "List" tab the columns are structured to display specific data related to each invoice.
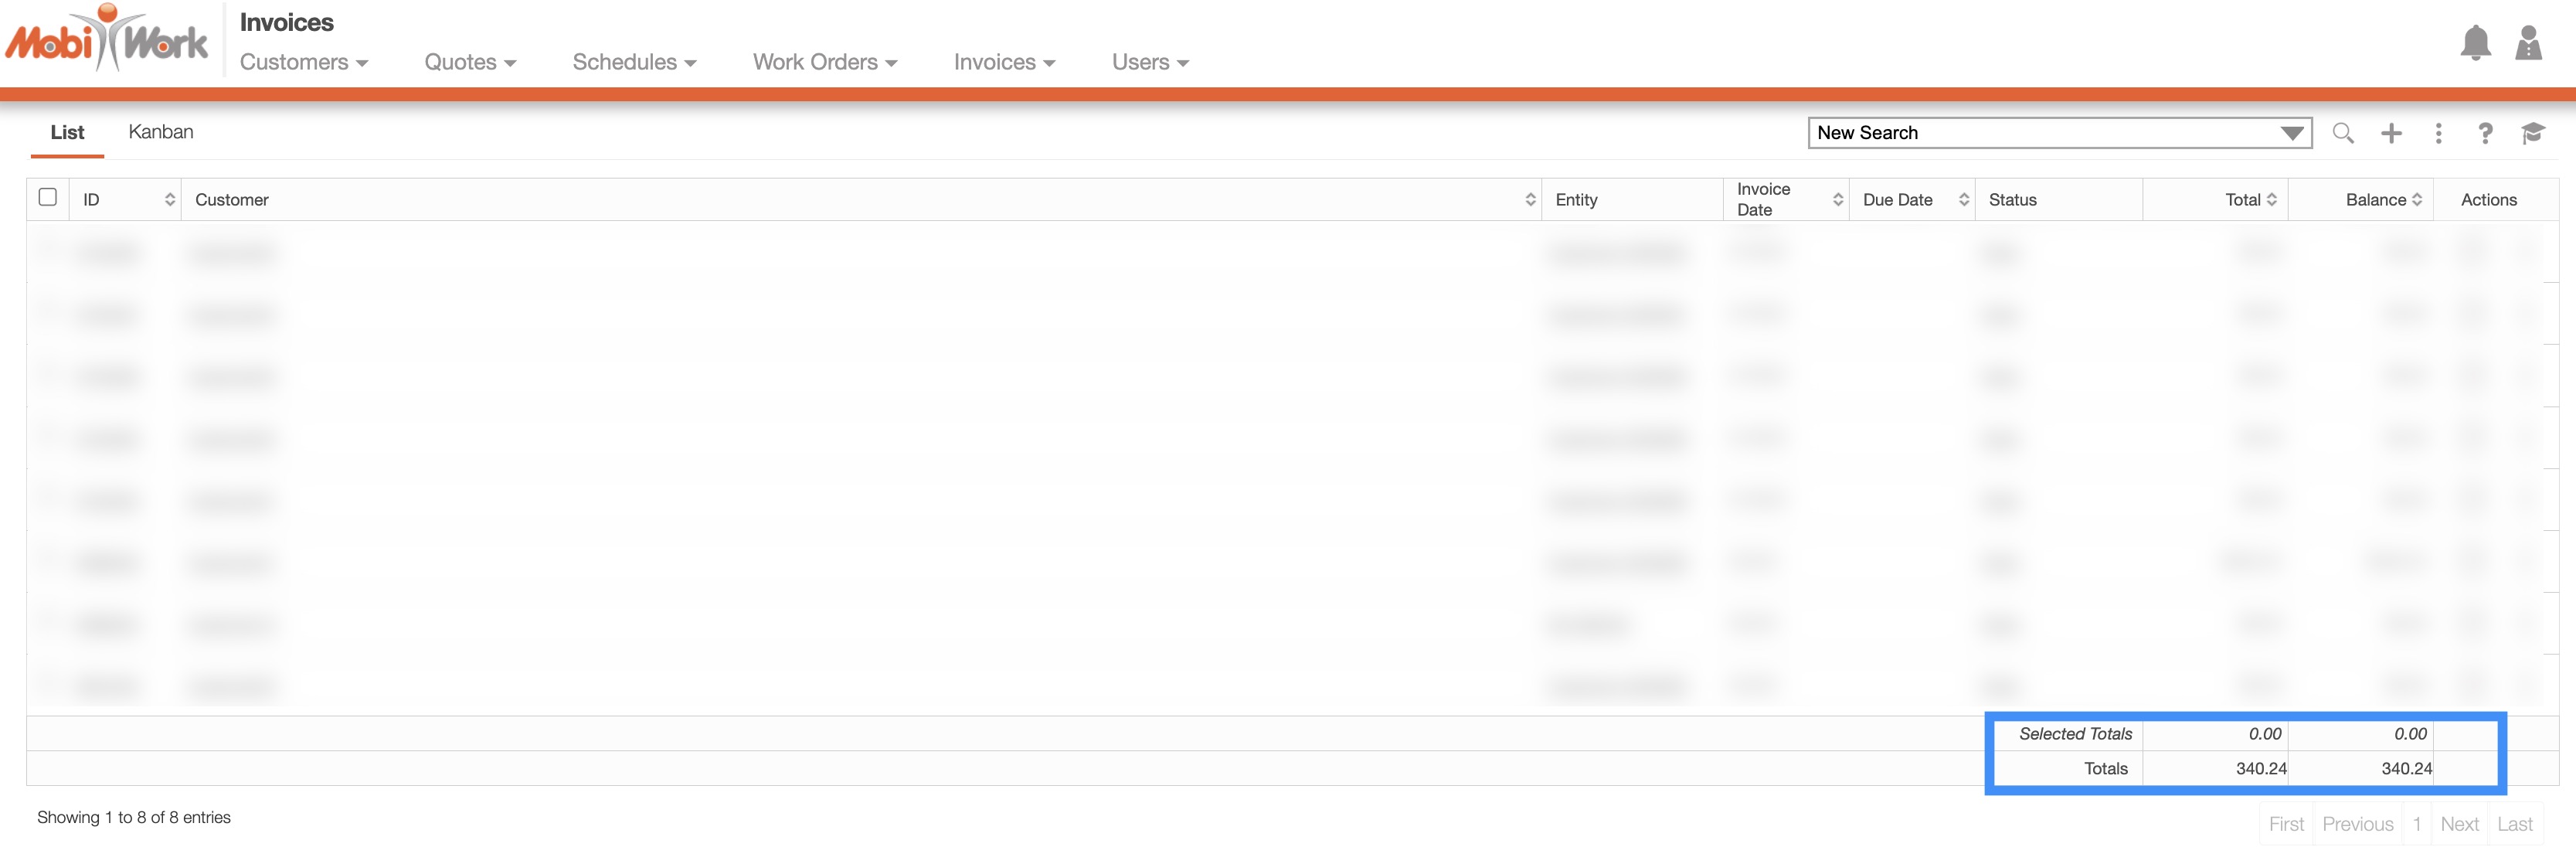
These columns are organized as: "ID," "Customer," "Entity," "Invoice Date," "Due Date," "Status," "Total," "Balance," and "Actions:"

The corresponding rows under the column headings will display the relevant invoice data.
The checkboxes (multiple selection area) found to the left of the "ID" column, will allow you to select either one or multiple invoices to manage payments, export, edit, remove, etc.:
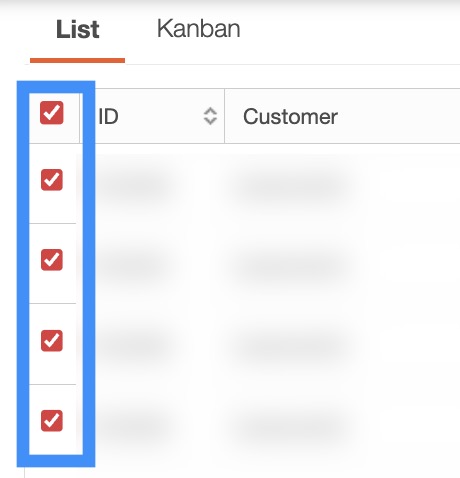
By clicking the topmost checkbox in the column heading you will select all the invoices.
The "List" tab column headings are defined as:
| Name: | Description: |
|---|---|
| "Multiple Selection Area" | Checkboxes that are used to select multiple invoices. By clicking the topmost checkbox, you can select all invoices. |
| "External ID" | The external ID (outside of MobiWork) of the invoice; used for organization and record-keeping. This number can be from QuickBooks or another third-party accounting software. |
| "Customer" | The customer associated with the invoice. |
| "Entity" | The entity associated with the invoice. |
| "Invoice Date" | The date the customer was invoiced. |
| "Created Date" | The date the invoice was created. |
| "Due Date" | The payment due date for the invoice. |
| "Status" | The status of the invoice (i.e. open, order completed, customer invoiced, paid, and cancelled) For more information about the Invoice Status please see the View an Invoice page |
| "Cost" | The cost of the item, part, or service to your company. |
| "Pretax Total" | The total amount or cost before tax . |
| "Total" | The total charged to the customer. |
| "Balance" | The balance remaining on the invoice. Searches can be done by "All," "Equal," "Greater Than," and "Less Than." |
| "Actions" | The View icon and the Individual Actions button can be found here; these buttons will allow you to perform actions on an individual invoice. |
List Tab Individual Row & Actions
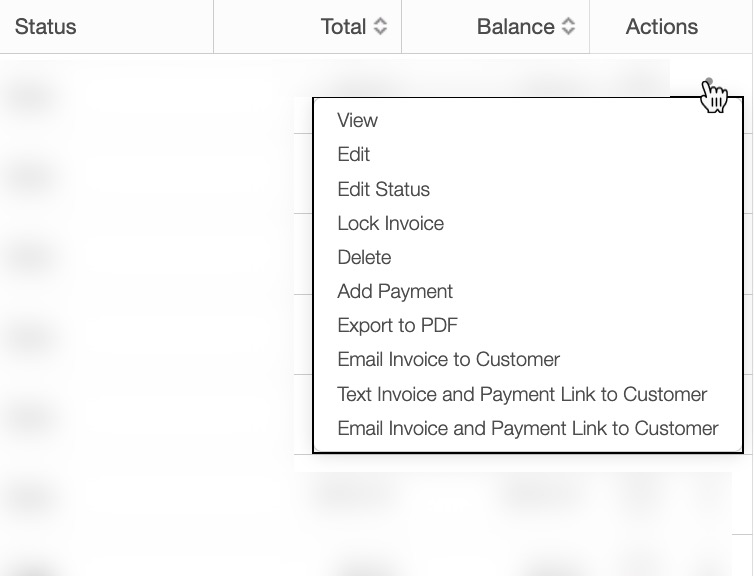
When selecting an individual invoice and clicking on the Individual Actions button (the three vertical dots under the "Actions" column) you will be able to view, edit, add payment, and more to the selected invoice.
Any actions that are done with the Individual Actions button will only apply to the selected invoice:
![]()
The options that are displayed when you select the Individual Actions button are also available under the right-click actions.
List Tab Right-Click Actions
When right-clicking with your mouse on an invoice in the "List" tab, you will be able to view, edit, add payment, and more to the selected invoice.
The options that are displayed when you right-click on an invoice are also available when you select the Individual Actions button.
Any actions that are done with the right-click actions will only apply to the selected invoice:
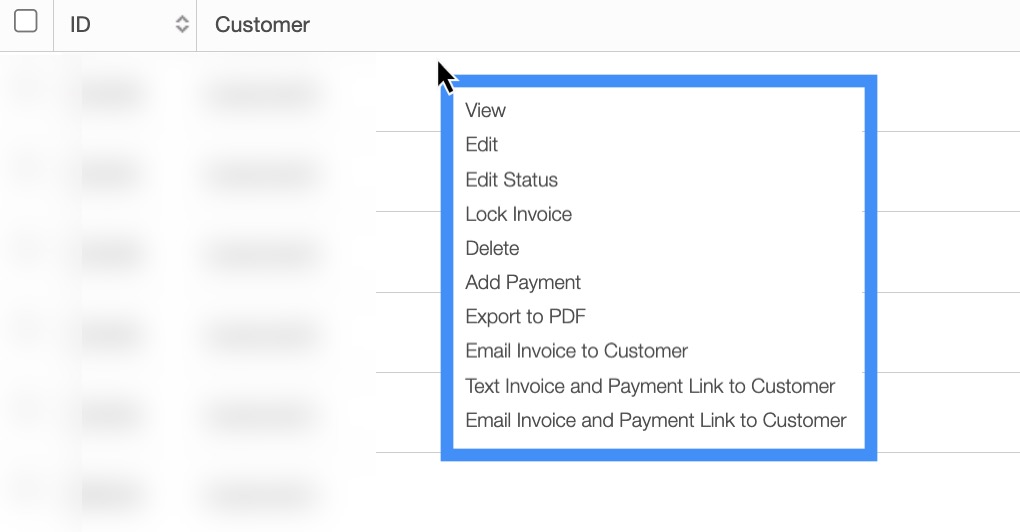
The definitions for the actions found in the Individual Actions and when you right-click in the "List" tab are below:
| Name: | Description: |
|---|---|
| "View" | Views the invoice. |
| "Edit" | Edits the invoice. |
| "Edit Status" | Edits the status of the invoice. |
| "Lock" | Locks the invoice so that the user will no longer be able edit the line items. If the invoice is already locked, the "Lock" option will instead be replaced by the "Unlock" option. |
| "Delete" | Delete the invoice. |
| "Add Payment" | Adds a payment to the invoice. |
| "Close Work Order" | Closes the work order that the invoice is associated with. |
| "Export to PDF" | Exports the invoice to PDF. |
| "Email Invoice to Customer" | Sends an email invoice to the customer. |
| "Text Invoice to Customer" | Texts the invoice to the customer. |
| "Email Invoice and Payment Link to Customer" | Emails the invoice and payment link to the customer |
With the "Kanban" tab you can easily view your invoices and their statuses on a visual and interactive board:
Kanban Tab Layout

Kanban Tab Columns
Kanban Tab Columns
The invoices are categorized by their respective invoice status; each invoice block will display the invoice's ID number and balance. To open the View Invoice pop-up window, simply click on the desired invoice:

You can update the status of a selected invoice by dragging & dropping the invoice to the desired status column:

There are six different columns:
"Open"- The invoice is open and has not been sent to the customer for approval.
"Checked Out"- Once the invoice is checked out, the checkout process is initiated through the device, locking the invoice to prevent further edits from the field unless the user has specific permissions. Afterward, your Accounting Department should review the invoice details and set the status to "Customer Invoiced," ensuring no further changes can be made. Invoices can only be unlocked through the web interface.
"Service Completed"- The services indicated on the invoice have been completed; this also indicates if a work order has been closed.
"Customer Invoiced"- The invoice has been sent to the invoice.
"Paid"- The invoice has been paid by the customer.
"Cancelled"- The invoice has been cancelled.
If you would like to collapse a column so that only your chosen columns are visible, you can click on the arrow to the right of the column header:

The "Global Actions" section is located at the top-right of your Invoice feature page:

- The Plus Sign button which will allow you to quickly add a new invoice.
- The More Actions button (represented by the three vertical dots) which will allow you to pull reports, export/import invoices, send invoice reminders, and more.
- The Question Mark button which will direct you to the respective MobiWork Features page.
- The Graduation Cap which will activate the Onboarding Assistant.
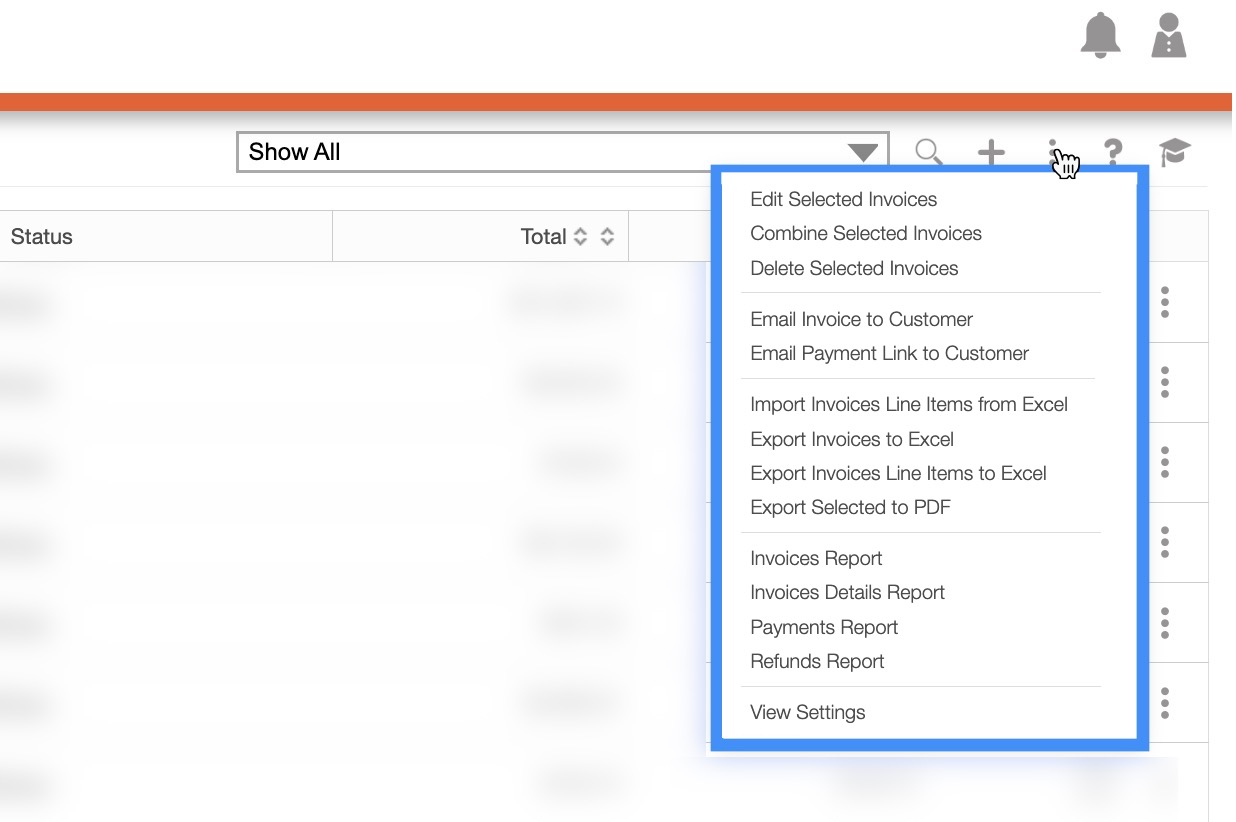
After clicking on the vertical three dots in the top-right corner the, More Actions drop-down menu will appear.
From the More Actions drop-down menu, you can select various actions that will help to manage your invoices, such as pulling reports, viewing invoices, exporting/importing invoices, editing invoices, sending payment reminders, and more.
These actions can be performed on a single invoice or multiple invoices.
The complete list of actions found in the More Actions drop-down menu are defined below:
| Name: | Description: |
|---|---|
| "Edit Selected Invoices" | Edits the selected invoices. |
| "Combine Selected Invoices" | Combines the selected invoices into one invoice. |
| "Delete Selected Invoices" | Deletes the selected invoices. |
| "Email Invoice to Customer" | Emails the selected invoices to the customer. |
| "Email Invoice and Payment Link to Customer" | Emails the selected invoices and payment links to the customer. |
| "Import Invoices Line Items From Excel" | Import lines from Excel into MobiWork. |
| "Export Invoices to Excel" | Export the selected invoices into an Excel document. |
| "Export Invoices Line Items to Excel" | Export the selected invoices into Excel lines. |
| "Export Selected to PDF" | Exports the selected invoices into a PDF. |
| "Invoices Report" | Pull an Invoice report that has basic information. |
| "Invoices Details Report" | Pull a detailed Invoice report that has more comprehensive information. |
| "Payments Report" | Pull a payment report of invoices that have been paid. |
| "Refunds Report" | Pull a report for the refunds in MobiWork. |
| "Settings" | Directs you to the Settings page where you can further customize the numerical data (e.g., discounts) found on your invoices. |
If you have any questions or need further assistance, please let us know. We'd be happy to help!
