- Overview
- Account Settings
- Assets
- Connectors Framework
- Overview
- QuickBooks Online
- QuickBooks Desktop Web Connector
- Azure AD
- Salesforce Integration
- FleetNet Connector
- Avalara Connector
- Inbound REST API
- Outbound REST API
- Mailchimp Connector
- Text Messaging Connector
- Clearent Connector
- Stripe Connector
- HubSpot Connector
- UKG Connector
- Paylocity Connector
- UKG Connector
- Gusto Connector
- iSolved Payroll Connector
- Customer Portal
- Customers
- Dashboards
- Devices
- Dispatching
- Forms
- Inventory
- Invoices & Billing
- Locations
- Payments
- Parts
- Projects
- Quotes
- Recurrent Routes
- Recurrent Services
- Reports
- Sales Orders
- Schedule
- Services
- Tasks
- Text Messaging
- Time Tracking
- Users
- Work Orders
You can easily add a quote from the MobiWork web interface, along with any notes, comments, an assigned user, and if a deposit is required. The following sections will illustrate the different ways to add a quote as well as how to input data (e.g., the user assigned, if a deposit is required, etc.) within the quote.
There are a couple of different ways that you can add a new quote into MobiWork, including directly from the "List" tab.
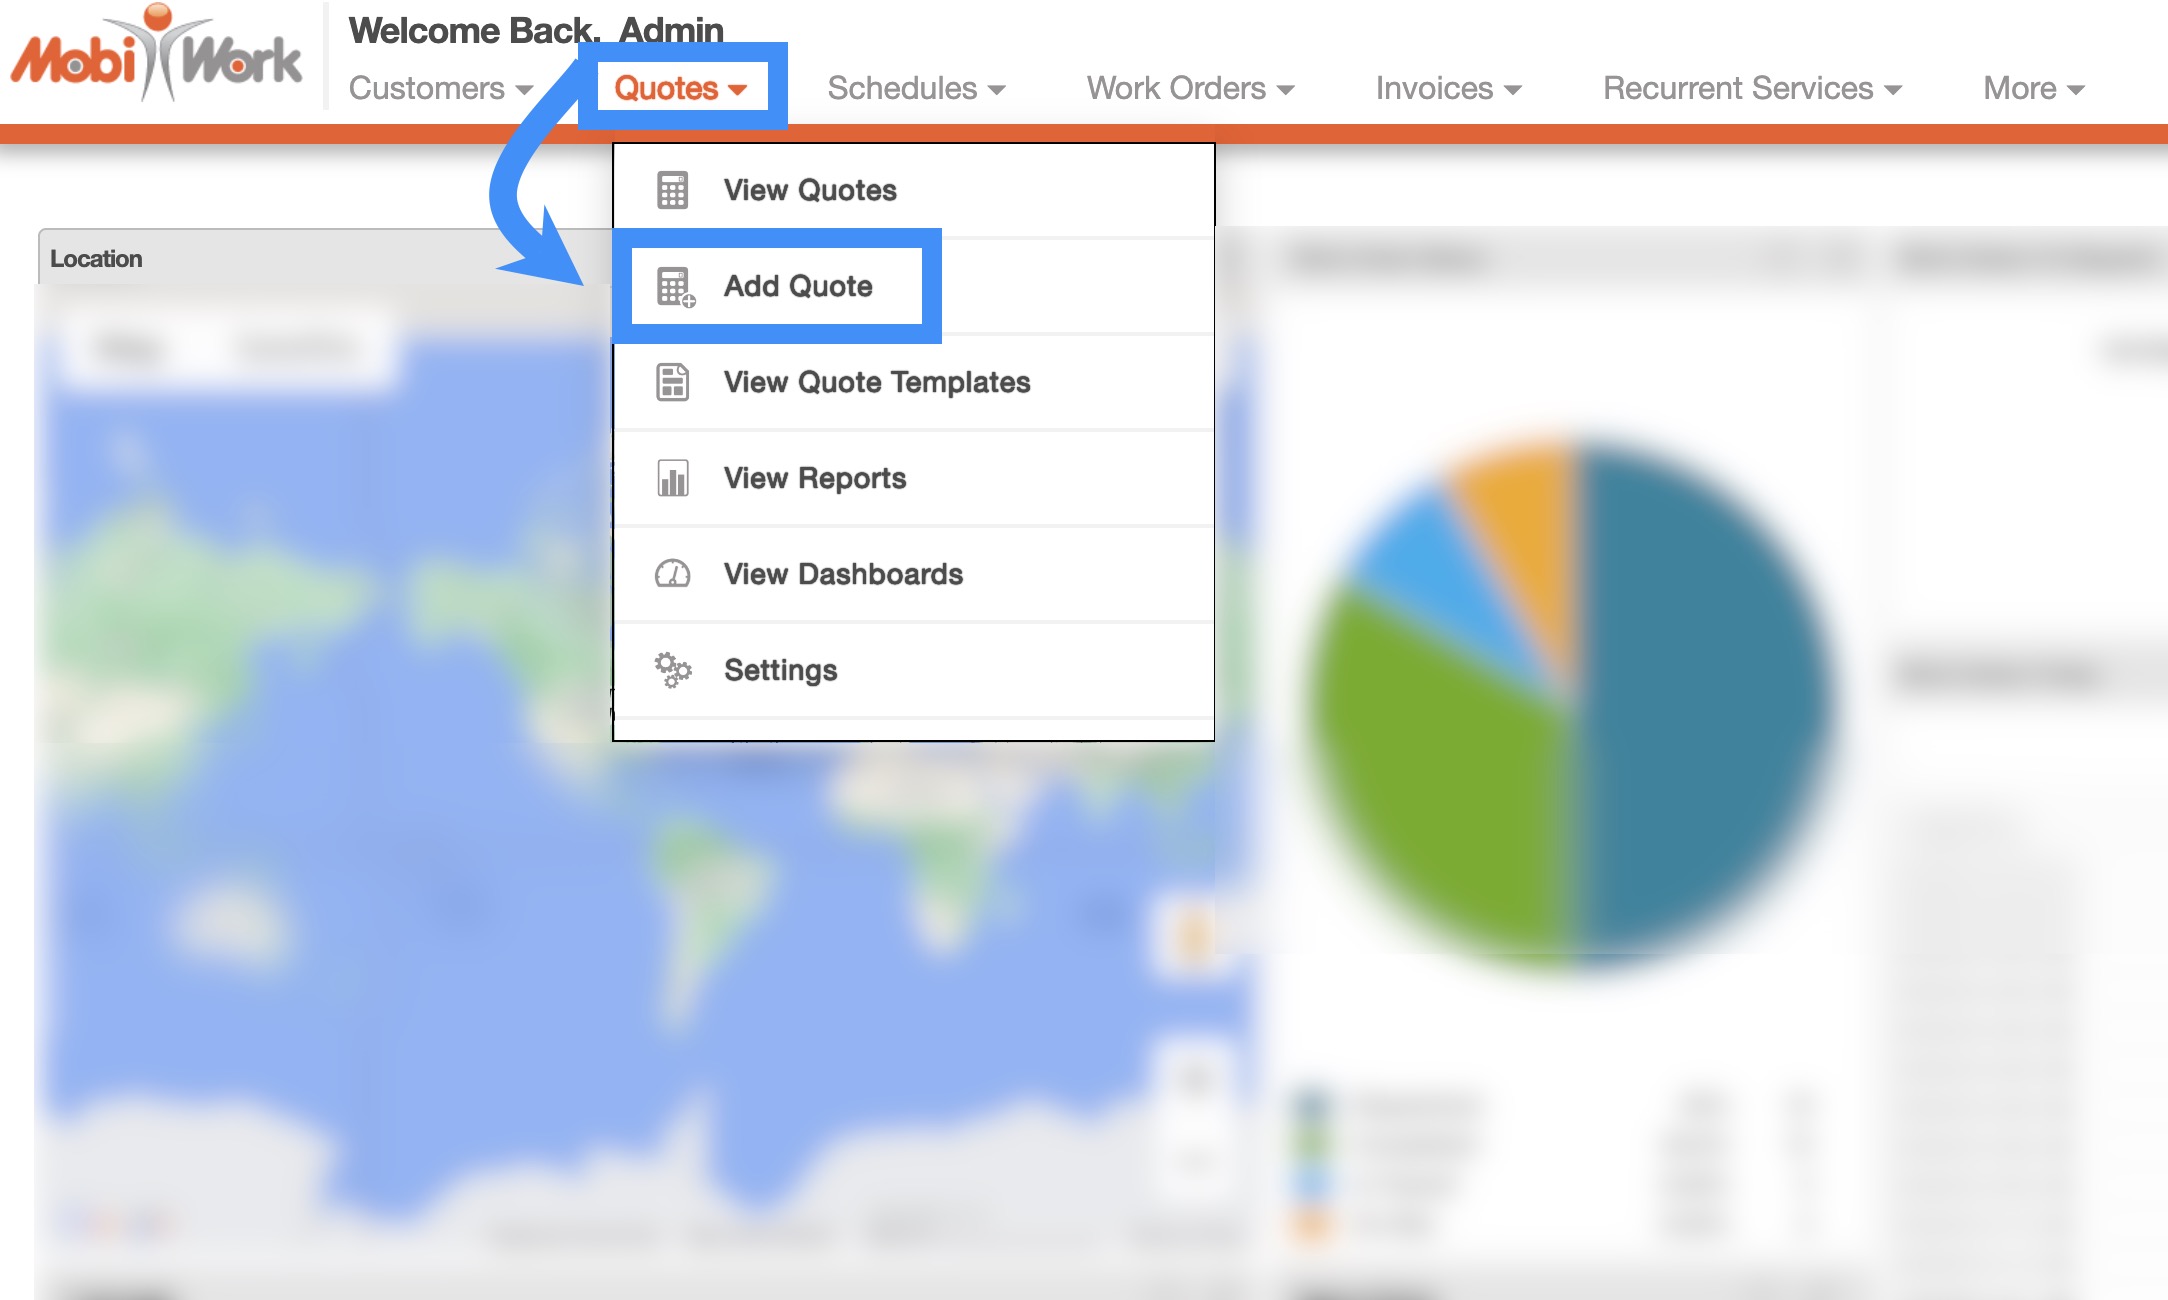
From the Quotes' Drop-Down
- The fastest and easiest way to add a quote is by accessing the drop-down menu from the Quotes feature located in your MobiWork menu:
Select the "Add Quote" option from the drop-down.
The Add Quote pop-up window will then appear.
From the Quotes' More Actions
On the Quotes feature tabs you will also be able to import your quotes from Excel or QuickBooks:

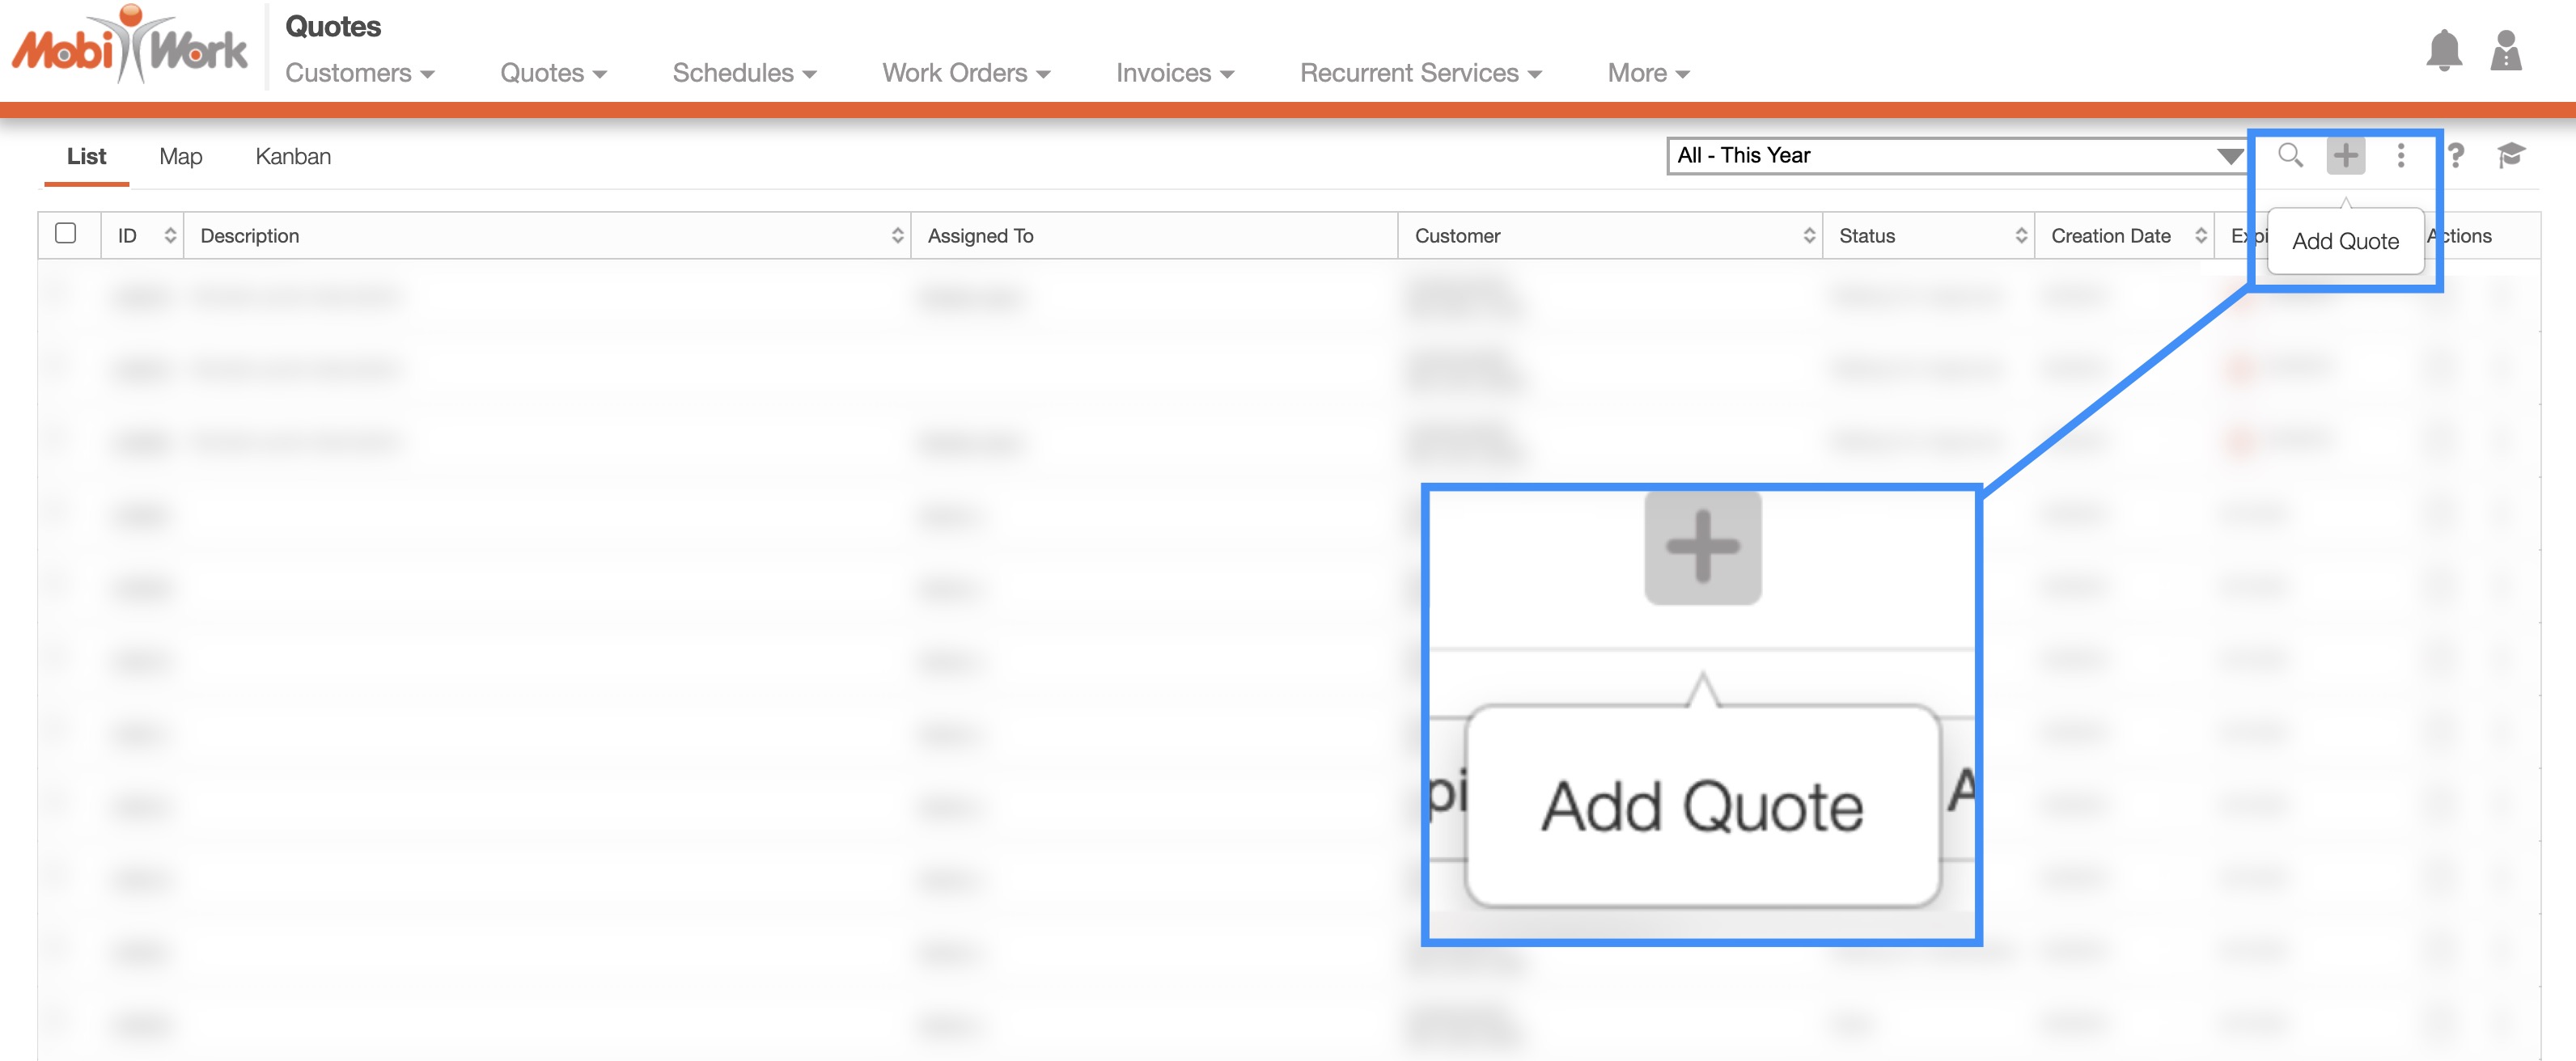
Plus Sign- Adds a new quote.
More Actions- Allows you to access the import drop-down actions.
For more information on how to import your quotes, please see the Import Quotes section.
To add a new quote from the Quotes feature tabs, please see the steps below:
- Once you are on any of the tabs, click on the Plus Sign to add a new quote:
The Add Quote pop-up window will then appear.
From a Quote Template
You can add a quote from a quote generated template; this will have the added benefit of having your quote already formatted with the terms and details for a specific situation.
To add a quote from a template you must first be on the Quote Templates page. For more information on how to access this page and about quote templates please see the Quote Templates page:

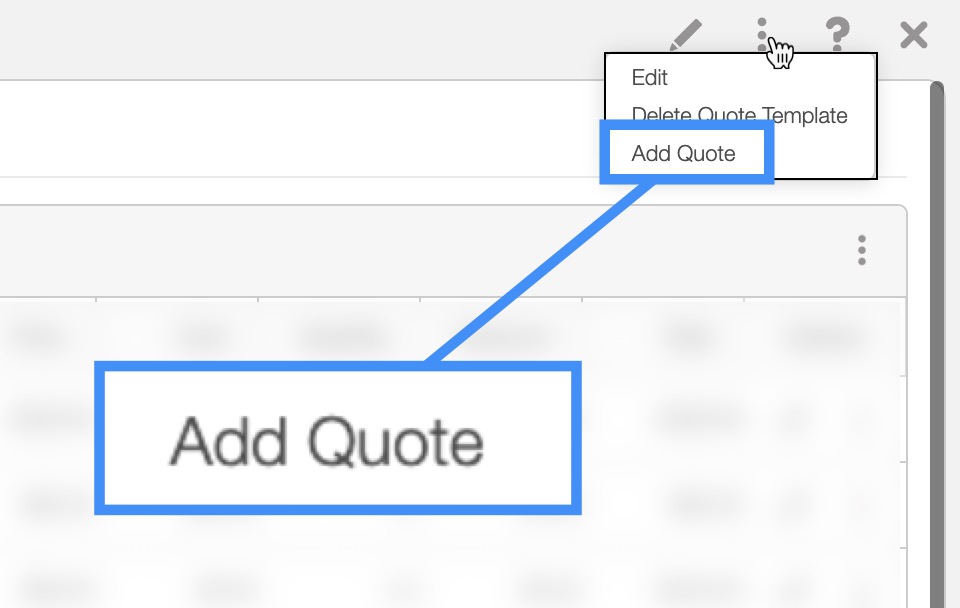
Click on the desired quote template ID and from the View Quote Template pop-up window click on the Individual Actions button and from the drop-down select the "Add Quote" option:
Right-click on the selected quote template and choose the "Add Quote" option from the drop-down.
Click on the Individual Actions button and from the drop-down choose the "Add Quote" option.
From the Customer Profile
Another way you can add a new quote, is through the Customers feature page. For more information on how to access Customers feature page, please see the Customers List section:
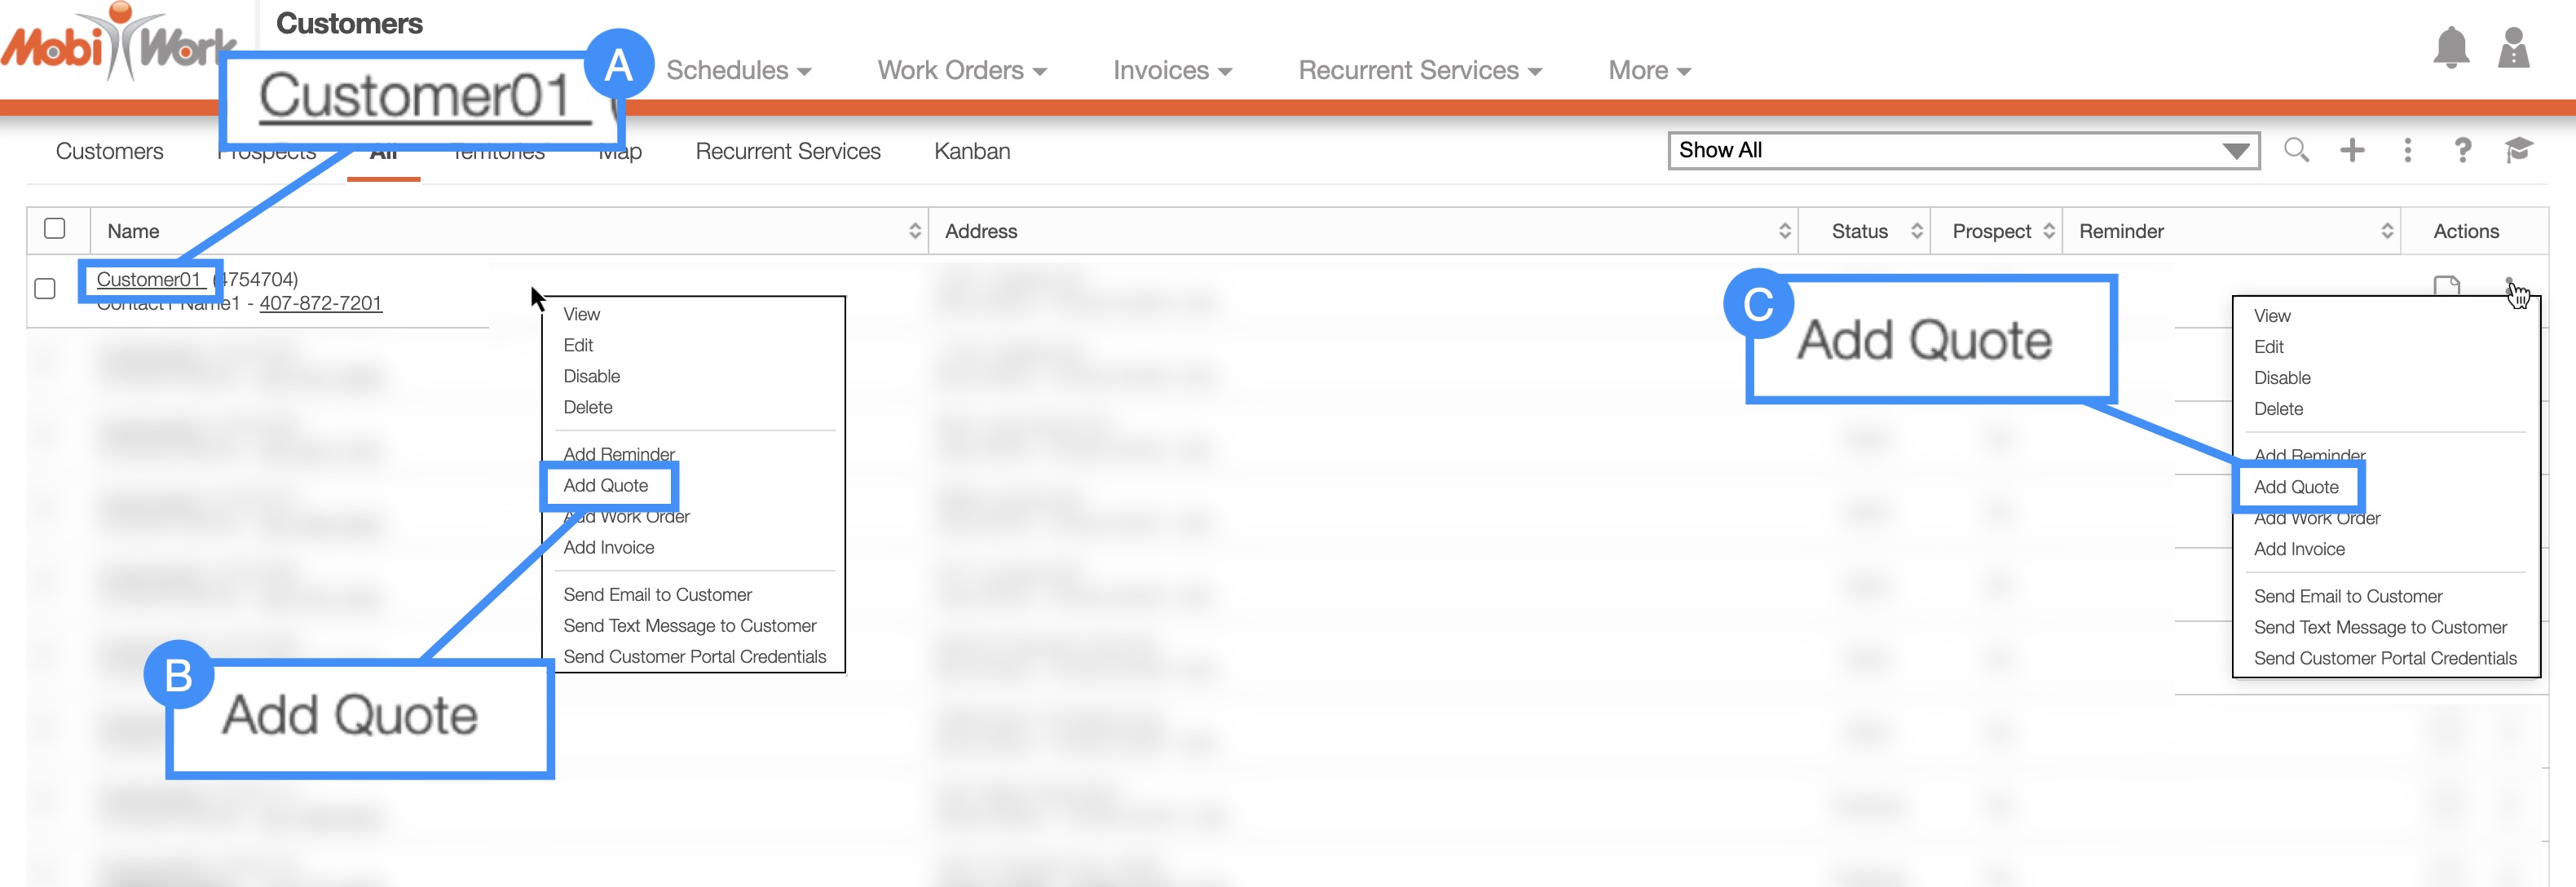
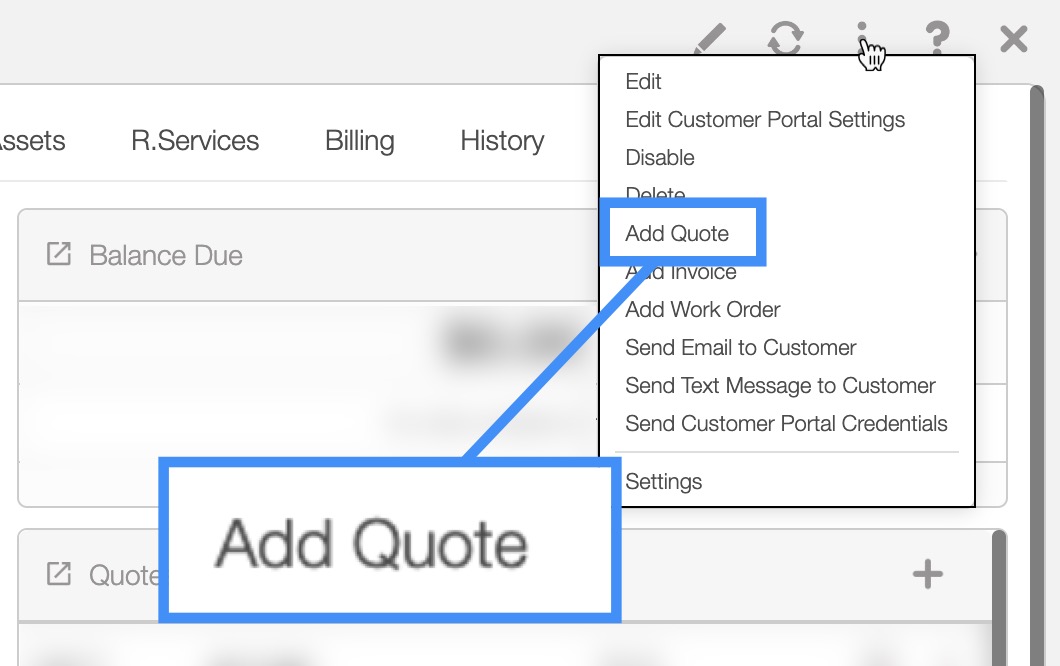
- Click on the desired customer name, and from the View Customer pop-up window click on the Individual Actions button. From the drop-down that appears, select the "Add Quote" option:
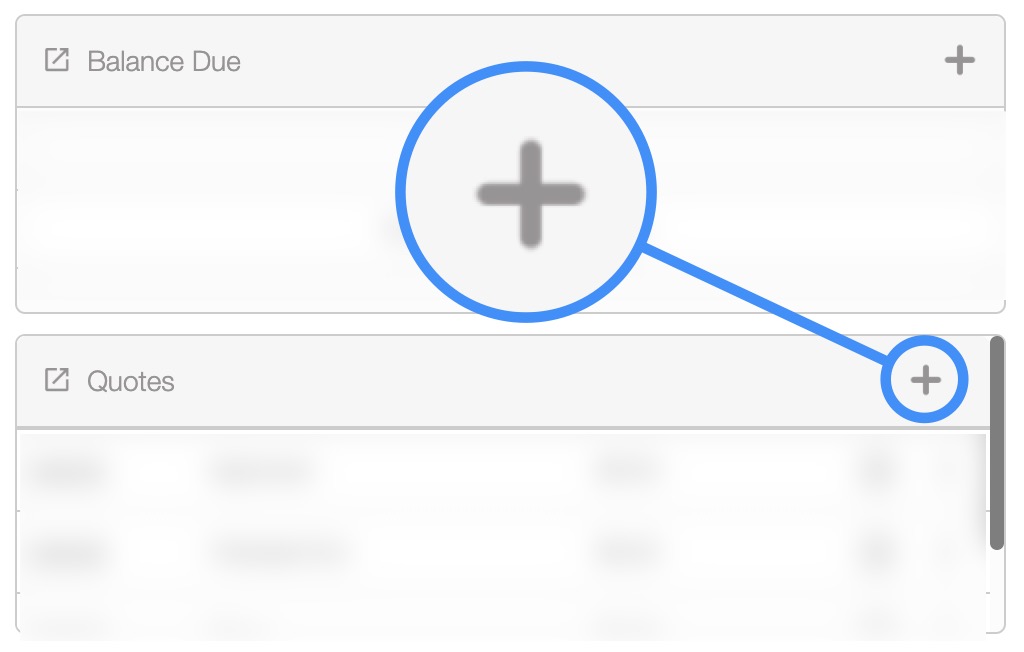
- You can also add a quote by clicking on the Plus Sign in the "Quote" column of the "Summary" tab:
Right-click on the selected customer and choose the "Add Quote" option from the drop-down.
Click on the Individual Actions button and from the drop-down choose the "Add Quote" option.
Regardless of the method that you choose to add a quote, the Add Quote pop-up window will appear. From this window you will be able to input the quote description, if a deposit is required, any special notes or comments regarding the quote and more:

Note: Please note that the maximum length for the quote title (description) is 64 characters; we recommend using the quote's line items for longer quote descriptions (line items have a maximum length of 64,000 characters). You can access the line items when adding parts or services to the quote; for more information about a quote's line items, please see the View Quote page.
The terms listed in the Add Quote pop-up window are defined below:
| Name: | Description: |
|---|---|
| "Customer" | The customer associated with the quote. |
| "Location" | The location or address of the customer. |
| "Expiration Date" | The date that the quote is due to expire if not approved or rejected. |
| "Deposit Required" | If a deposit is required on the quote; if this option is checked input the deposit amount and if the amount should be a percentage (50%) or a number ($50). |
| "Status" | The status of the quote (e.g., "Open," "Checked Out," "Waiting for Clarification," "Waiting for Approval," "Change Requested," "Approved," "Rejected," and "Completed"). |
| "Percentage" | The percentage field is for your sales pipeline and relates to the probability that the quote will convert into a sale. |
| "Assigned To" | The user the quote is assigned to. |
| "Sold By" | The Sold By field will indicate the user who issued the commission. For more information about commissions, please see the User Commissions section. |
| "Title" | The description and name of the quote. |
If you have any questions or need further assistance, please let us know. We'd be happy to help!
