- Frequently Asked Questions (FAQ)
- Assets
- Branches
- Customers
- Overview
- Adding Customers
- Billing and Invoices
- Customer Arrangement and Terms
- Customer Fields
- Customer Status and Categories
- Delete or Disable Customers
- Delete or Disable Customer Contacts
- Manager Field
- Marketing and Sales
- Messaging Customers
- Sub-Customers
- View Customer Pop-up Window
- Customer Requests
- Customer Opt-In and Opt-Out
- Dashboards
- Devices
- Expenses
- Inbound REST API
- Inventory
- Overview
- Barcode Reader for Warehouse Inventory
- Barcode SKU
- Export Inventory
- Inventory Accounting
- Inventory Audits
- Inventory Movements
- Inventory and Parts
- Importing Product Inventory
- Remove Parts From Inventory
- Invoices
- Mailchimp
- Notifications
- Parts
- Payments
- Purchase Orders
- QuickBooks
- Quotes
- Recurrent Routes
- Recurrent Services
- Reminders
- Reports
- Review Us
- Sage
- Sales Tax
- Schedule and Dispatching
- Screen Recording
- Services
- Support Tickets
- Telematics
- Text Messaging
- Time Tracking
- Trial Account
- Troubleshooting
- User Settings
- Overview
- Account Settings
- Account Users
- Connectors
- Custom Fields
- Display User Device Location on Map
- Documents and Email
- Google and Outlook Integration
- Import and Export Excel Documents
- Max Session Idle Time for Users
- Permissions Template
- Saved Login and Session Management
- Saved Searches
- Single Sign-On (SSO)
- Updating the User Password
- User Locked Out
- User Preferences
- Work Orders
Overview
This section will highlight how you can create a screen recording of your desktop; when creating a support ticket, you can use these screen recordings to capture specific problems or issues that might arise in MobiWork.
The steps below will show you how to make a screen recording from your Windows or Mac computer.
Create a Recording of Your Mac Computer
Overview Video

Step by Step
- On your keyboard click and hold the Shift, Command, and the number 5 keys simultaneously, until the screen capture appears on your monitor.
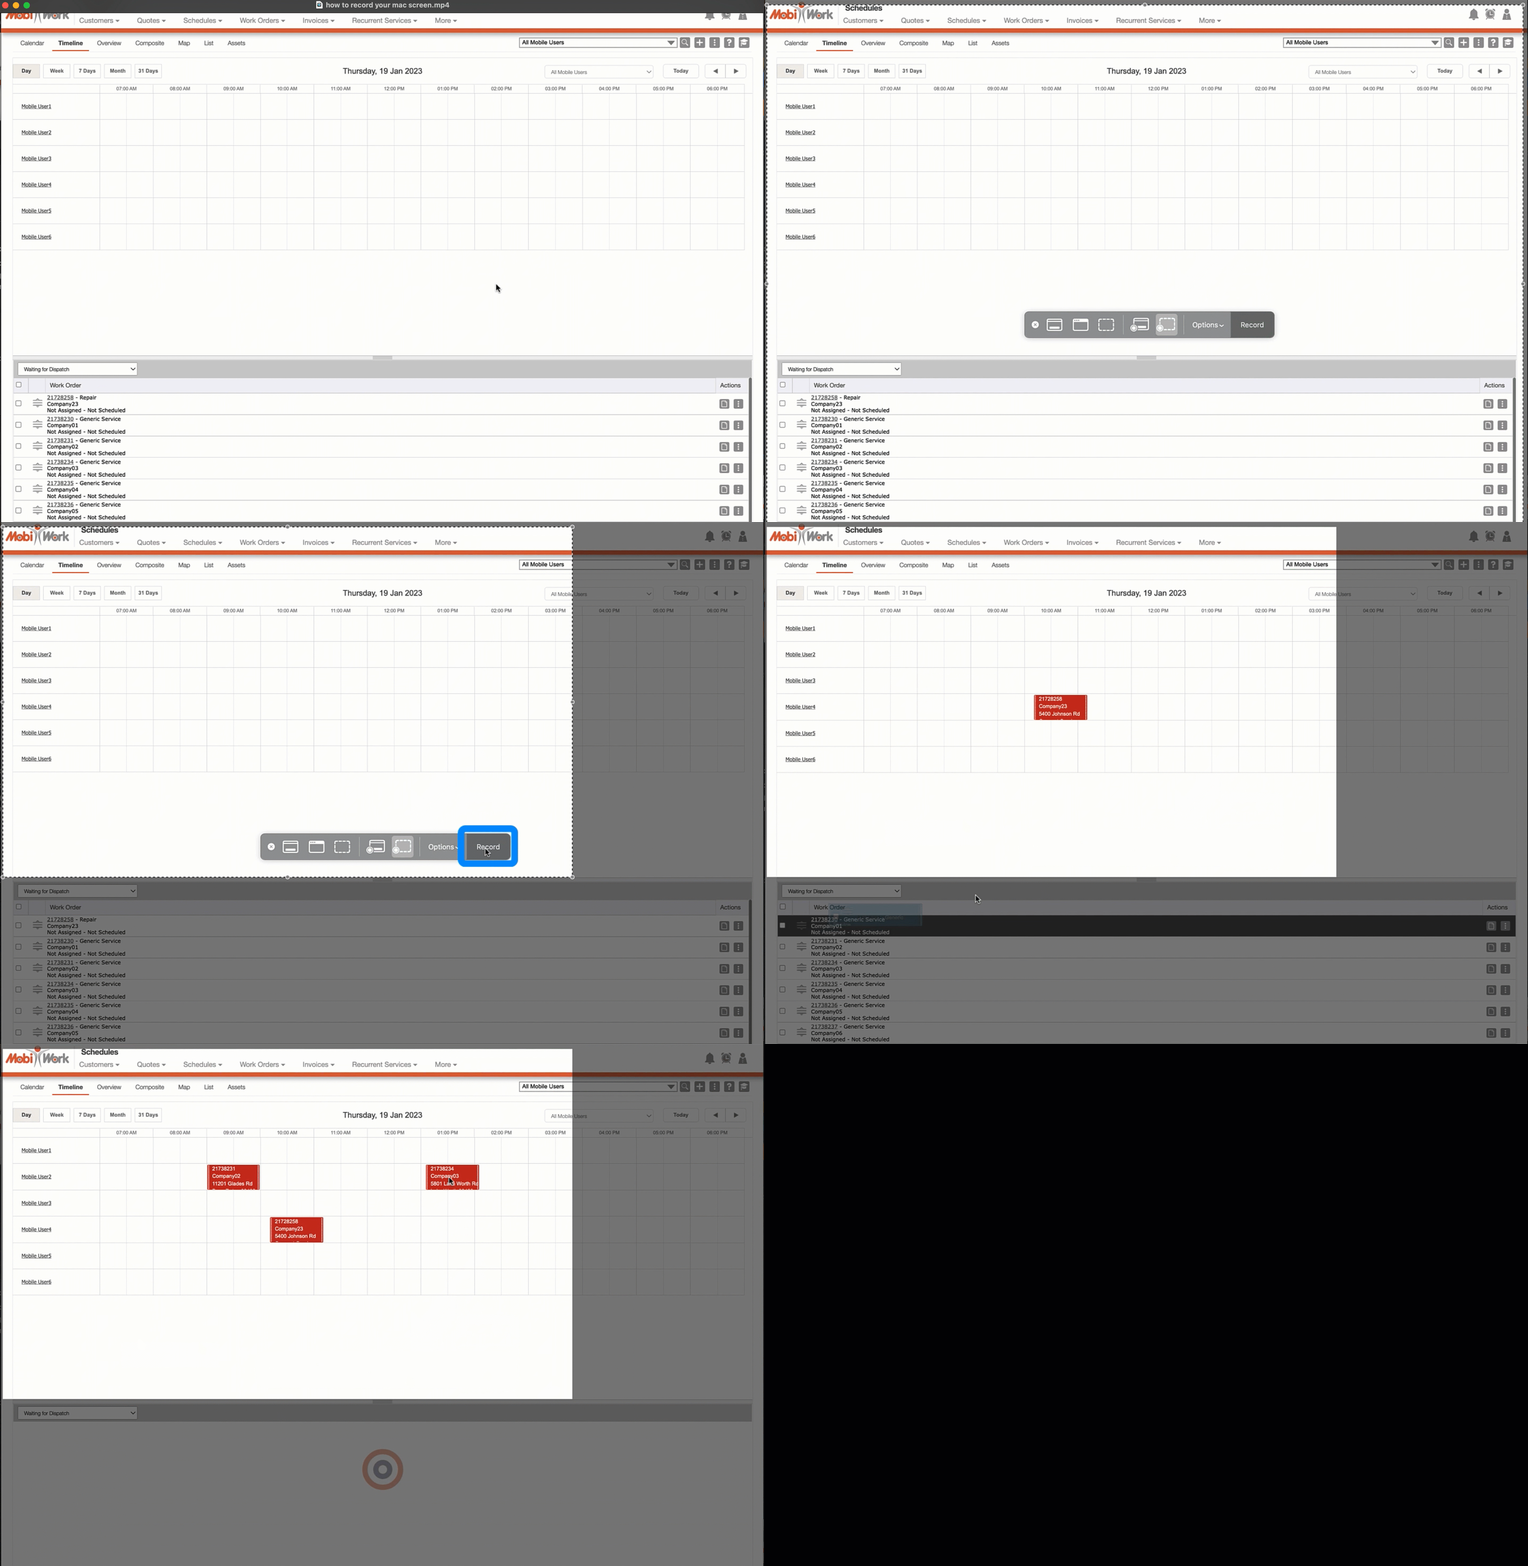
- Resize your screen as desired and select the "Record Selected Portion" option from the tool bar. Once you are ready to record, click the Record button:
- To stop your recording, simultaneously hold the Shift, Command and 5 keys again, and then click on the Stop button.

Create a Recording of Your Windows Computer
Overview Video

Step by Step
Note: Please note that in order to record your screen in Windows, you will need to have the Xbox Game Bar video capture tool set up; this tool is available in Windows 10 and 11. To access the Xbox Game Bar, click on the Windows Logo Key and the G on your keyboard simultaneously.
- In the Xbox Game Bar window, enter the desired video settings (e.g., audio, max video length, etc.). Once finished, you will be ready to record your Windows screen.
- Click on the Windows Logo Key, Alt key, and the G key on your keyboard simultaneously to start recording.
- Once you are finished recording, click on the Windows Logo key, Alt key, and the G key on your keyboard simultaneously to stop recording.
- Your recordings will be stored in the "Captures" folder; this folder is located in the File Explorer.
Getting in Touch With Us
If you have any questions or need further assistance, please let us know. We'd be happy to help!
