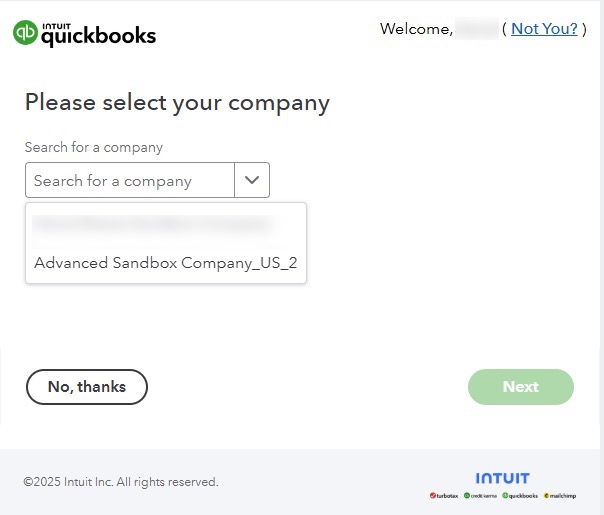
MobiWork allows you to add additional QuickBooks Online connectors to your account. After adding the QuickBooks Online connector, you will be redirected to the Intuit accounts page where you can authorize connection to QuickBooks Online.
On this page, if you have more than one company associated with your QuickBooks Online account, you can select the relevant company:
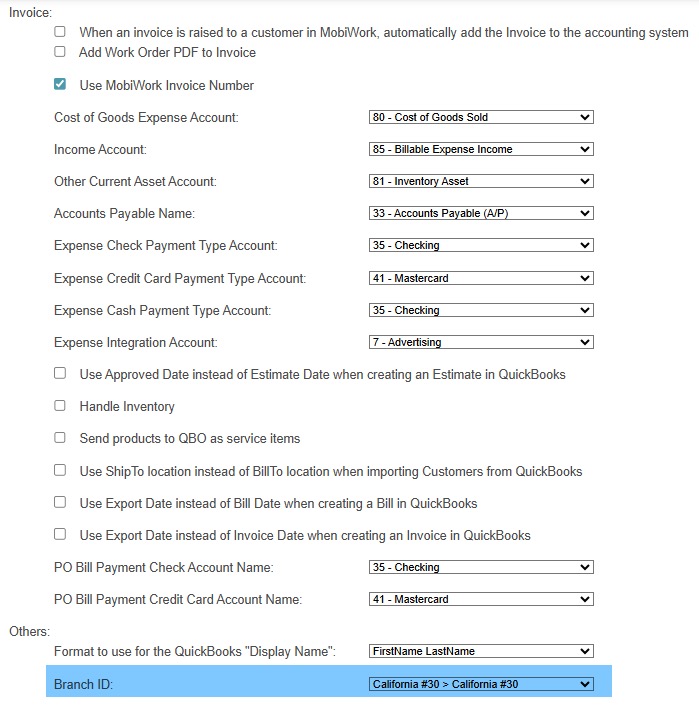
Once the connectors are added to MobiWork, you can update the branch associated with this connector in the connector settings page:
You can also configure the QuickBooks Online connector to operate in export-only mode, thus preventing any imports into MobiWork.
The subsection "Setting up Branches to your QuickBooks Online" account will walk you through the process of syncing your connector to a branch.
After authorizing your QuickBooks Online accounts to MobiWork, you can associate it with the corresponding branch in your MobiWork connector settings page:
Note: Before syncing your QuickBooks Online account to the corresponding branch, please ensure that you already have branches set up in your MobiWork account.
For more information how to set up branches in your MobiWork account, please see Add a Branch page.
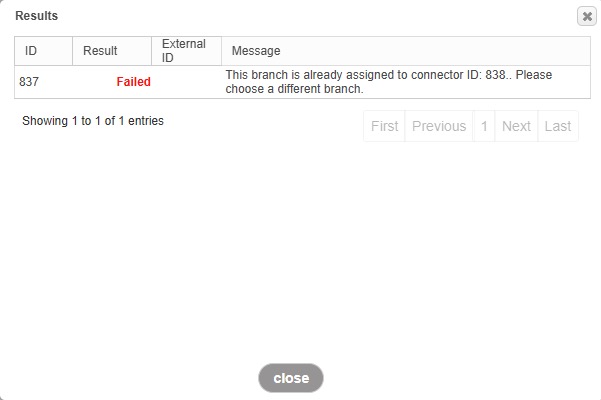
If a branch is already associated with another QuickBooks connector, you will receive the following error when you try to sync your data to QuickBooks Online:
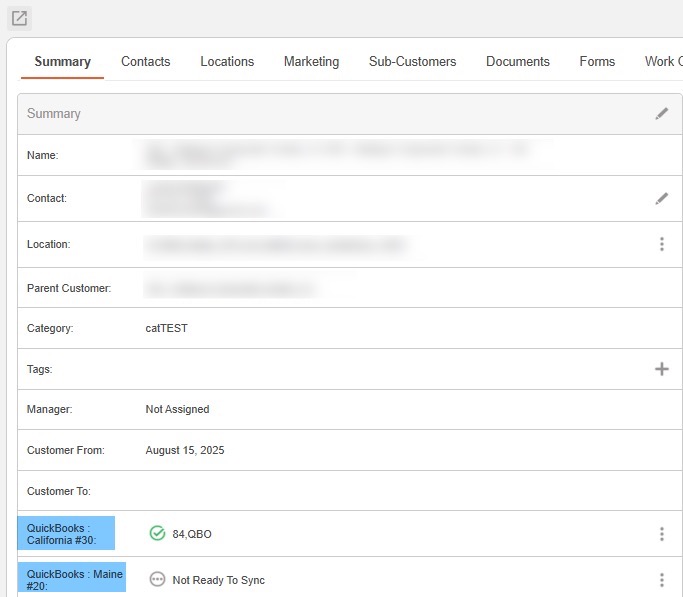
Once the branches and their corresponding QuickBooks Online connectors are enabled, you will have the option to sync the entity to the QuickBooks connector of your choice from the entity List or View pages:
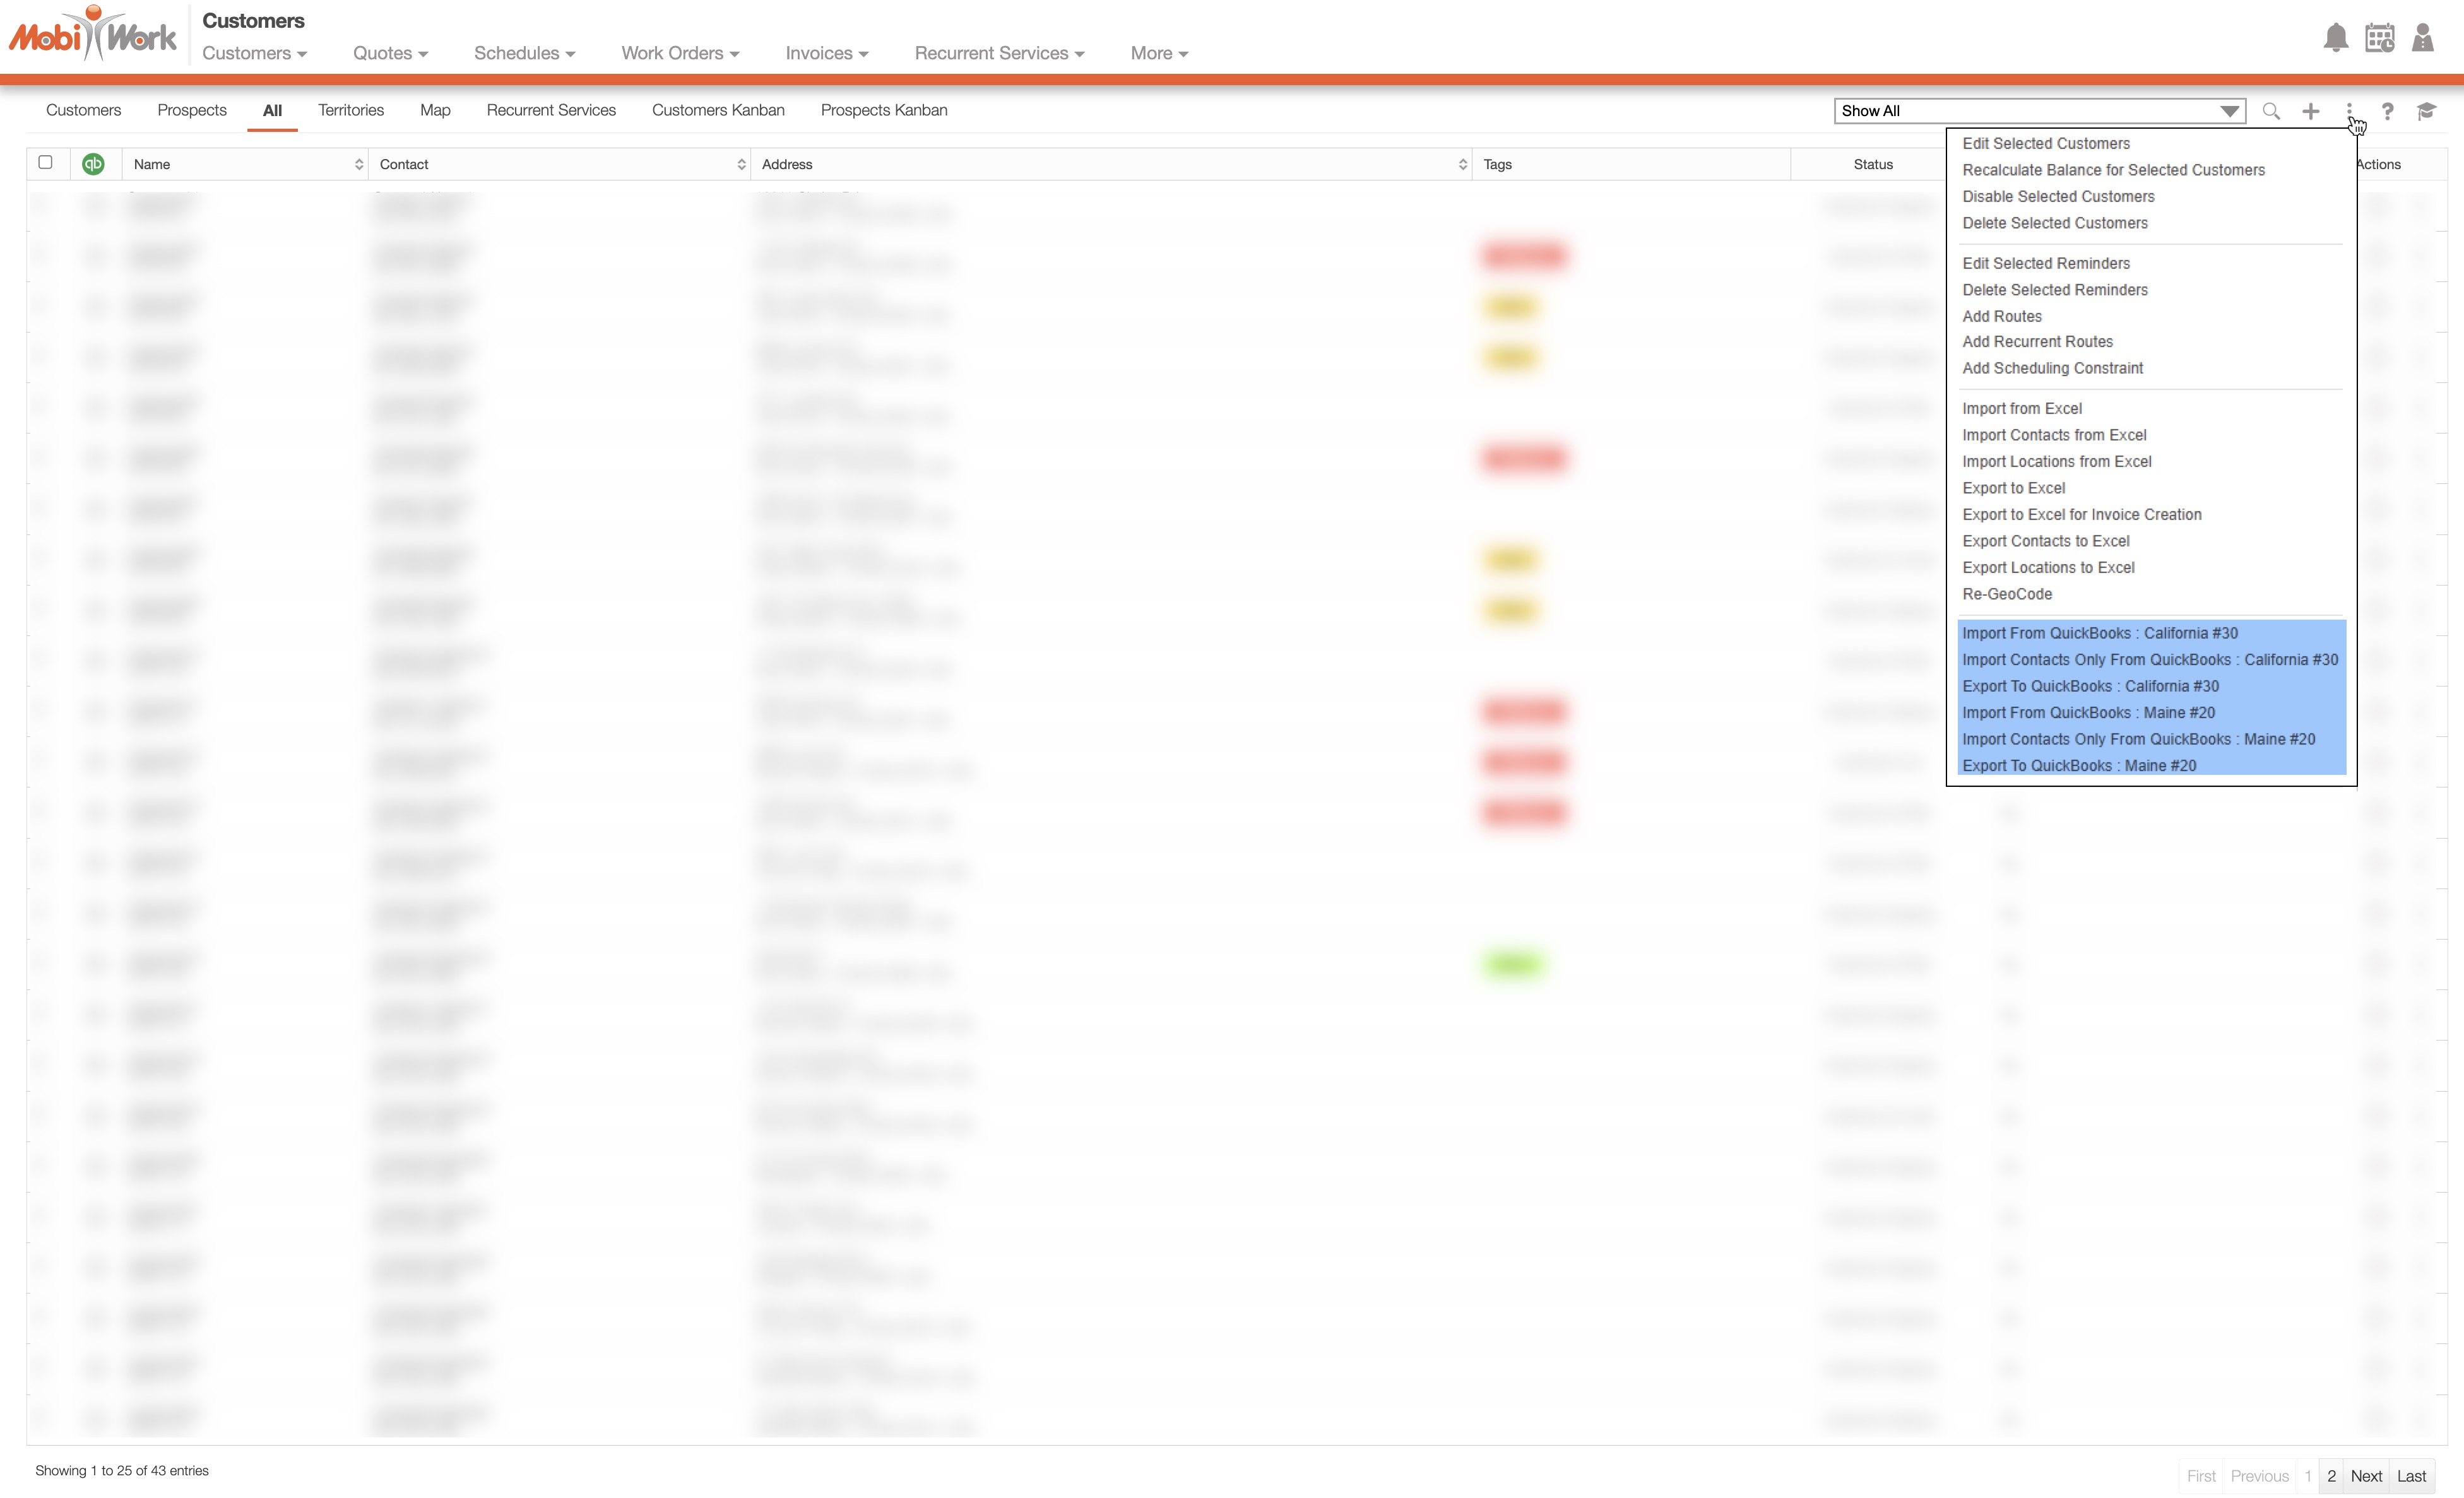
In other words, When exporting data to QuickBooks Online, the actions will display the corresponding branch that export is associated with.
The "Summary" panel in the entity view will show each connector including the branch name: